

GNU/Linux Beginners Guide | Section 2: Install
Note: If you have downloaded the older Fedora 41 release, click here for instructions on the old installer.
In the last section, you created bootable Fedora install media. Now it is time to install the operating system to your drive.
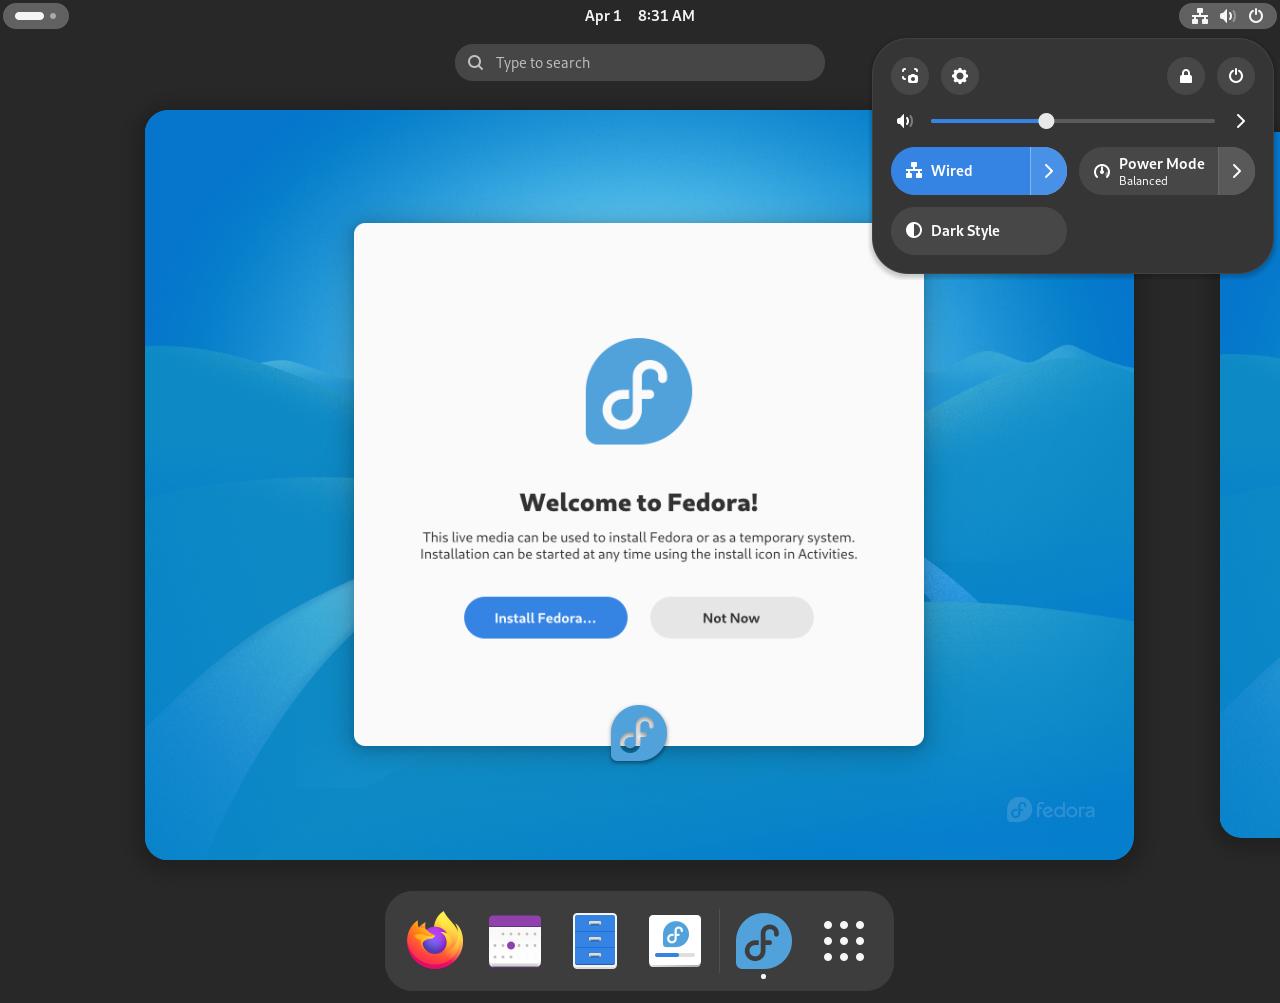
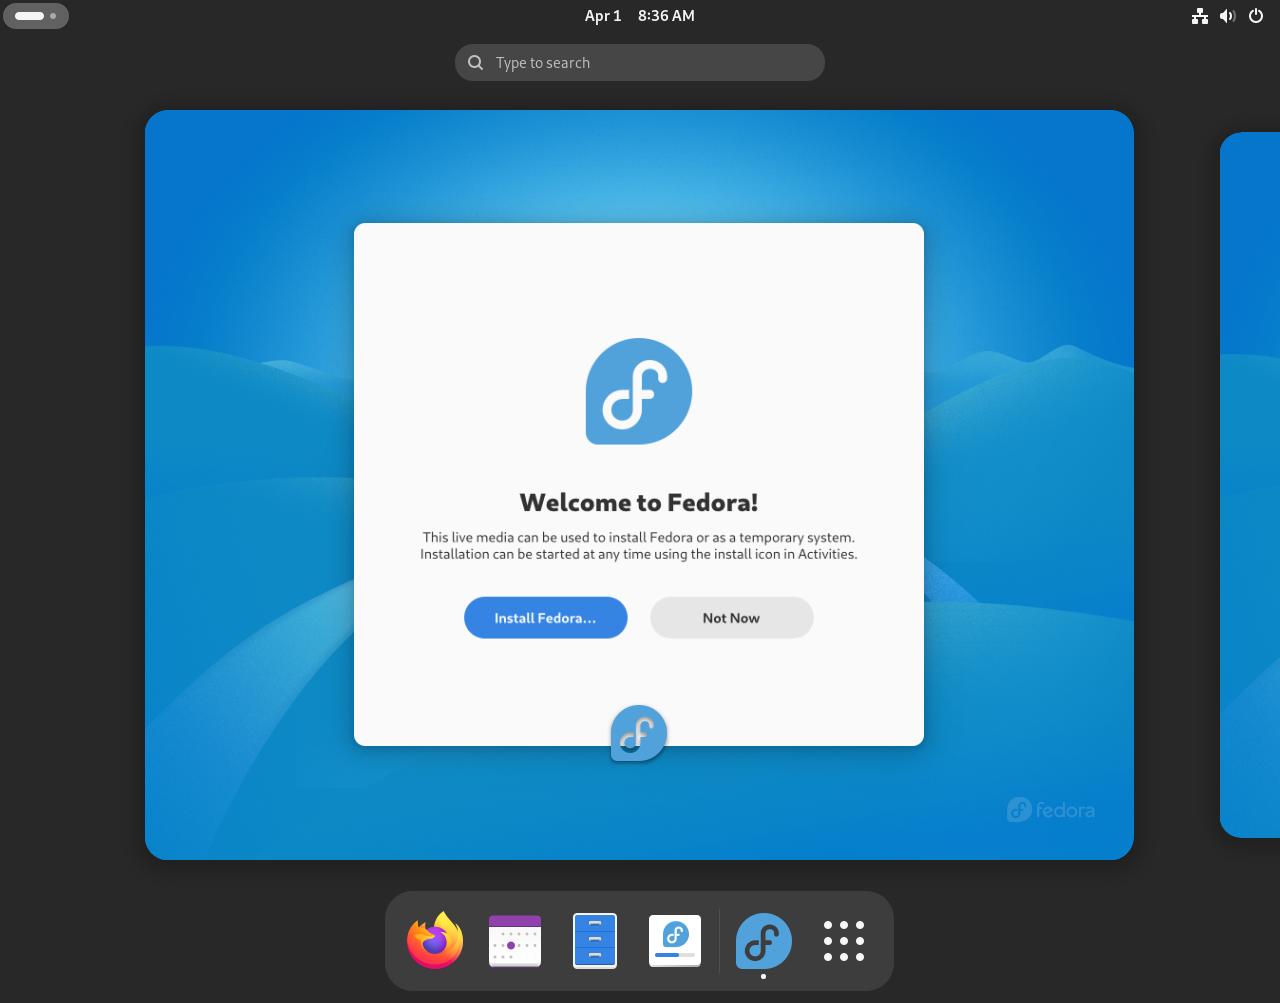
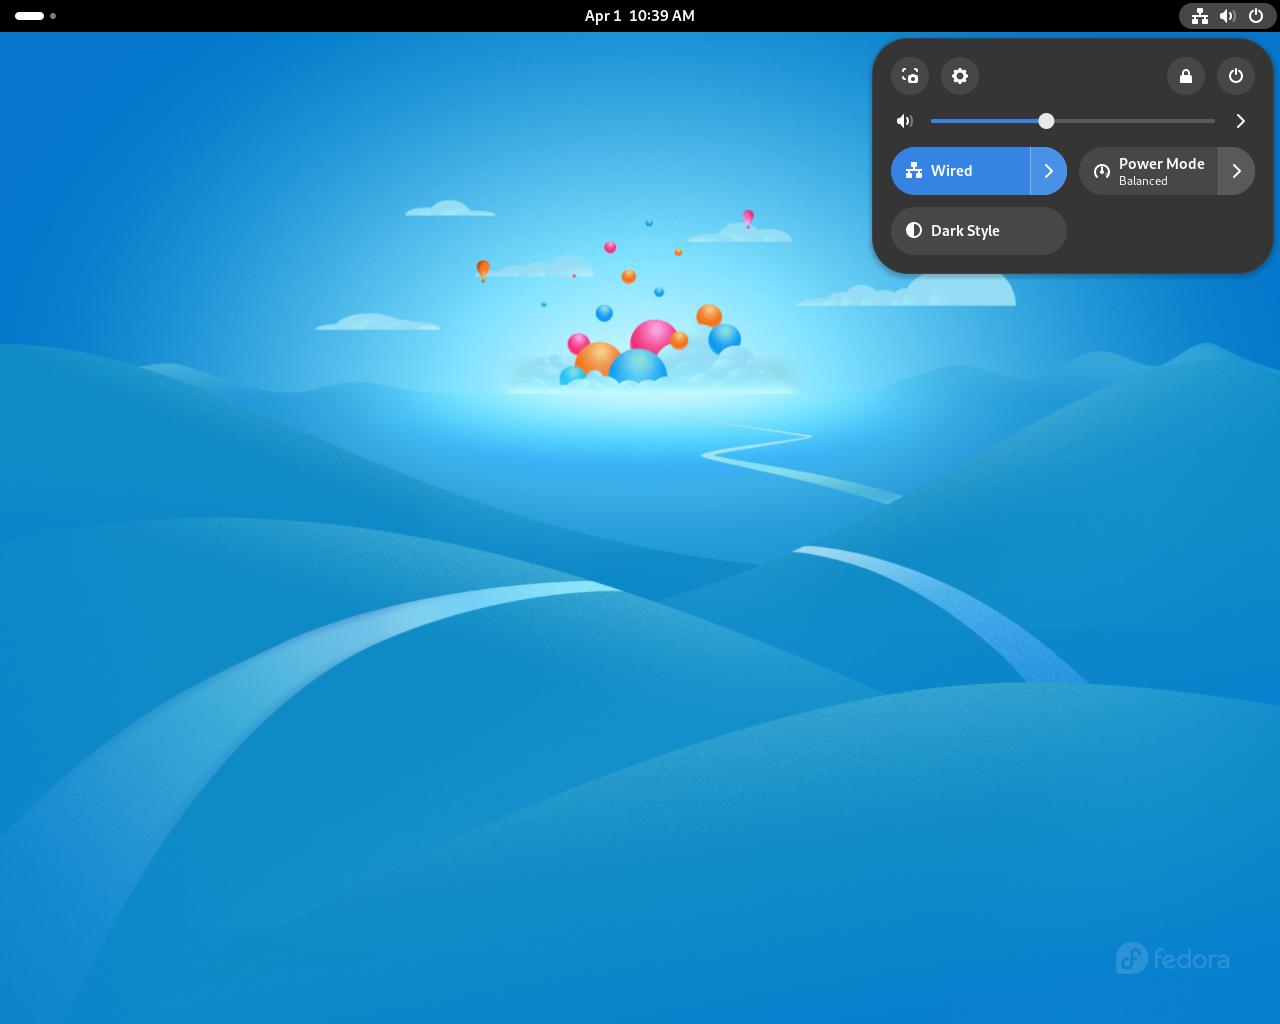
Step #1A: Click on the "Welcome to Fedora" window (if you are still in the quick settings, you can click outside of it's area to get out)
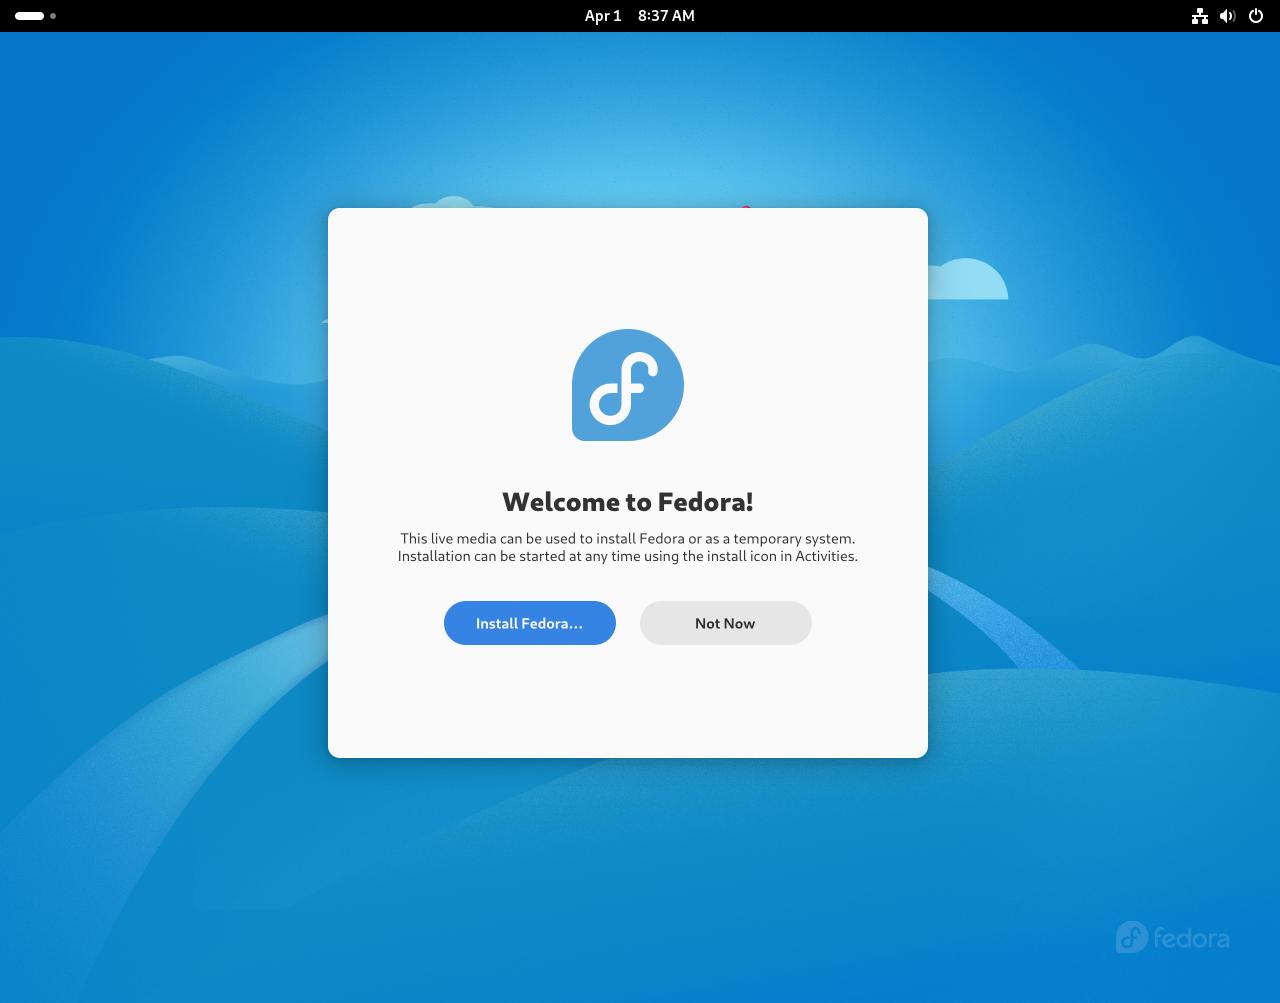
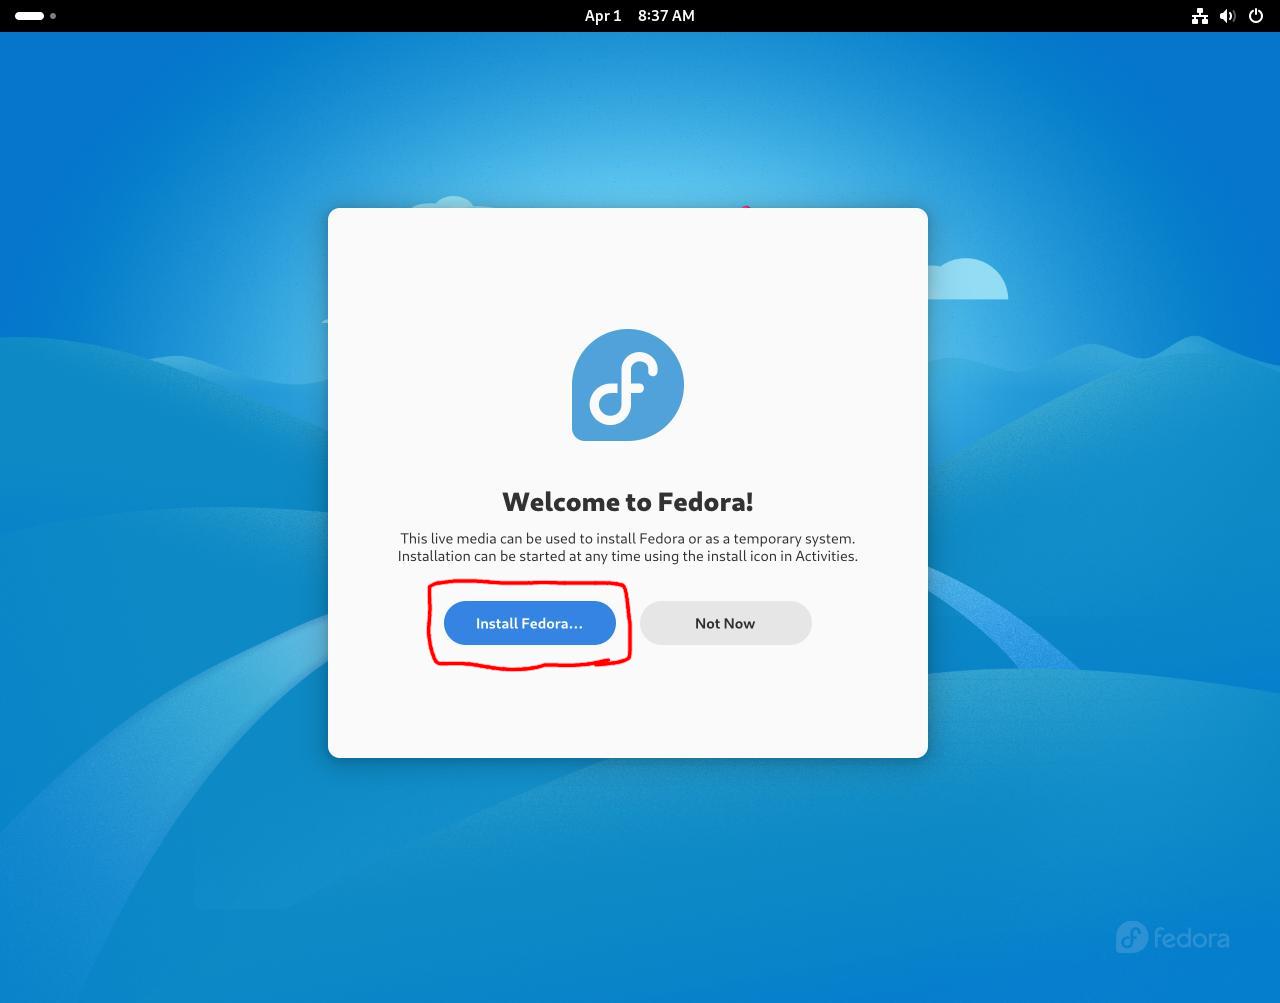
Step #1B: Click on the blue "Install Fedora" button:
Step #2A: You should see this, you can set your language and keyboard settings here.
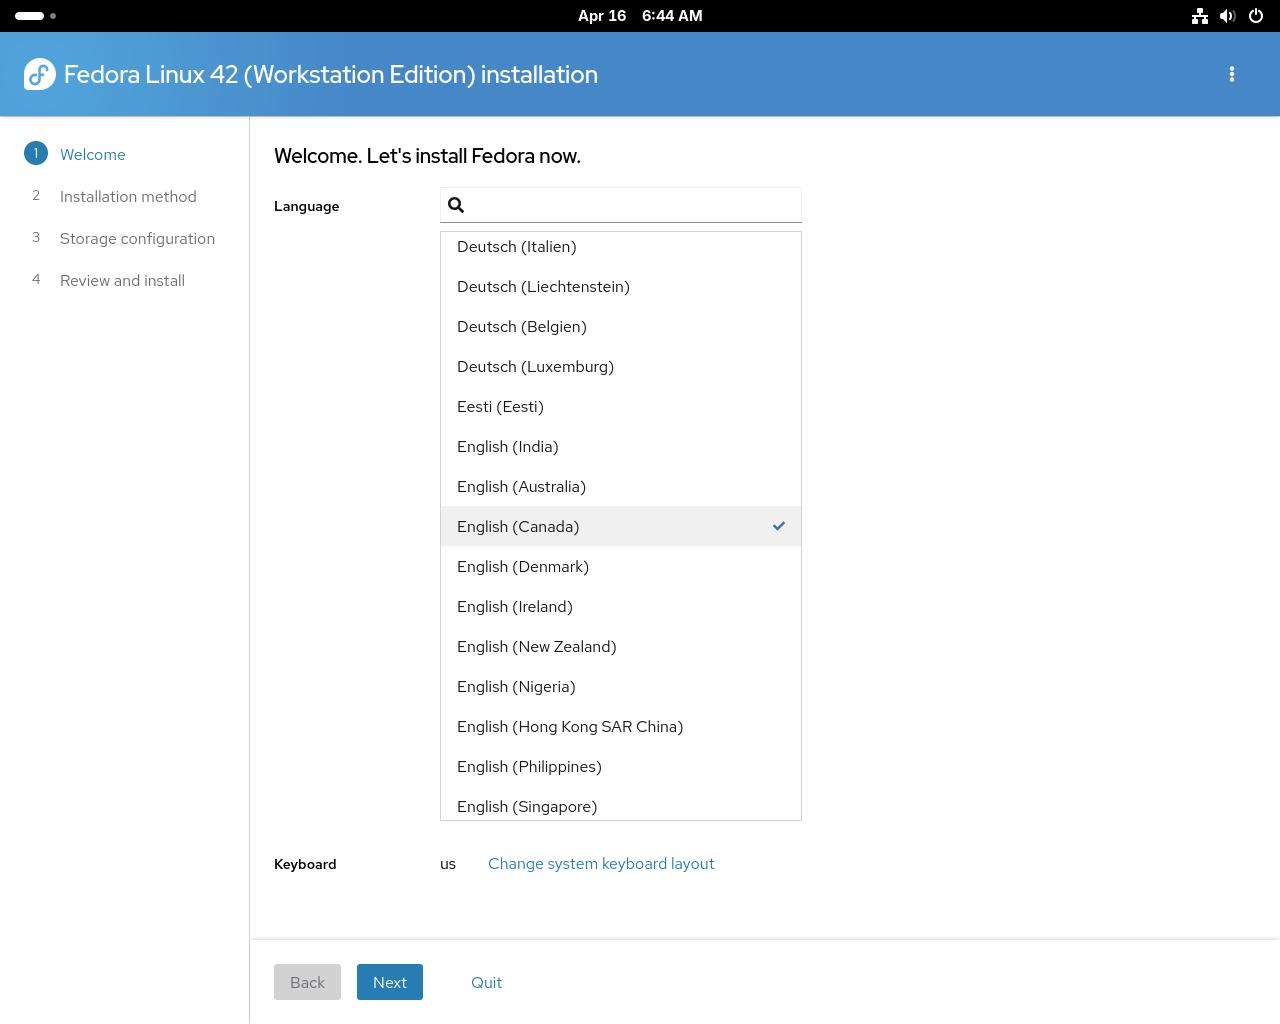
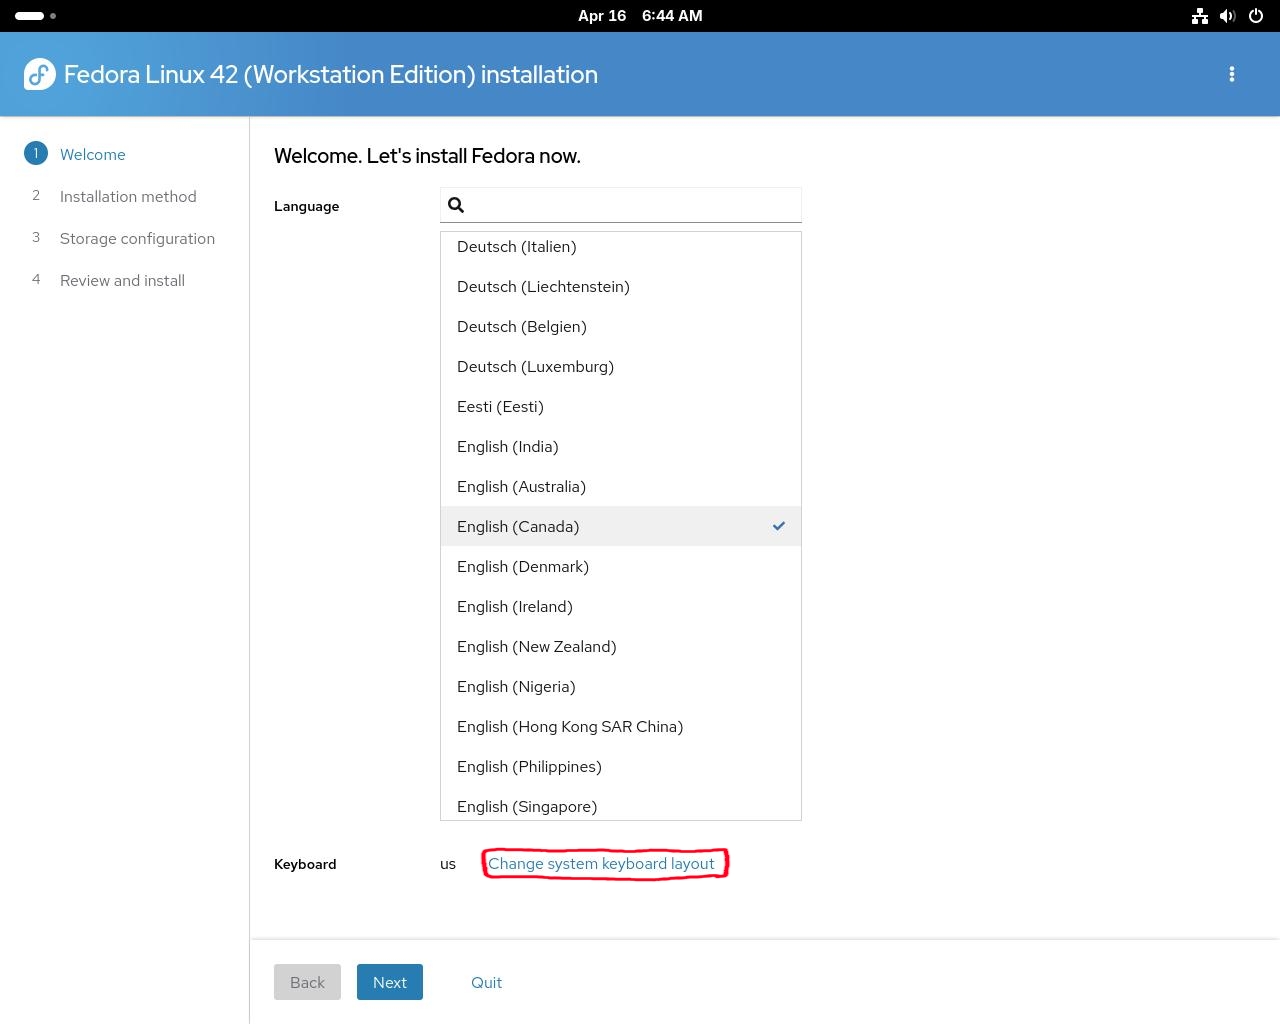
Step #2B: If you need to change your keyboard layout, click on "Change system keyboard layout" on the bottom. If you don't, skip to Step 3.
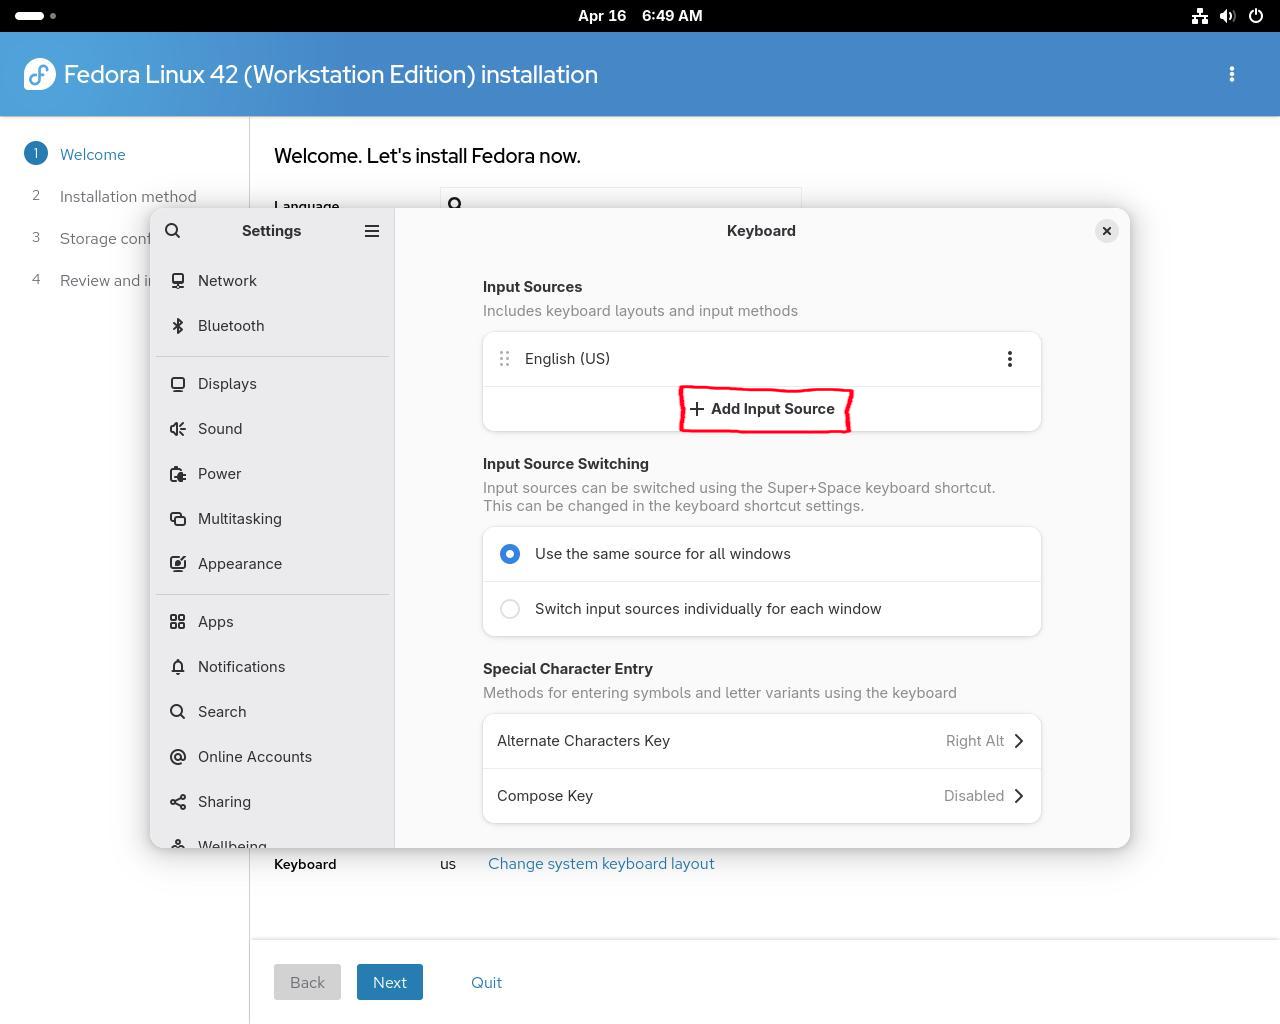
Step #2C: If you have decided to change your keyboard layout, clicking on "Change system keyboard layout" will open up a settings window. Click on "Add Input Source"
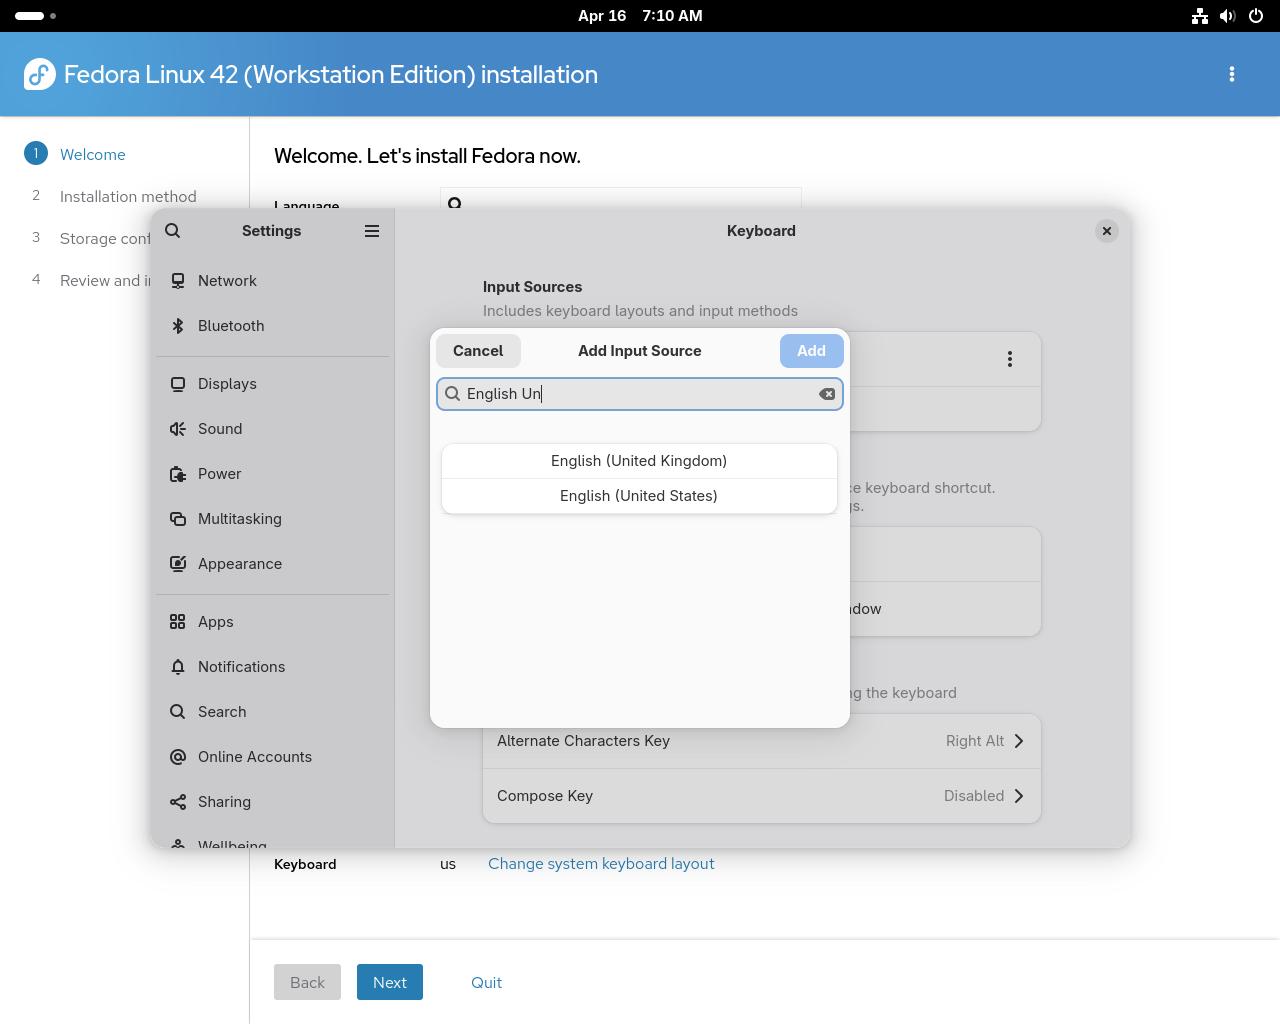
Step #2D: You will see a list of input sources. If you can't find what you are looking for, scroll down to the bottom and click on the hamburger button.
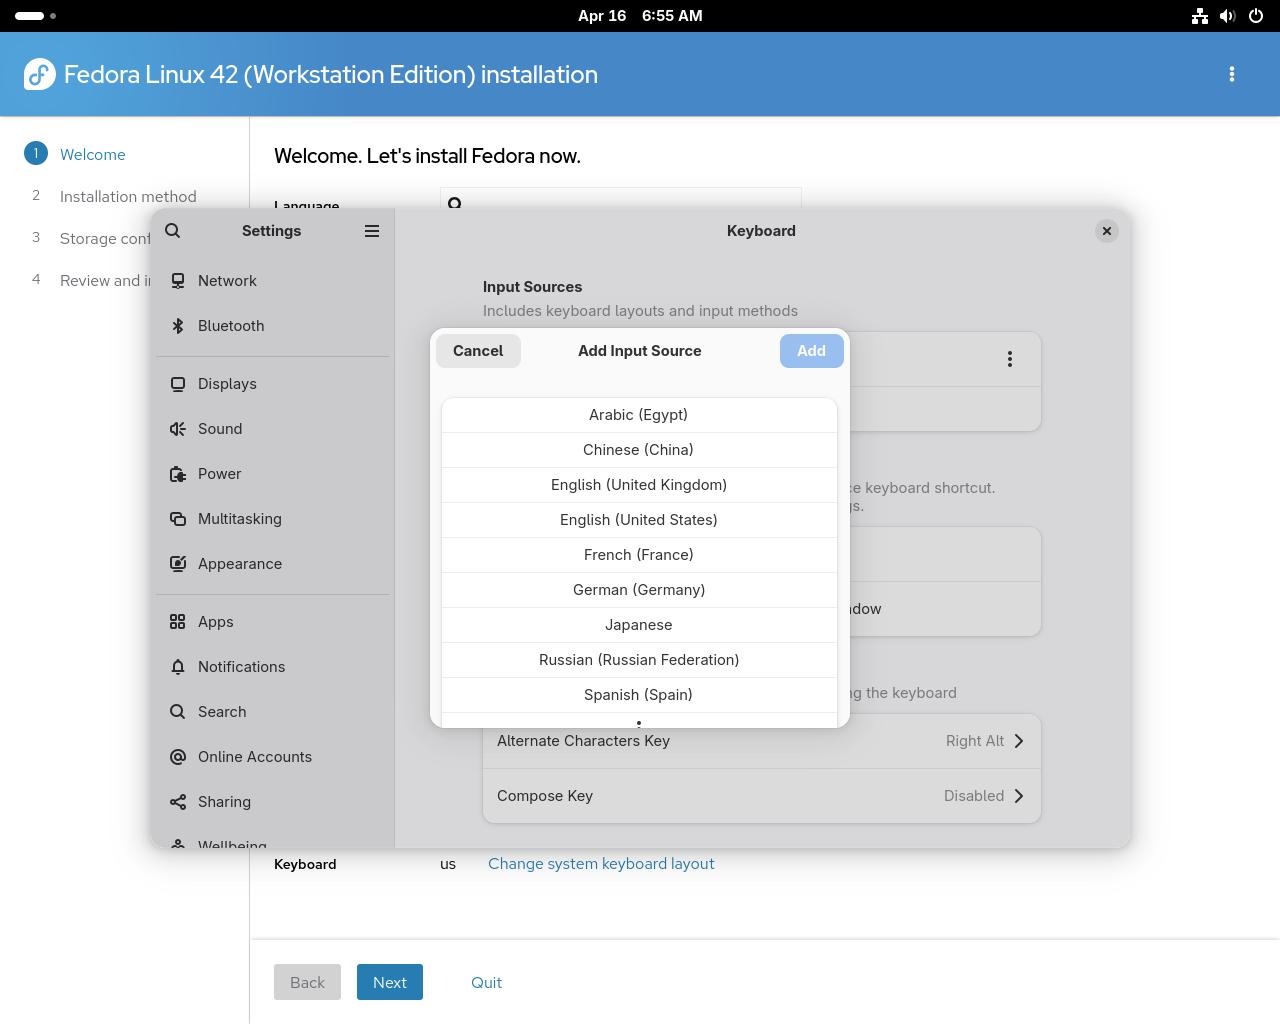

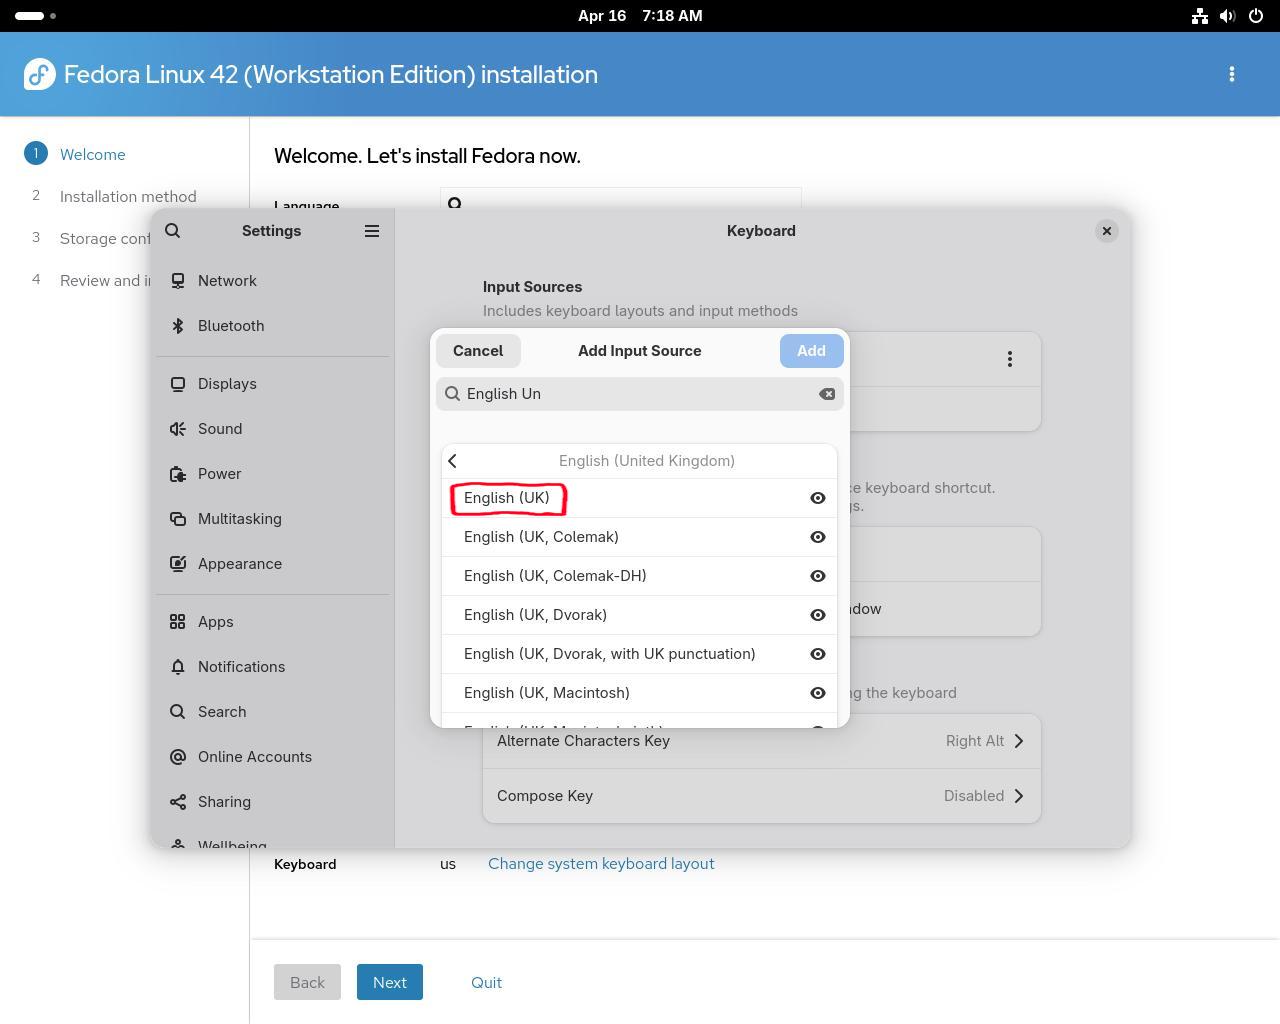
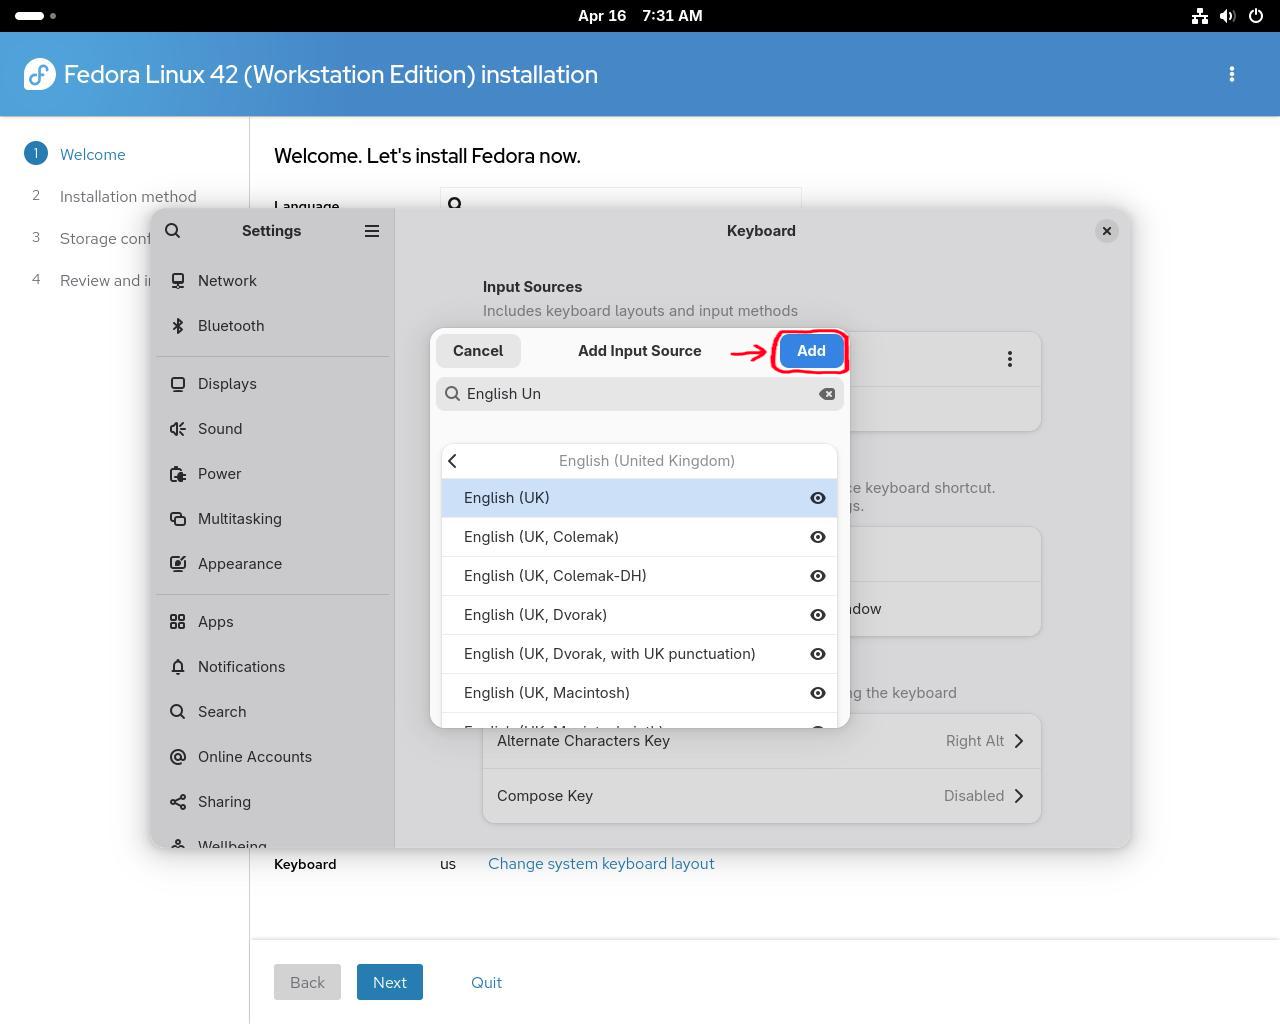
Step #2E: You will be able to search for the input source you are looking for. Let's use "English (United Kingdom)" for example.

Step #2F: Here you can see the list of keyboard layouts attached to your language.
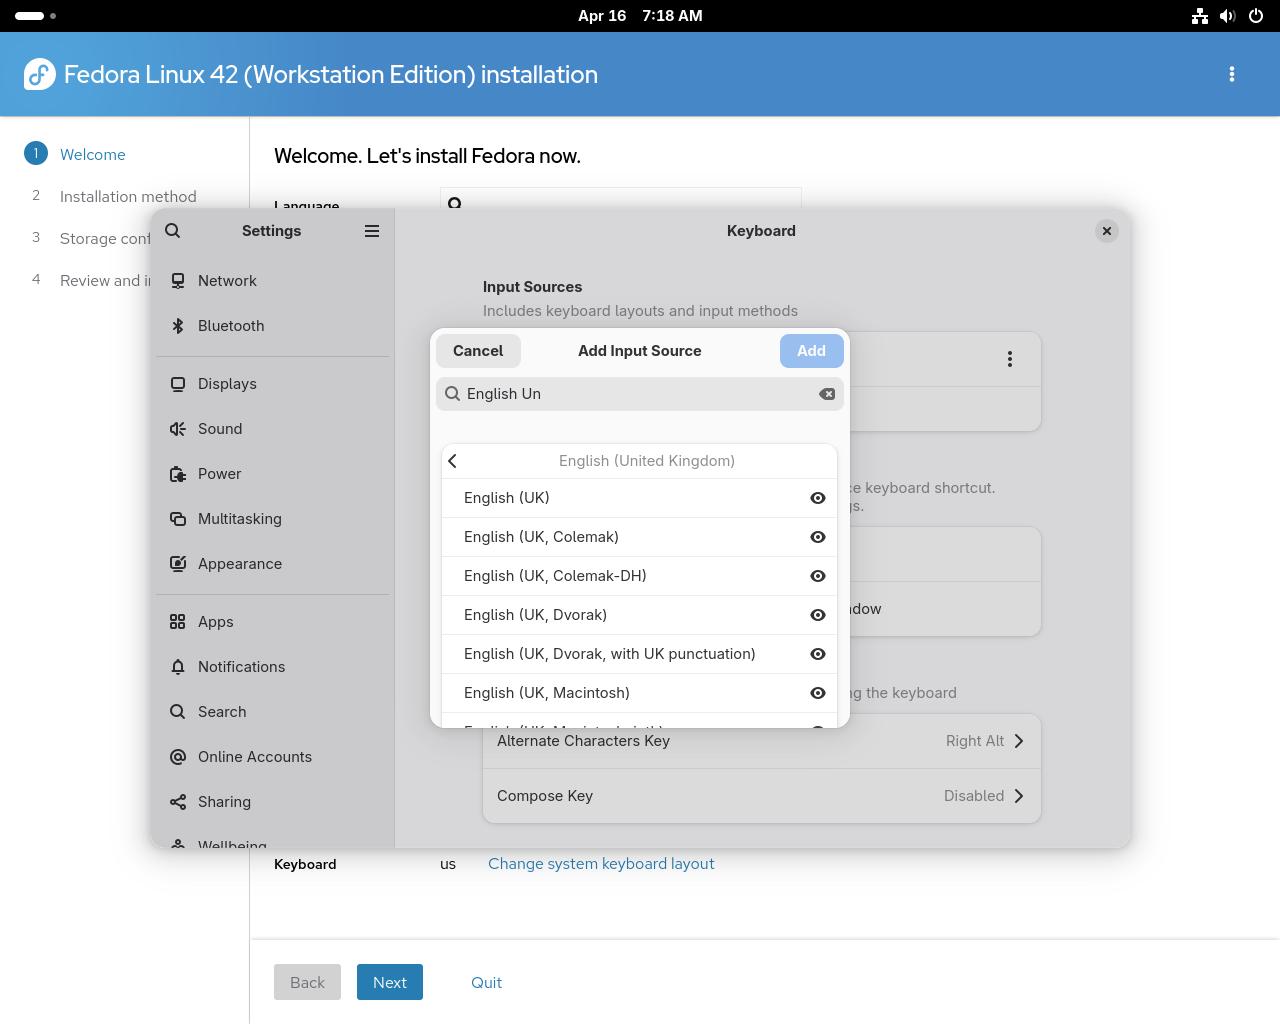
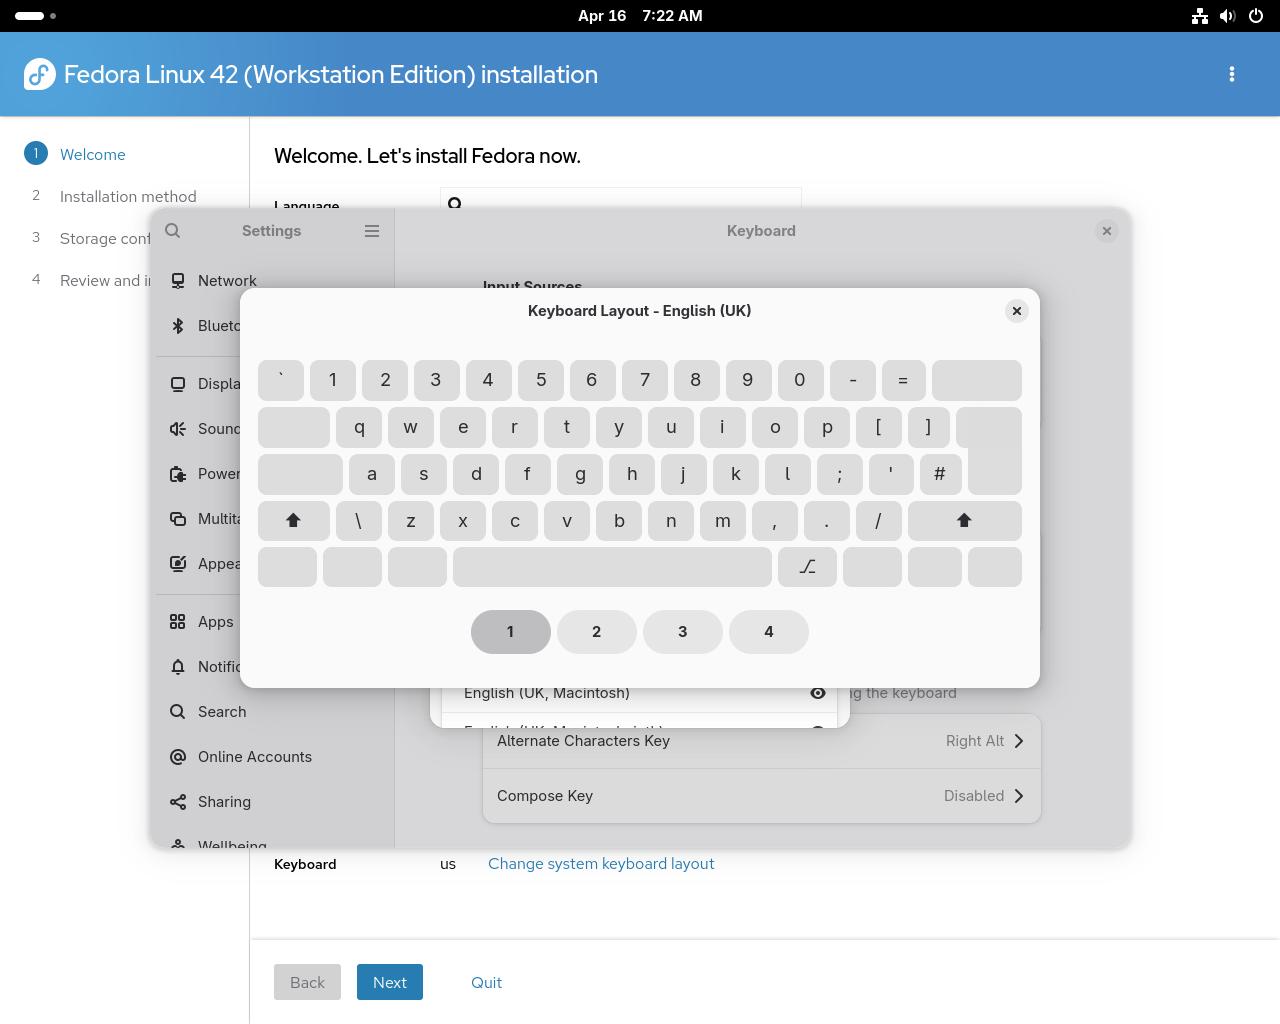
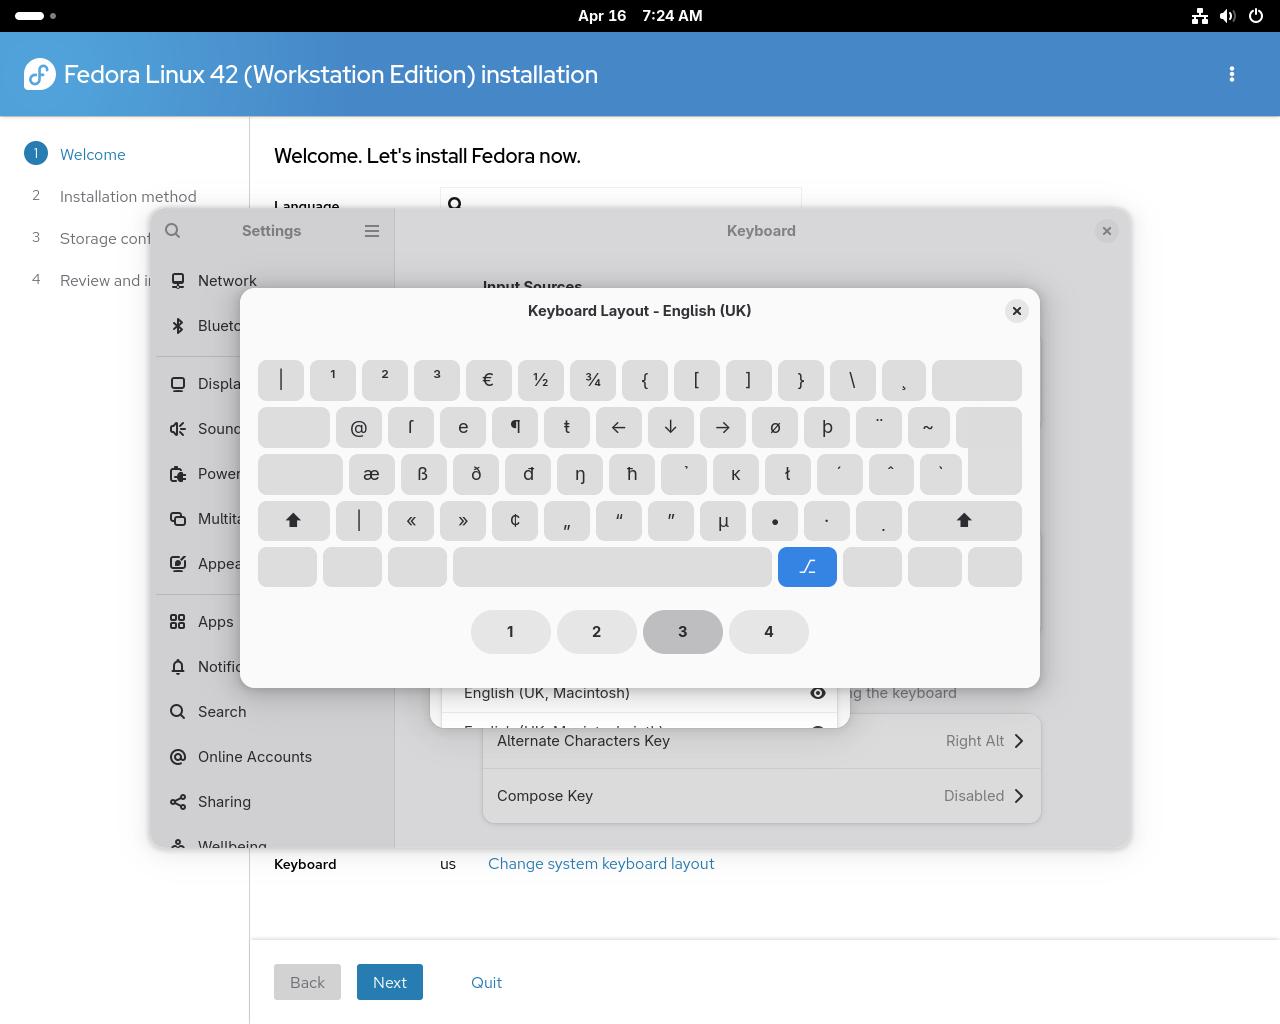
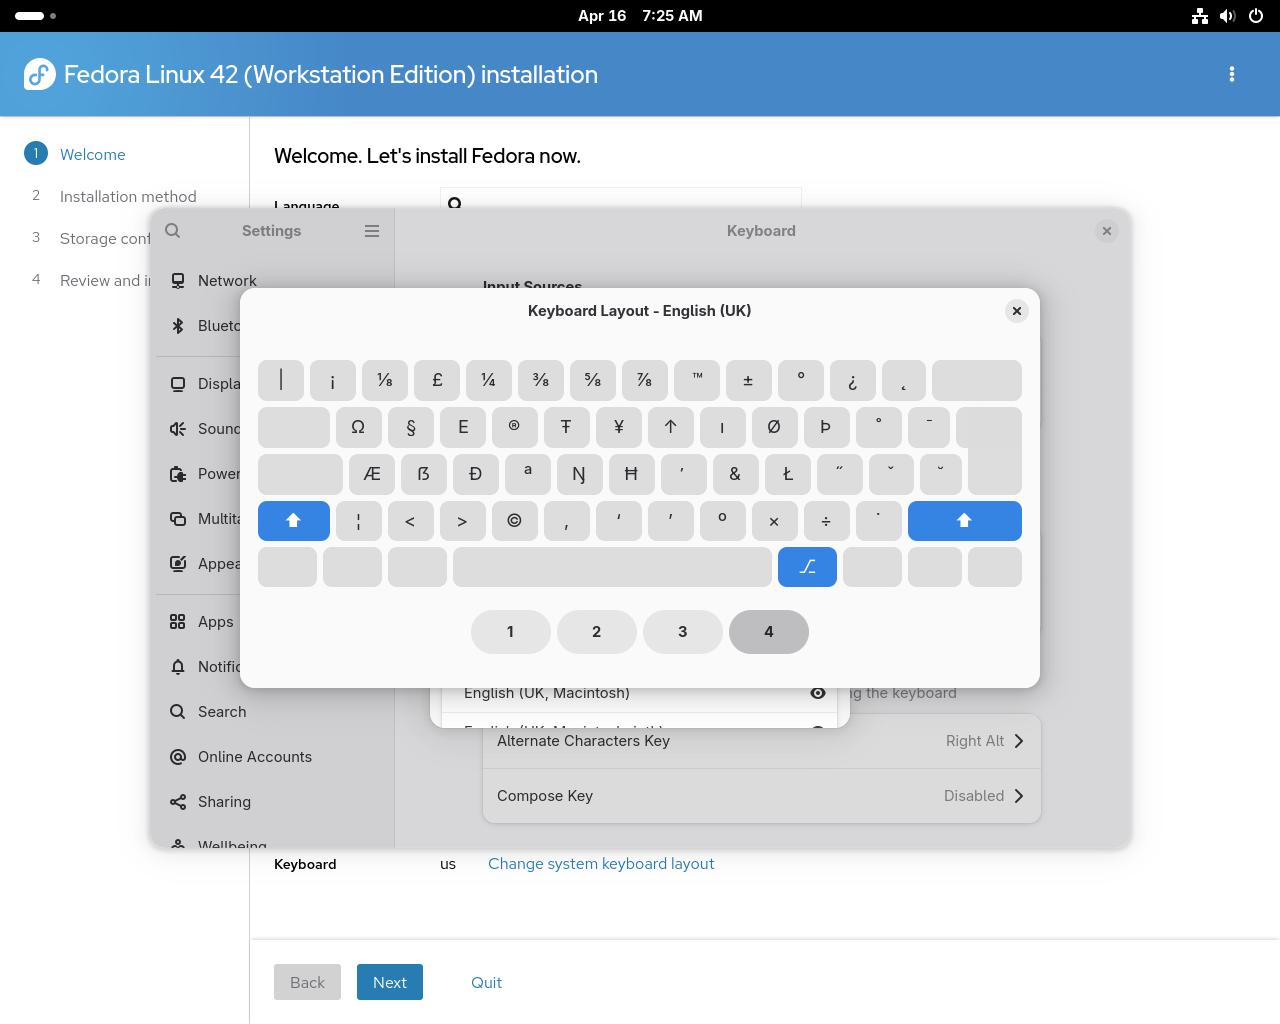
Step #2G: If you are unsure, you can click on the eye icon to view the keyboard layout visually.
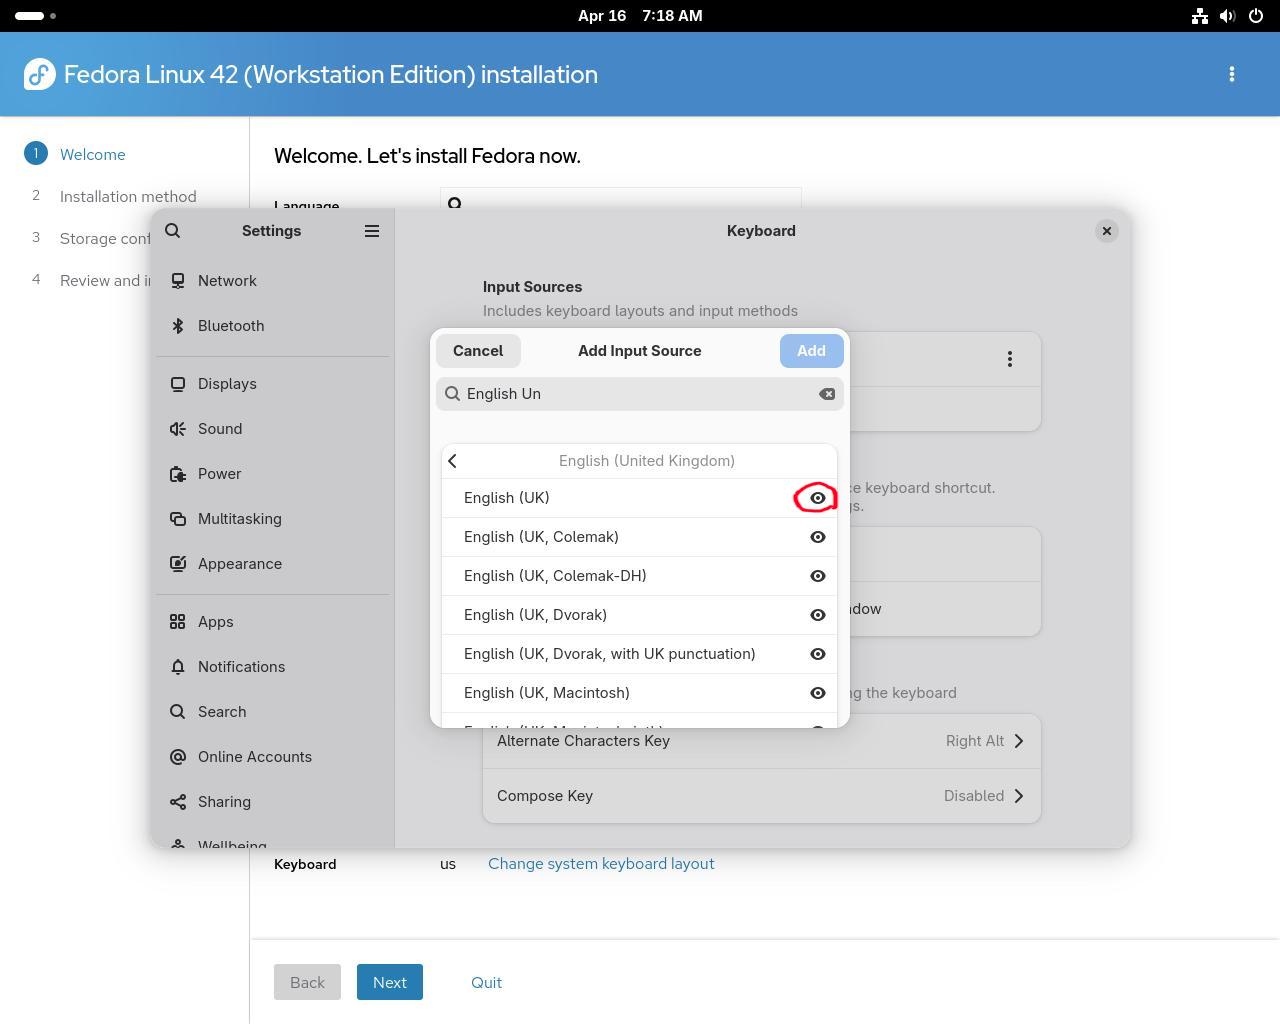
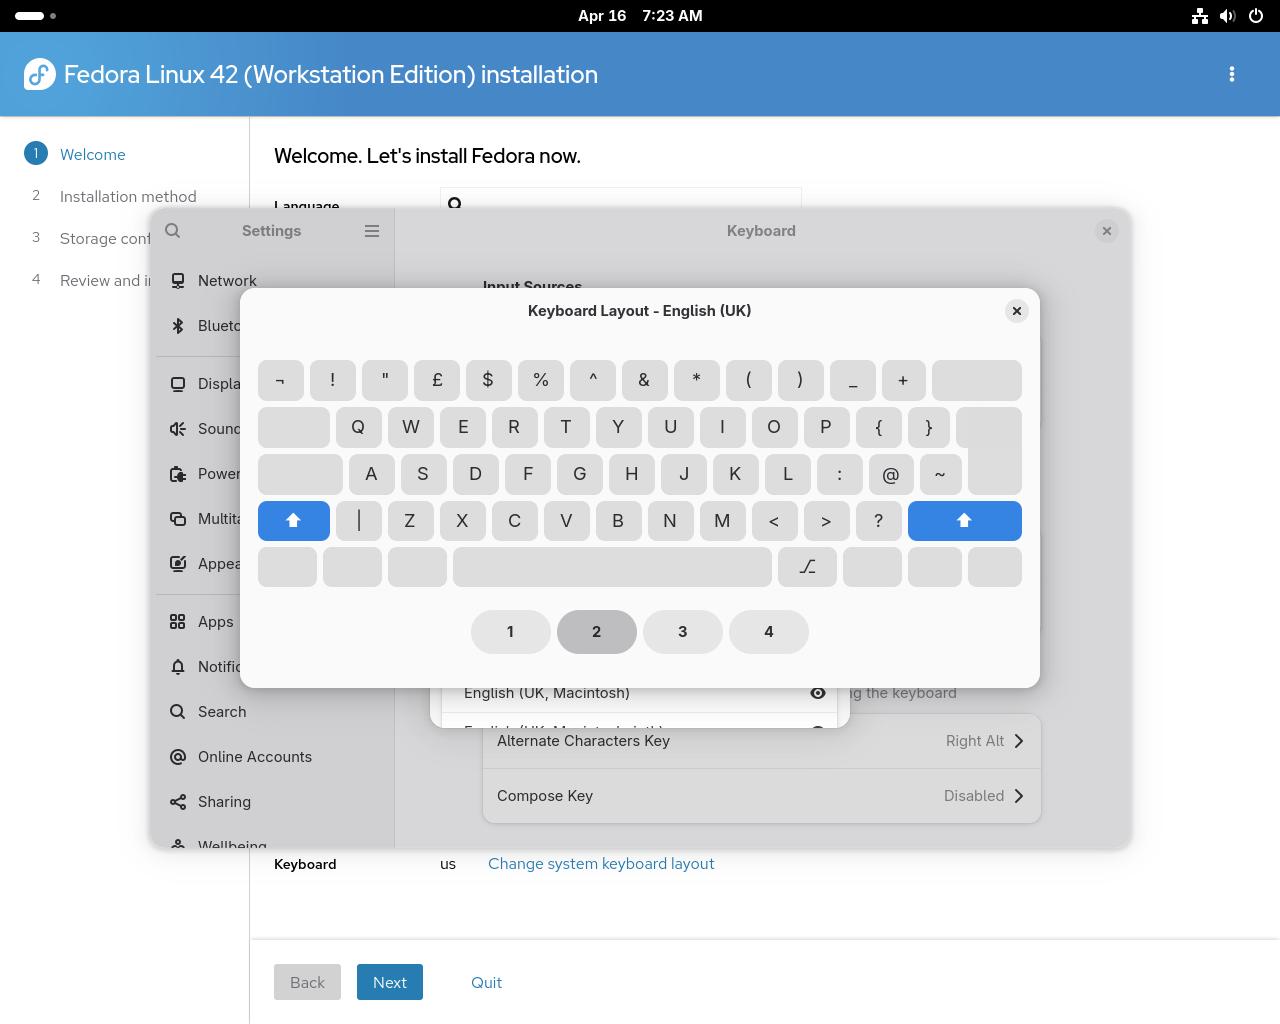
Step #2H: In this example, we'll select the first "English (UK)" keyboard layout.
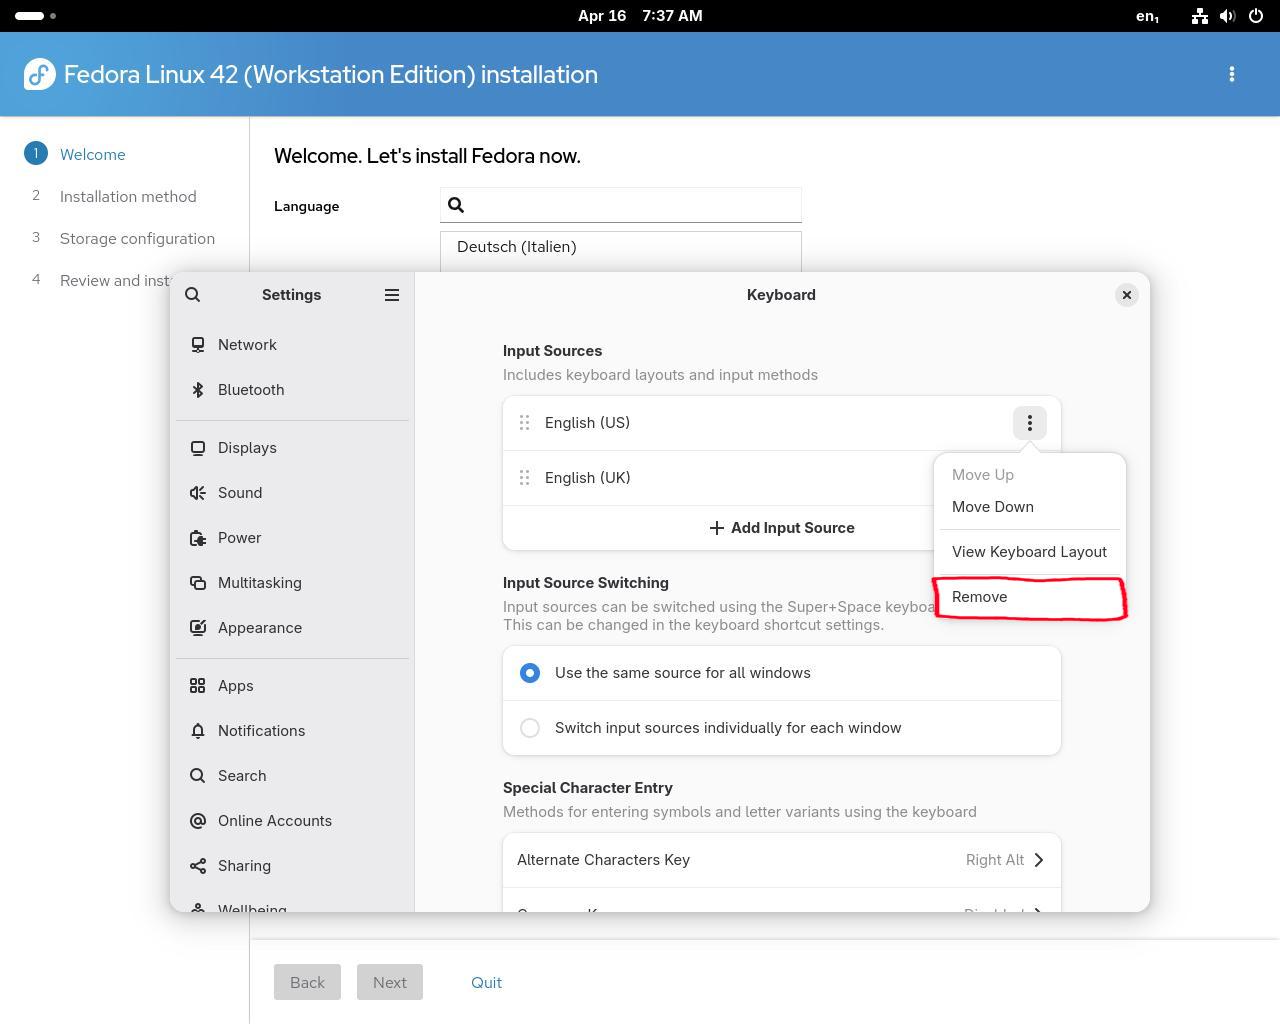
Step #2I: You will need to remove the other keyboard layout in order to continue. To do that, click on the hamburger menu icon of the other layout and click "Remove".
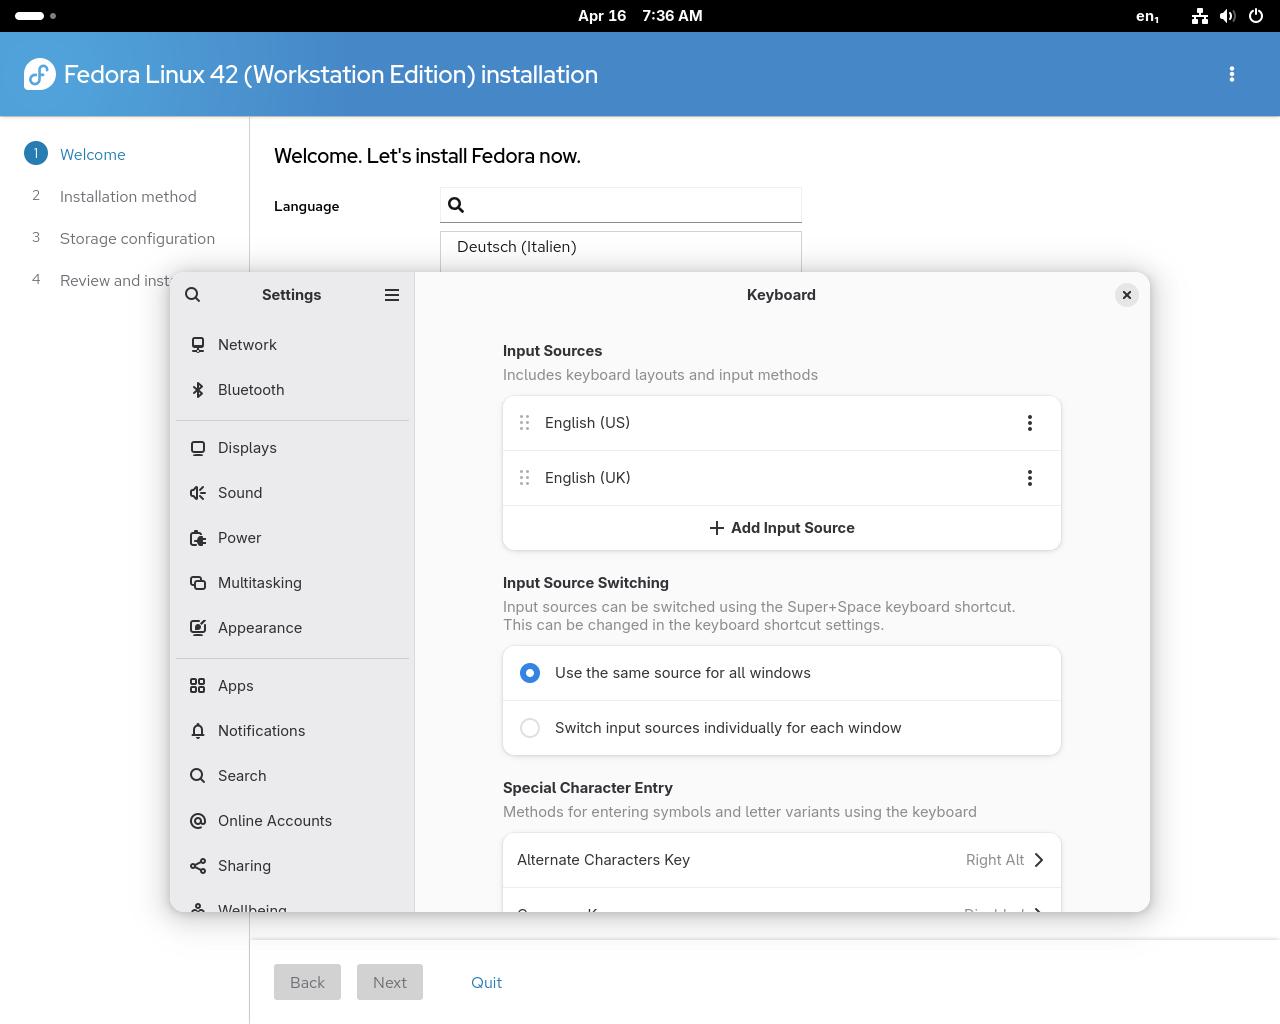
Step #2J: You should now have your preferred keyboard layout set.
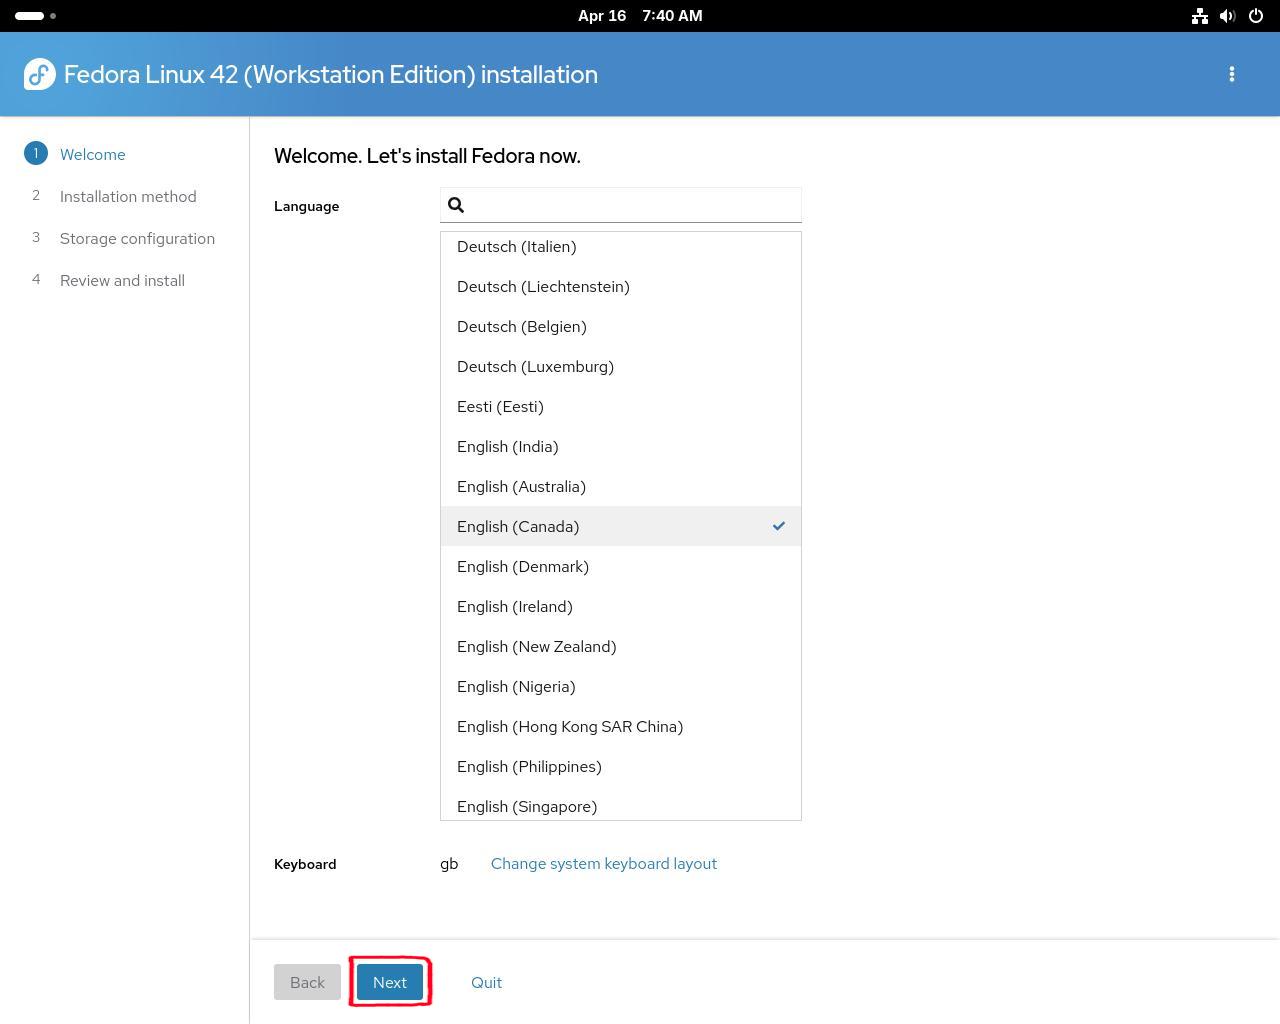
Step #3A: If you are done configuring language and keyboard settings, click on the blue "Next" button.
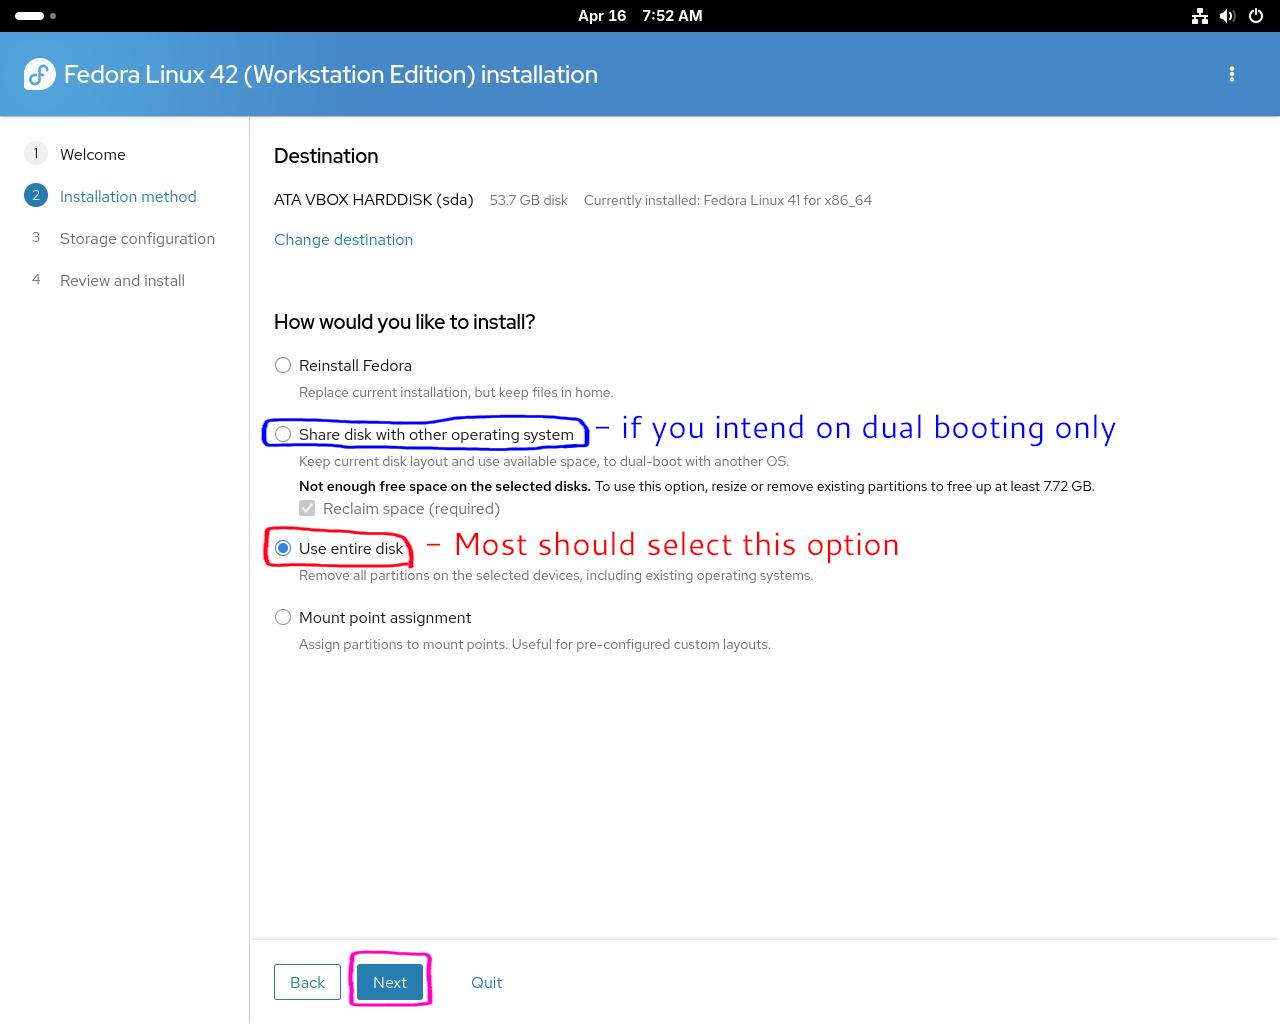
Step #3B: You should see a screen like this. Click on the "Use entire disk" radio button, than click on the "Next" button at the bottom.
Note: If you intend on dual booting, you can select "Share disk with other operating system" provided you have made the space for it beforehand. This guide will not specifically cover dual booting and will assume that you are solo booting Fedora.
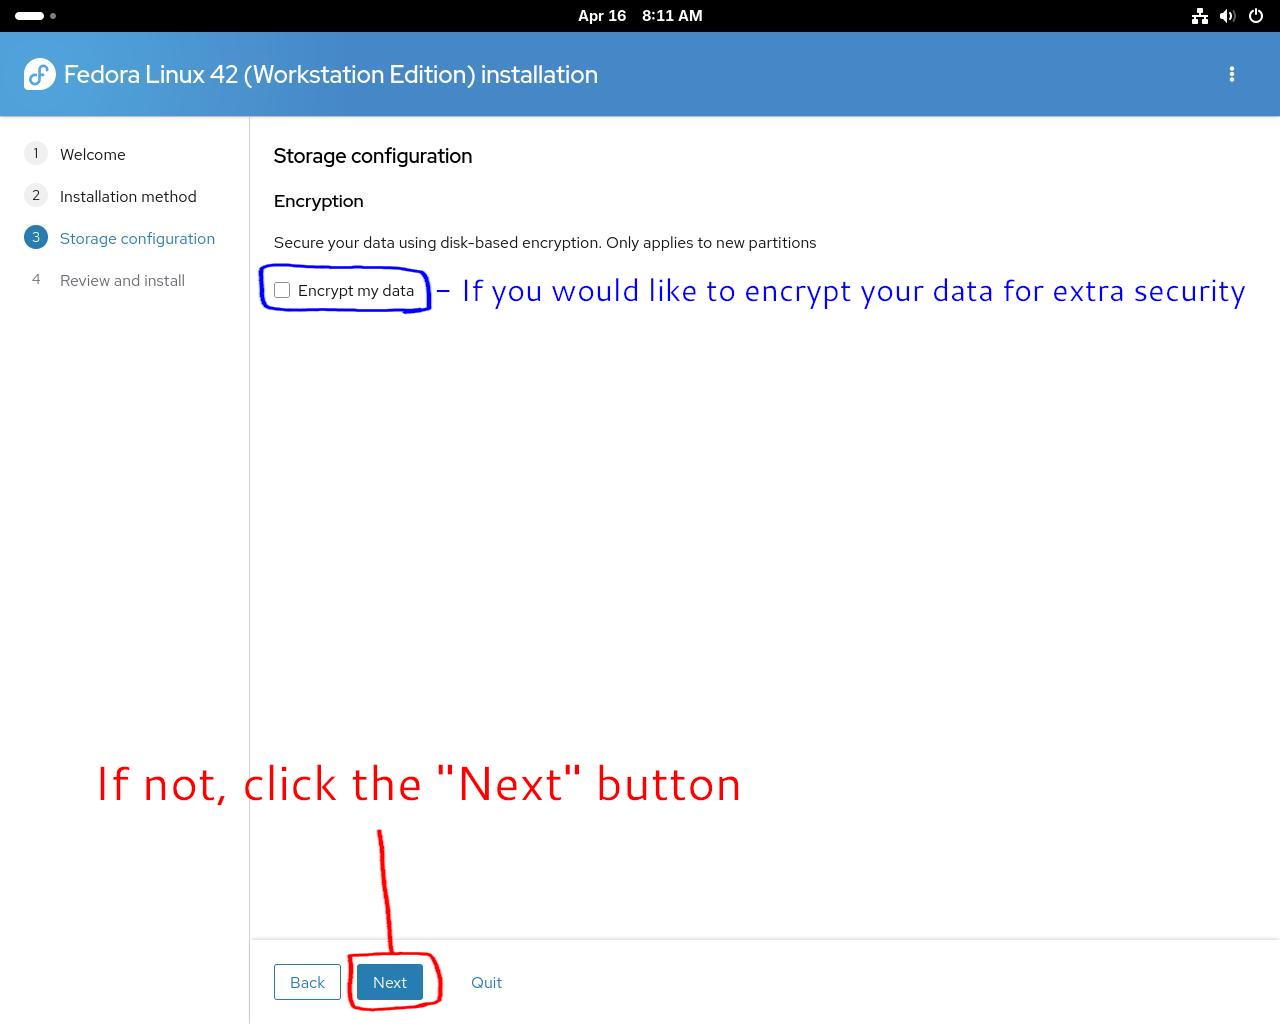
Step #4A: You can chose to encrypt your boot drive for added security, however this will require a passphrase every time you boot. If you don't want to encrypt your drive, skip to Step 5.
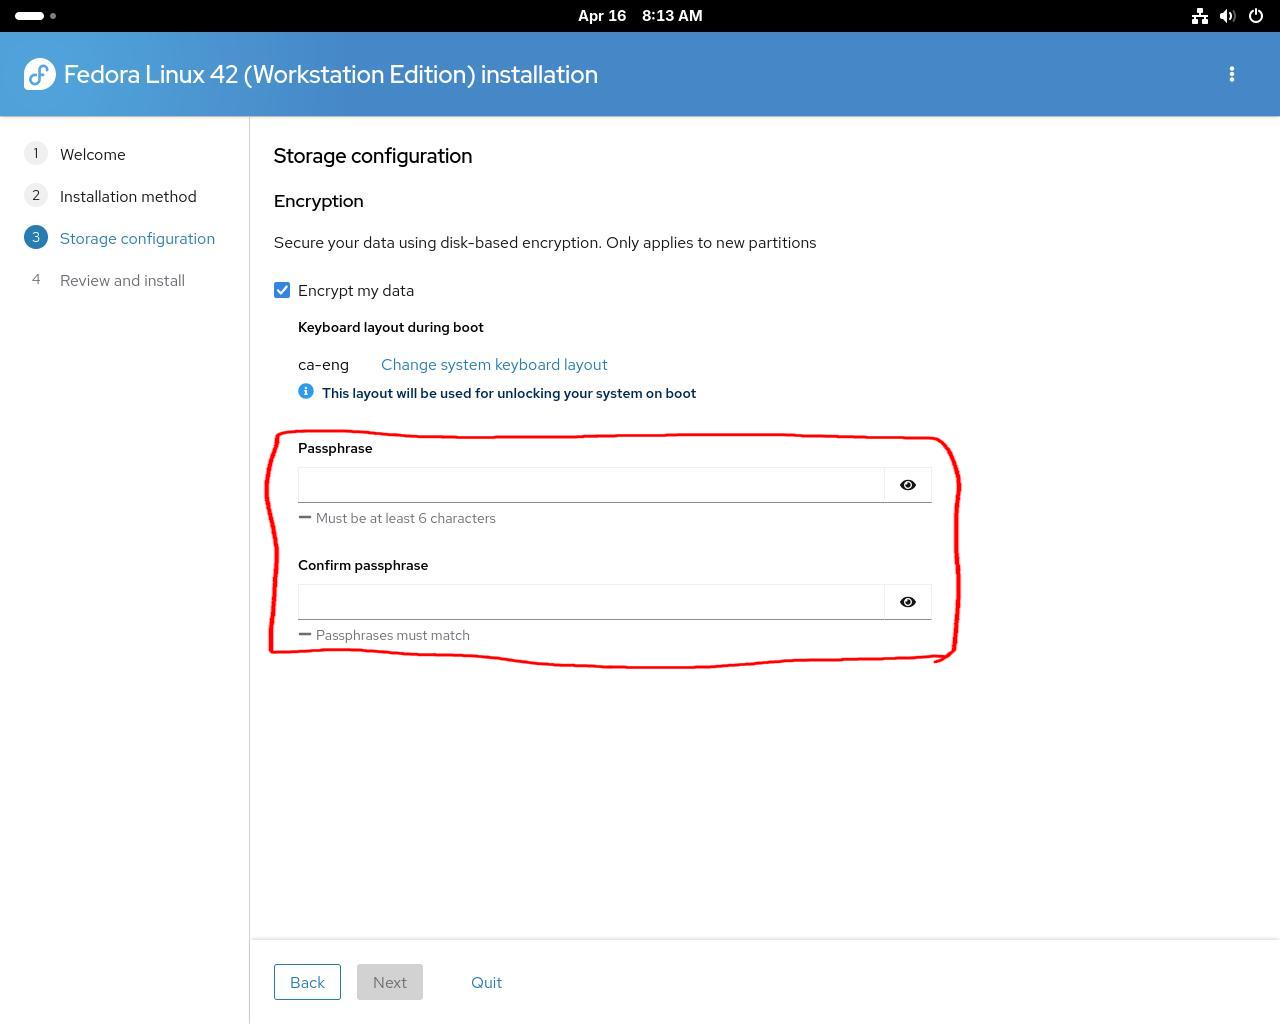
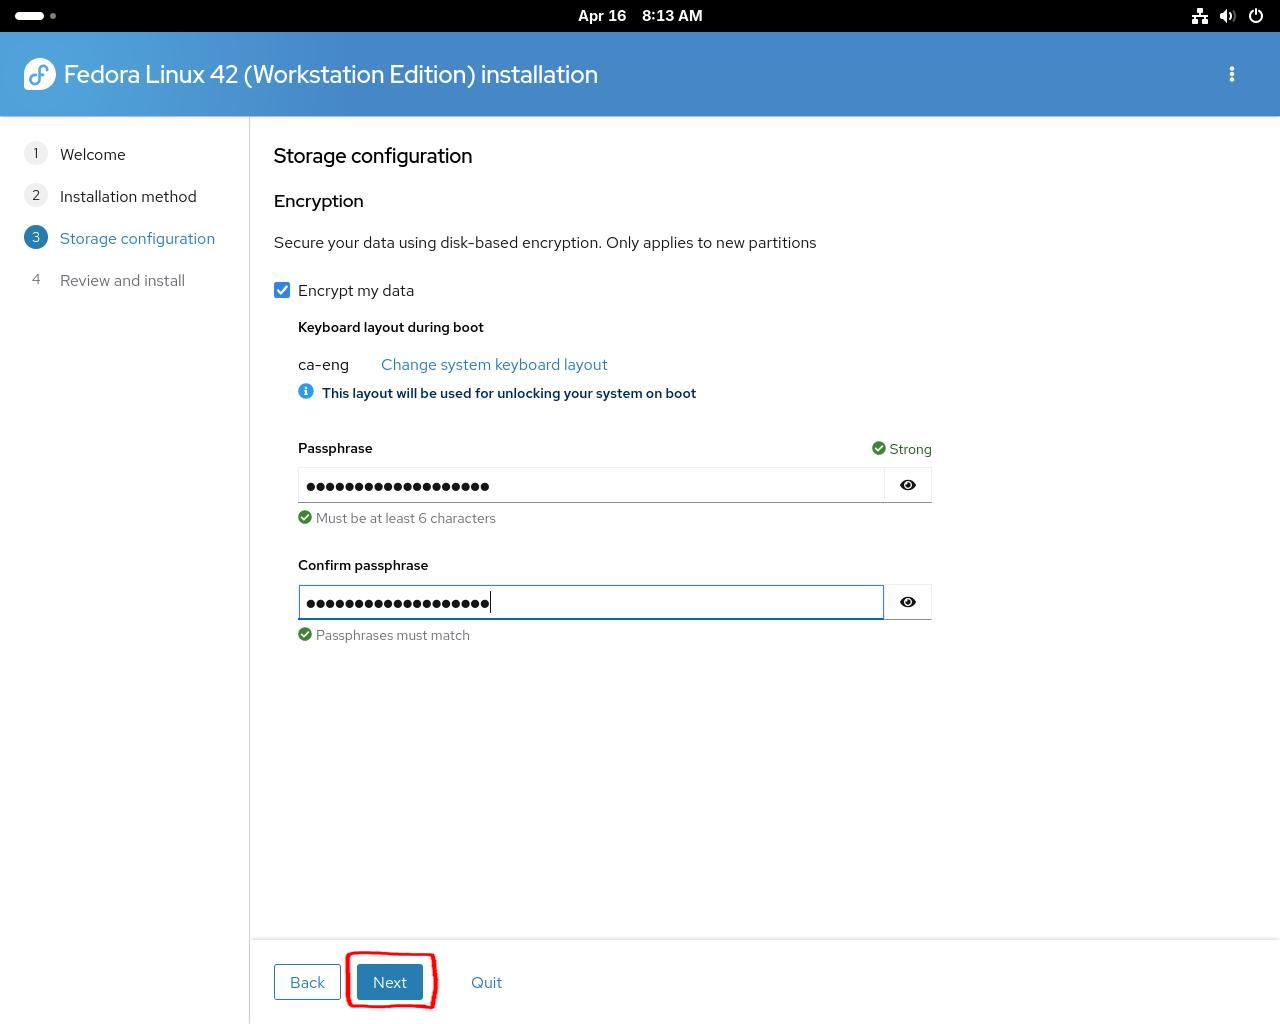
Step #4B: If you chose to encrypt your drive, click on the "Passphrase" field and input your passphrase. [WARNING: This passphrase will be used every time you boot to decrypt your drive. If you lose the passphrase, there is no way of recovering your data. If you have trouble remembering this kind of information, write it down and keep it stored somewhere safe.]

Step #4C: Click on the "Next" button on the bottom
Step #5A: Here you can review your installation settings. Check to make sure that all your settings look correct.
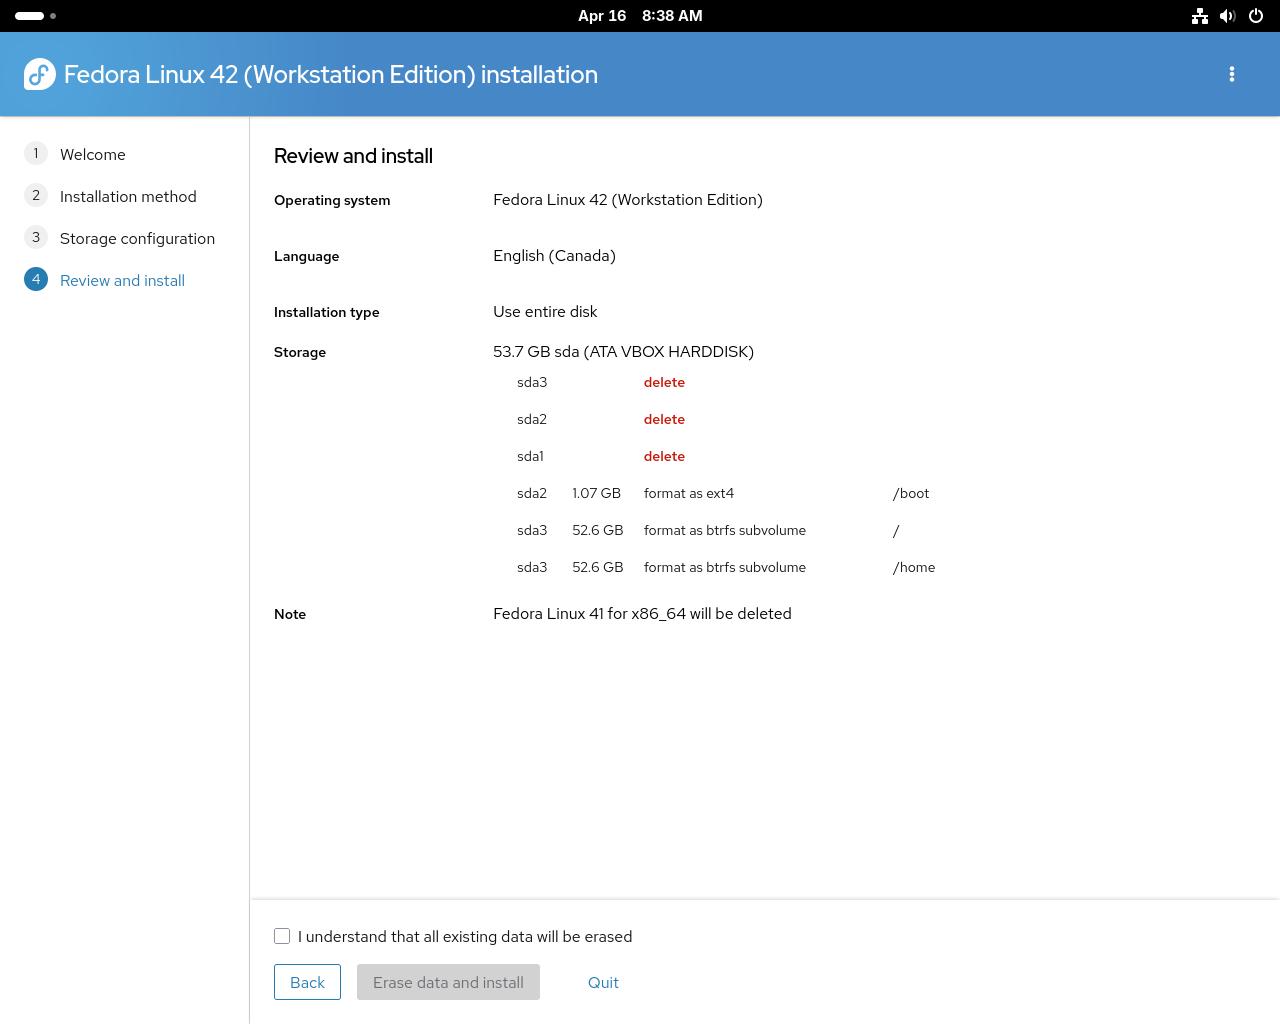
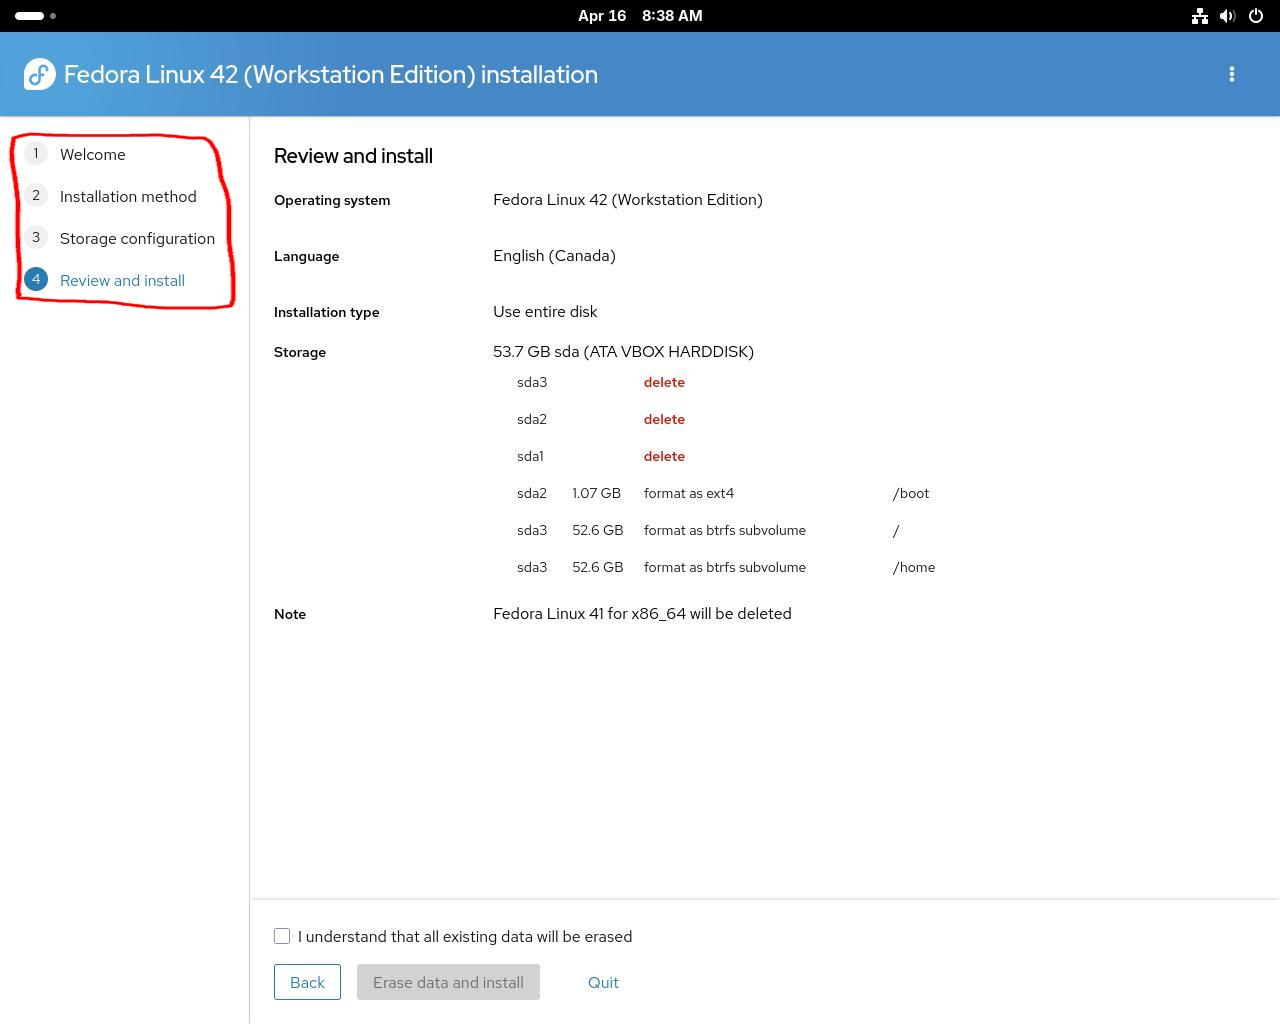
Step #5B: If something doesn't look correct, you can click on any of the numbered steps in the sidebar to change settings.
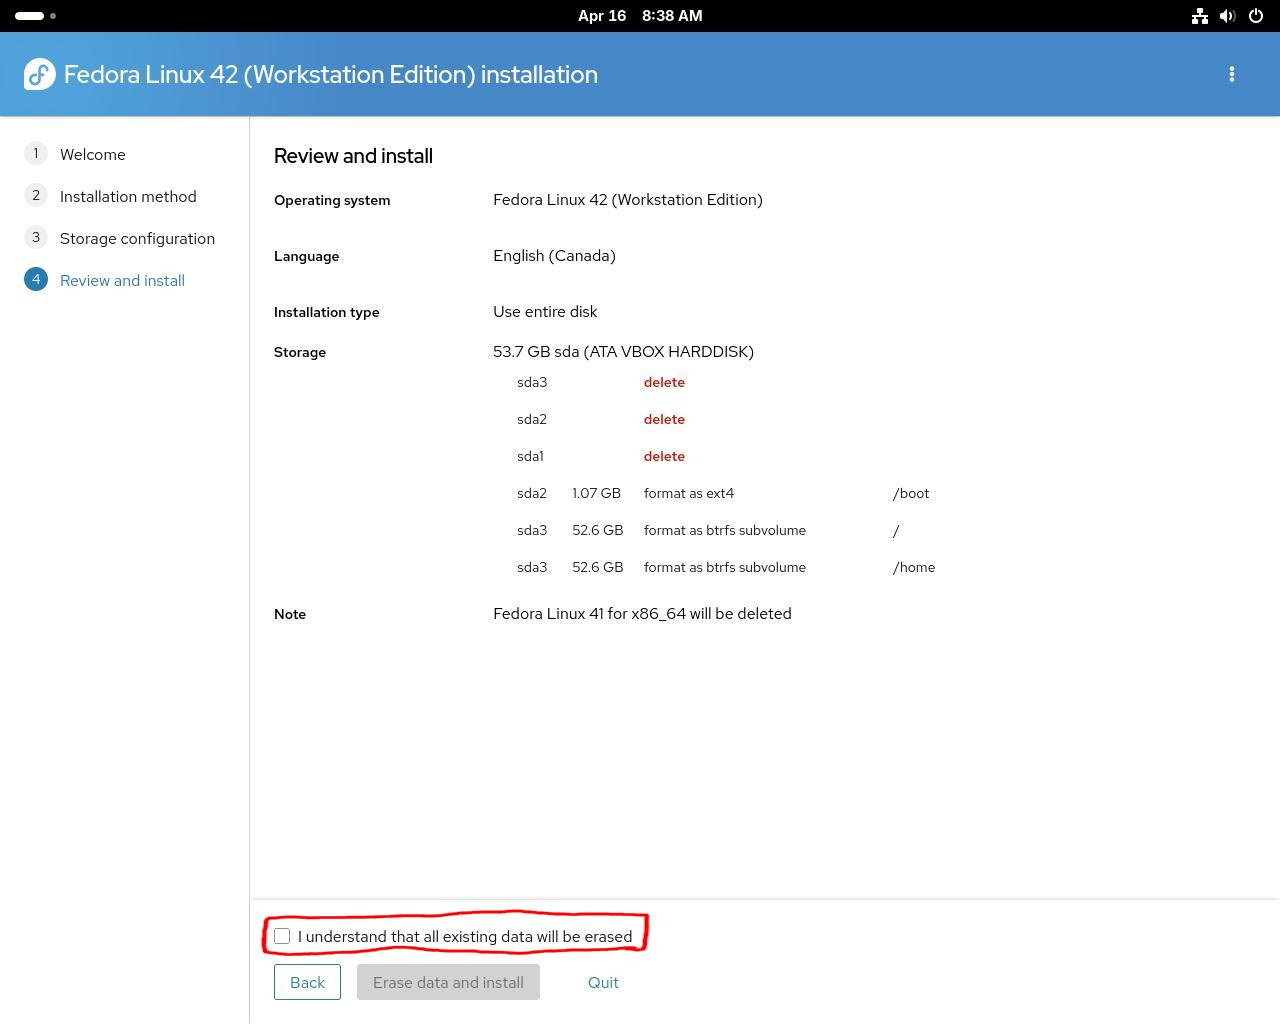
Step #5C: If all looks good, check "I understand that all existing data will be erased" and after "Erase data and install". [WARNING: Clicking "Erase data and install" will wipe the drive that you have selected. There is no turning back, ensure that you have EVERYTHING IMPORTANT backed up before doing this!]
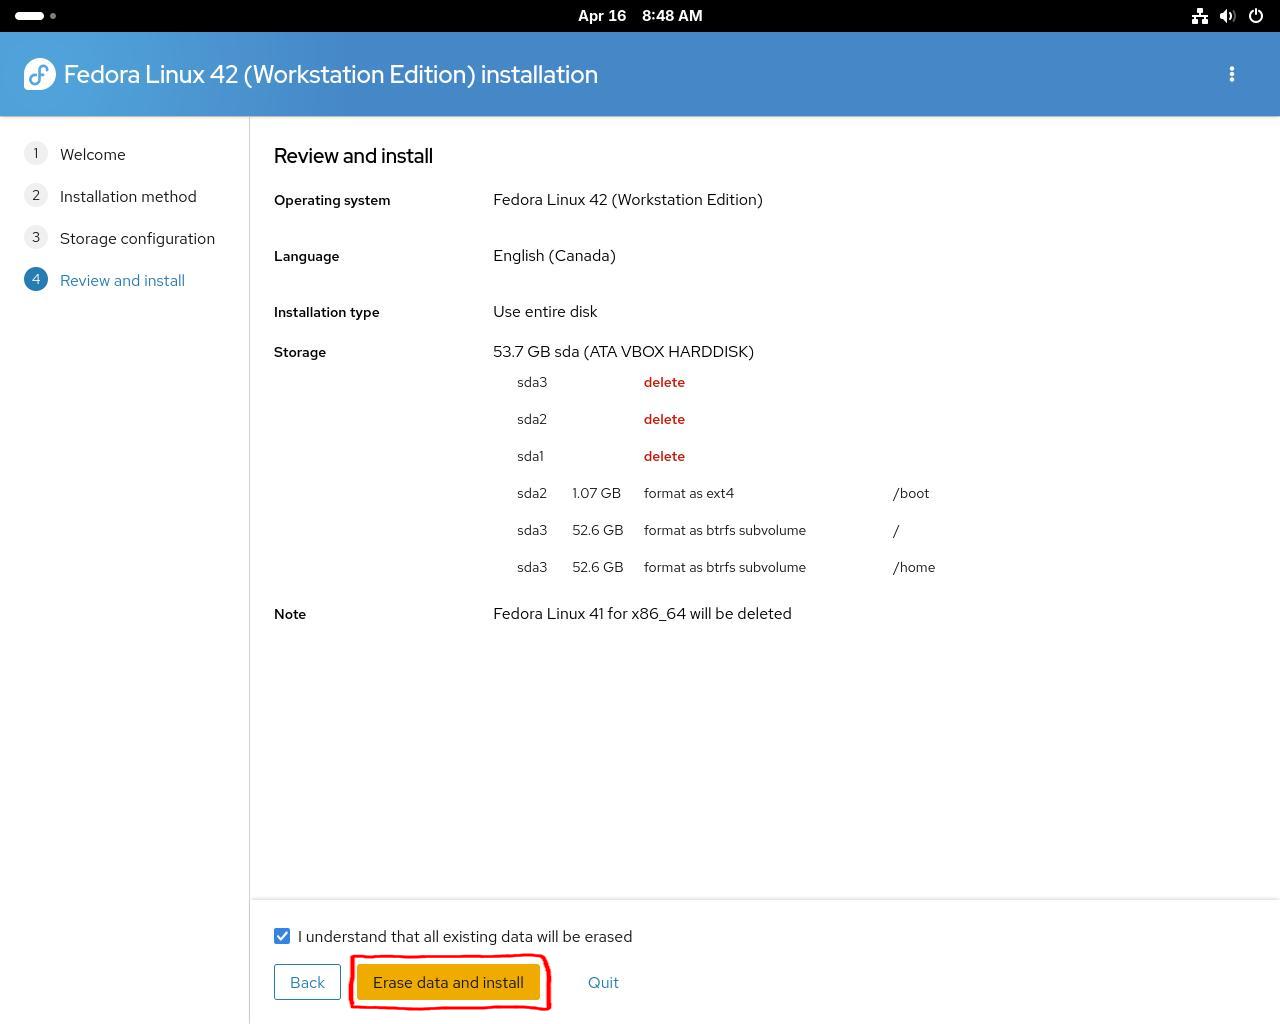
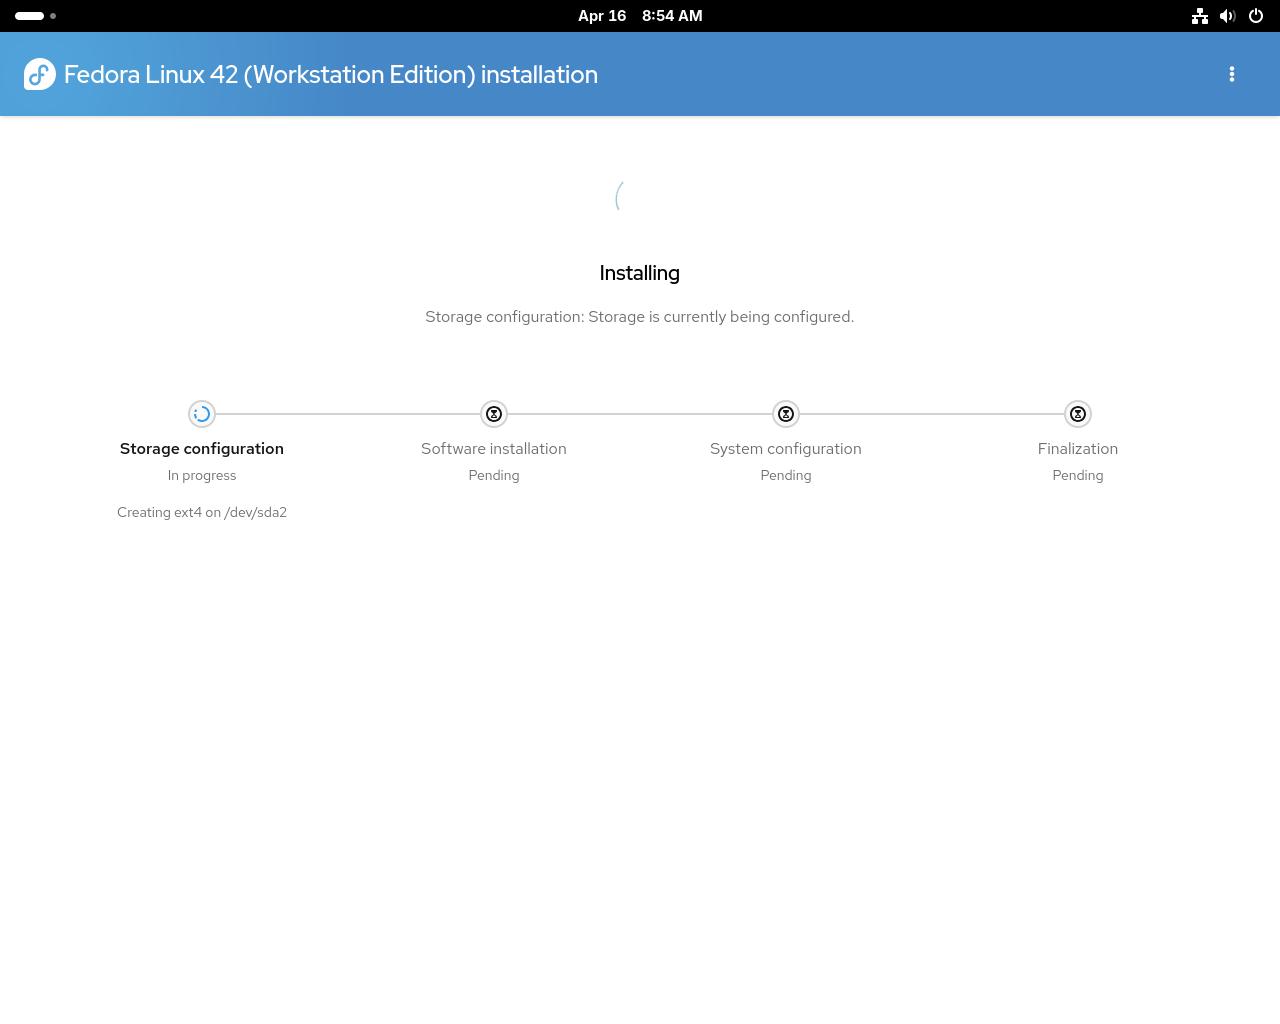
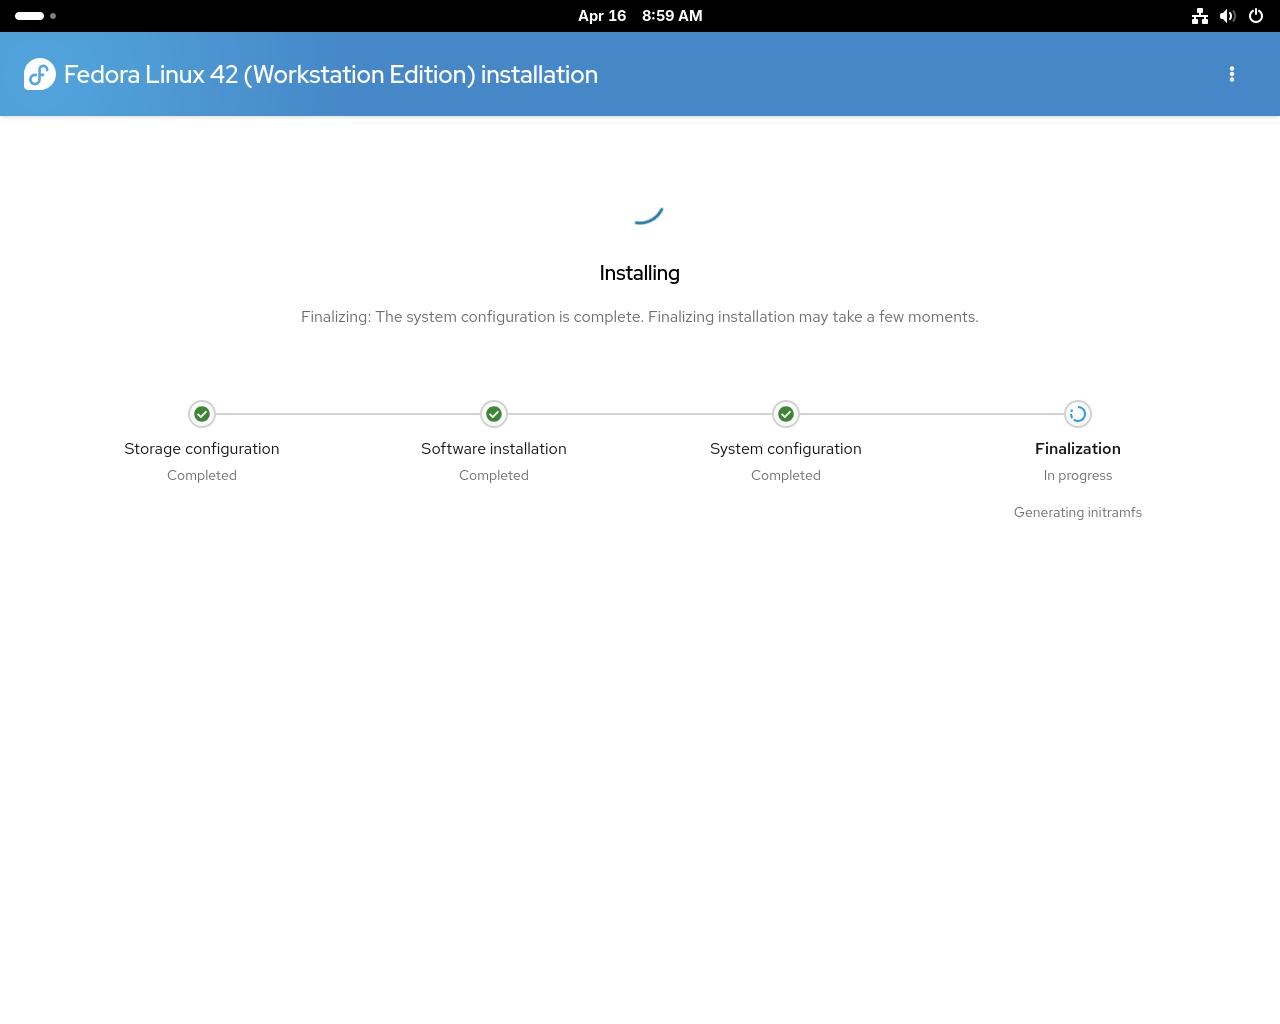
Step #5D: Fedora will now modify your disks and start installing to your system. Sit back and relax, this might take a while.
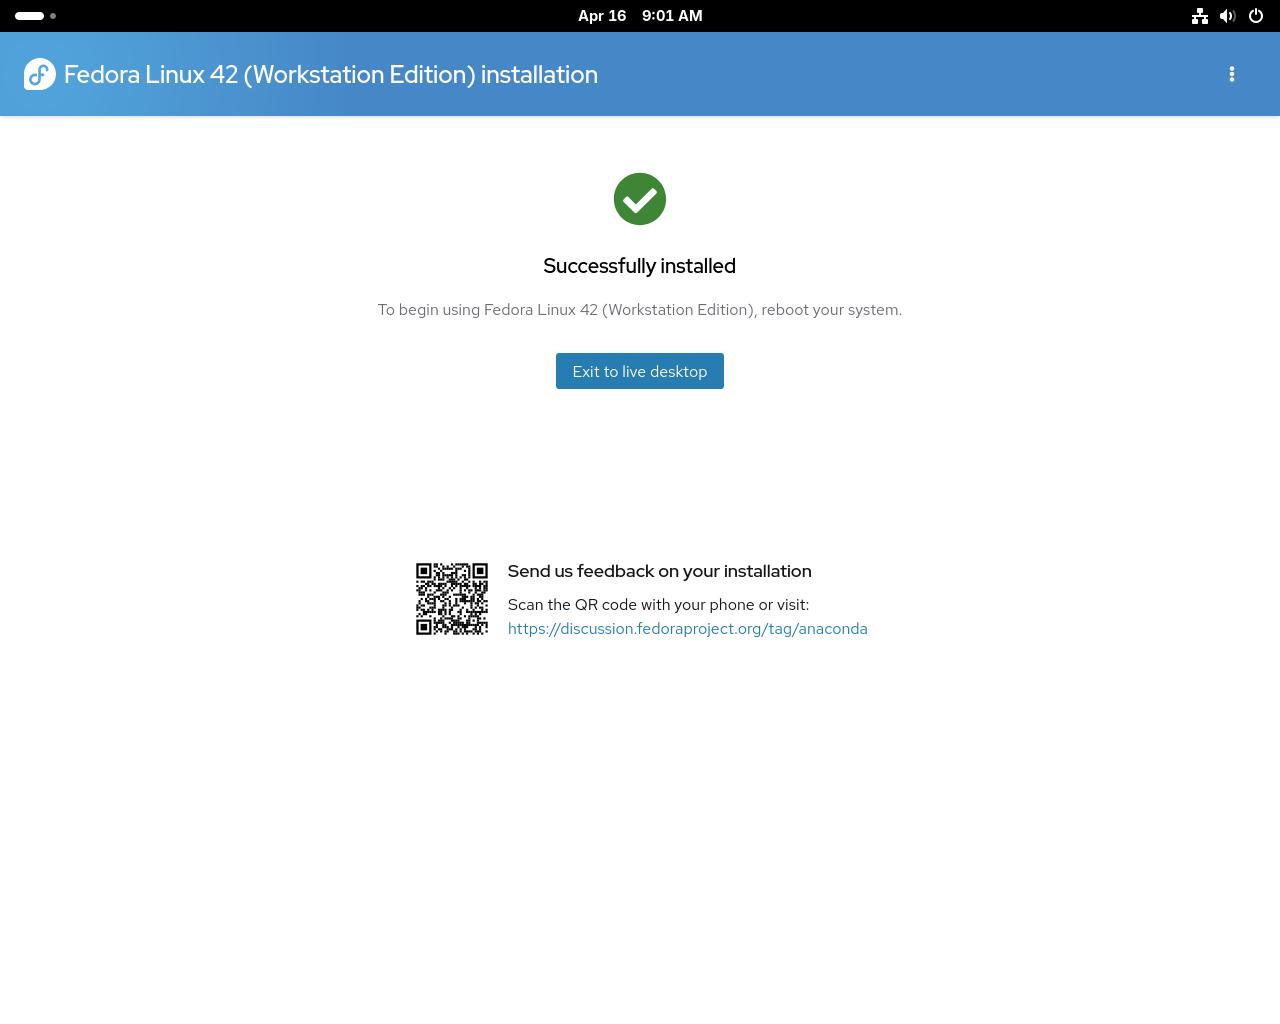
Step #6A: You have installed Fedora Workstation on your computer. You can now restart your system.


Complete! You can now continue to the next section!