

GNU/Linux Beginners Guide | Section 3: Post-Install
In the last section, you installed Fedora Workstation on your computer. You should now be booted into Fedora running on your main system drive. This section will cover some post-install steps and show you the basics of using your new system.
Step #1A: You can now unplug your flash drive. It will not be needed any more.
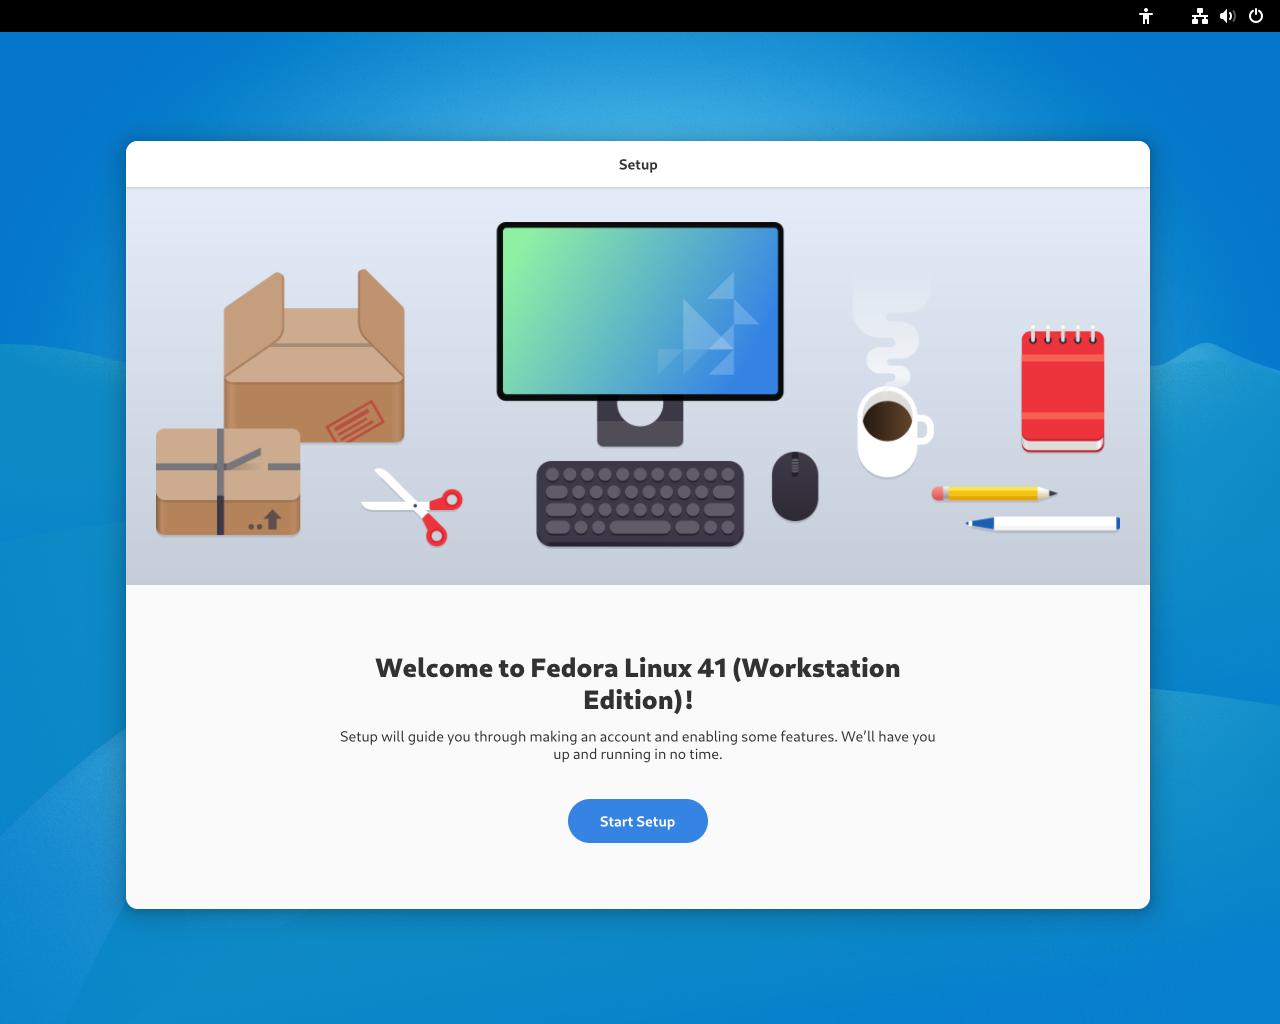
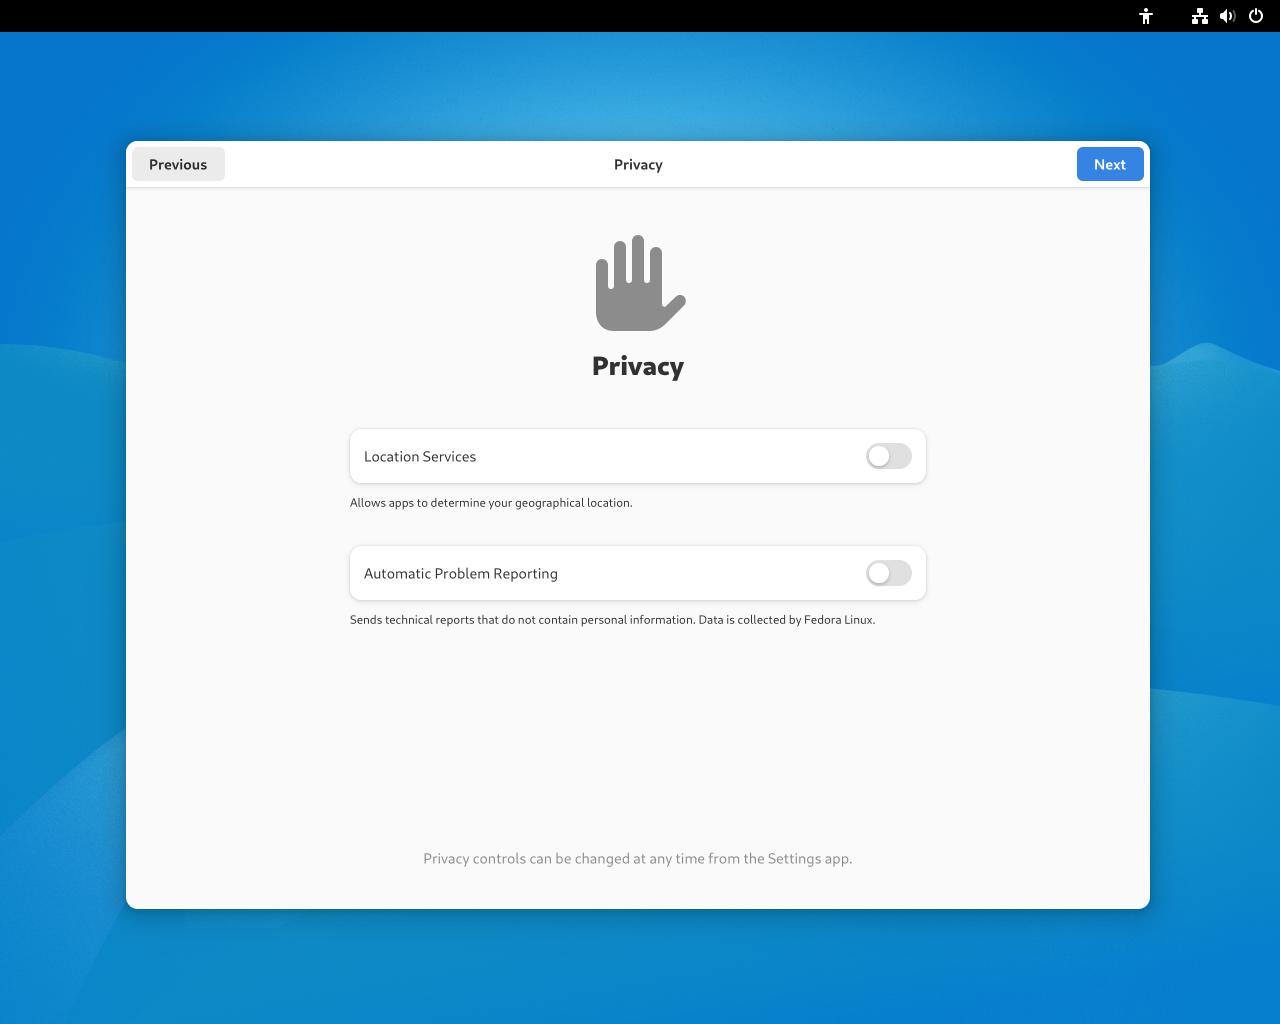
Step #2A: Once restarted, you will be launched into an out of the box experience.
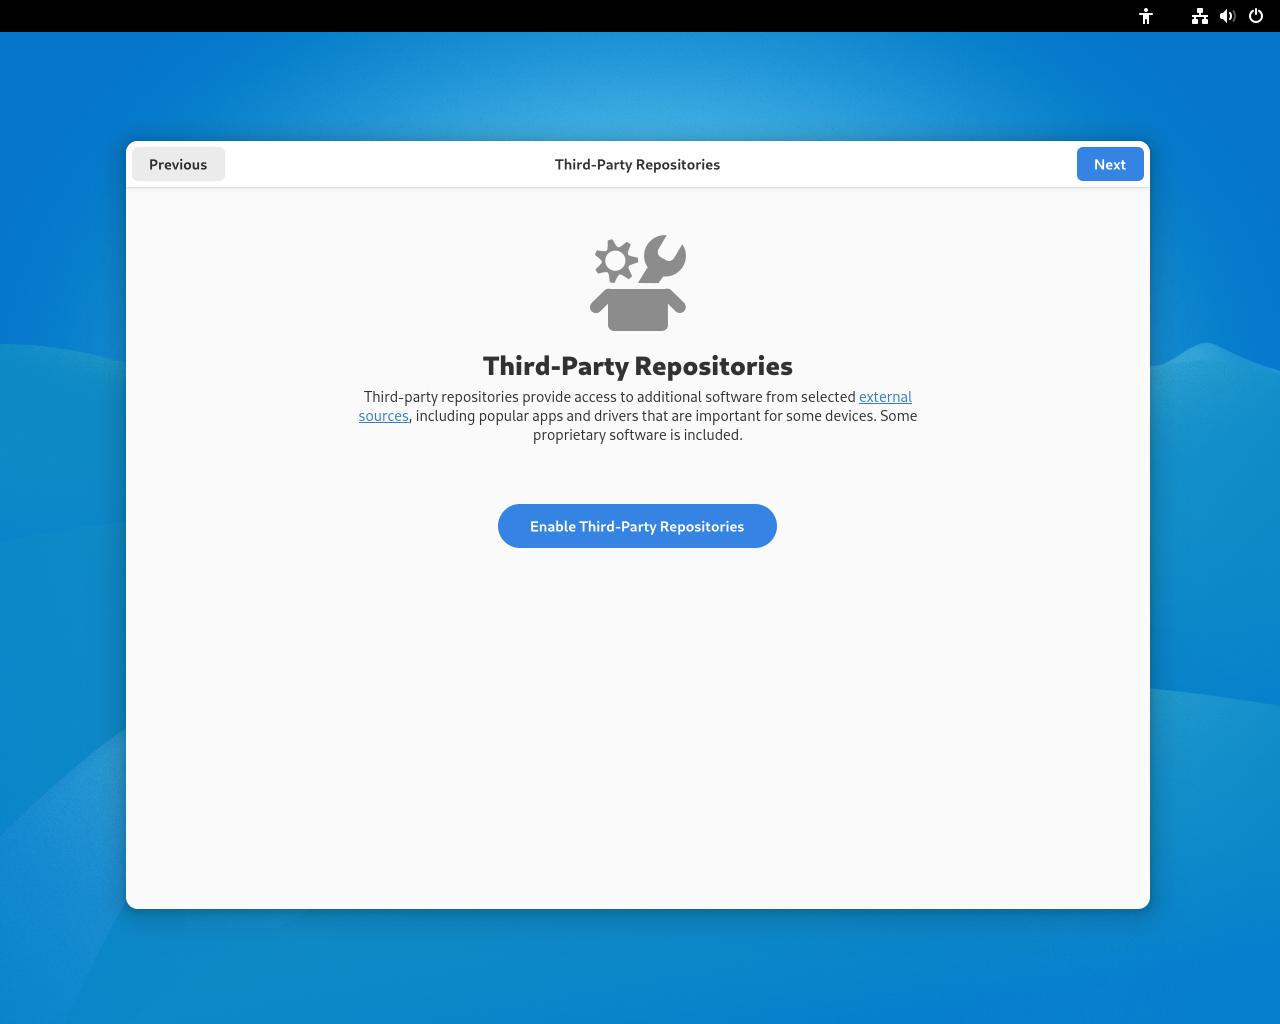
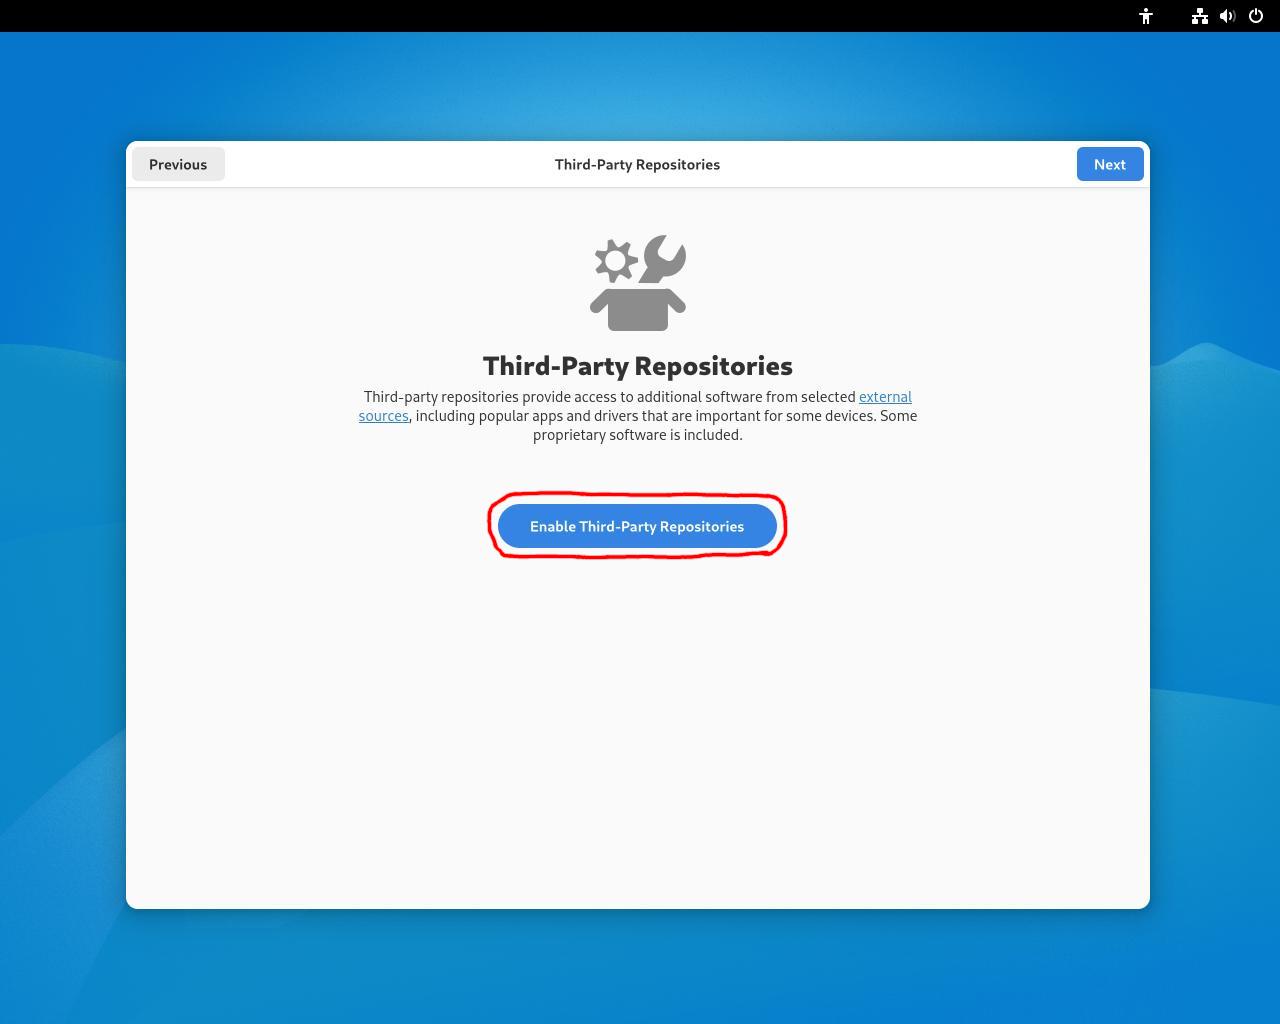
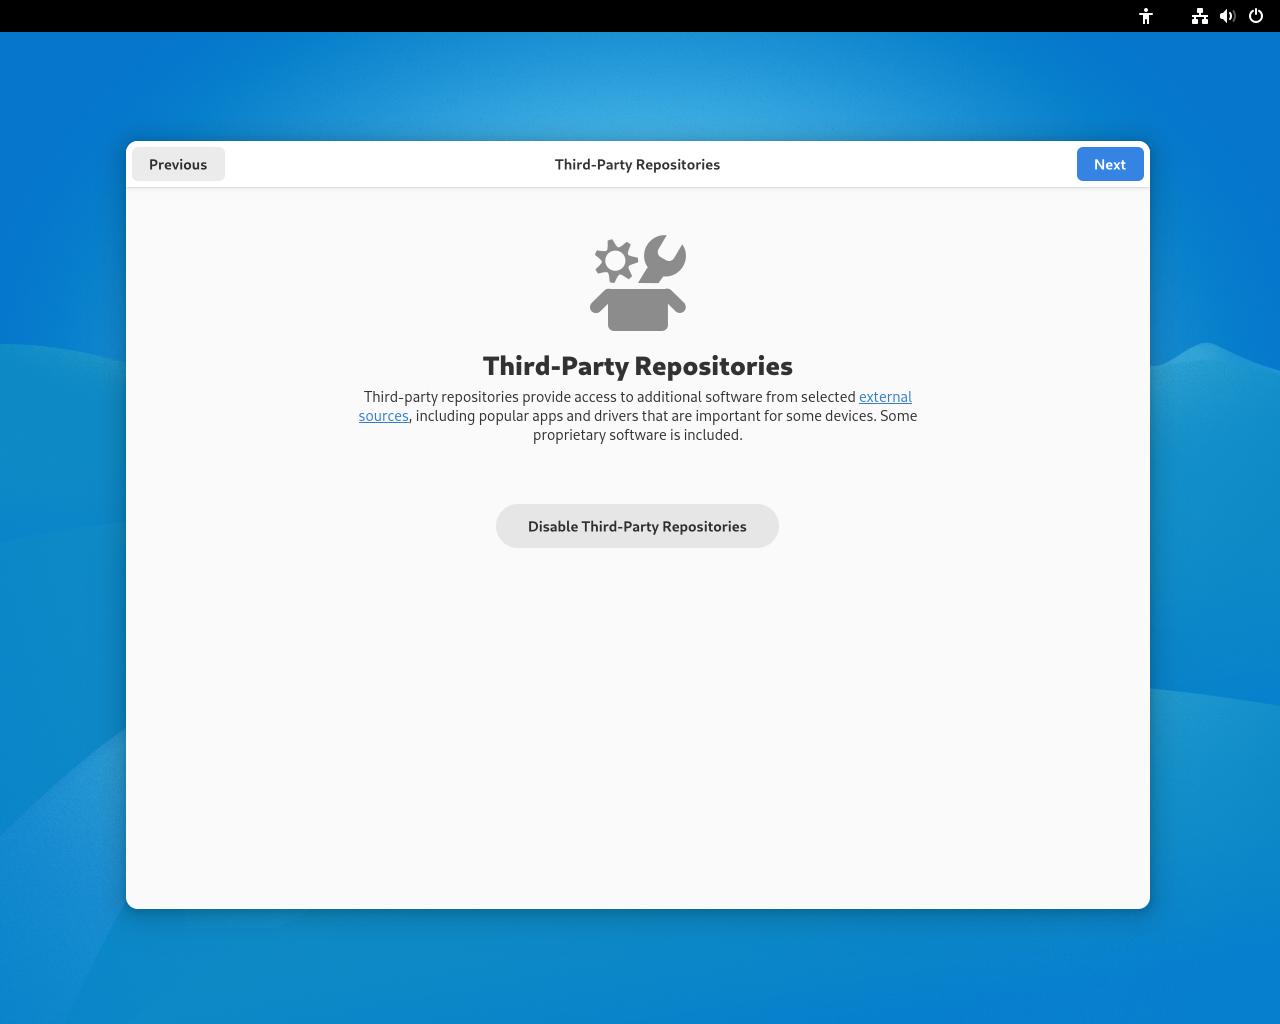
Step #2B: It is highly recommended that you select "Enable Third-Party Repositories" since they provide quite a bit of extra software, some of which will be used later in the tutorial.
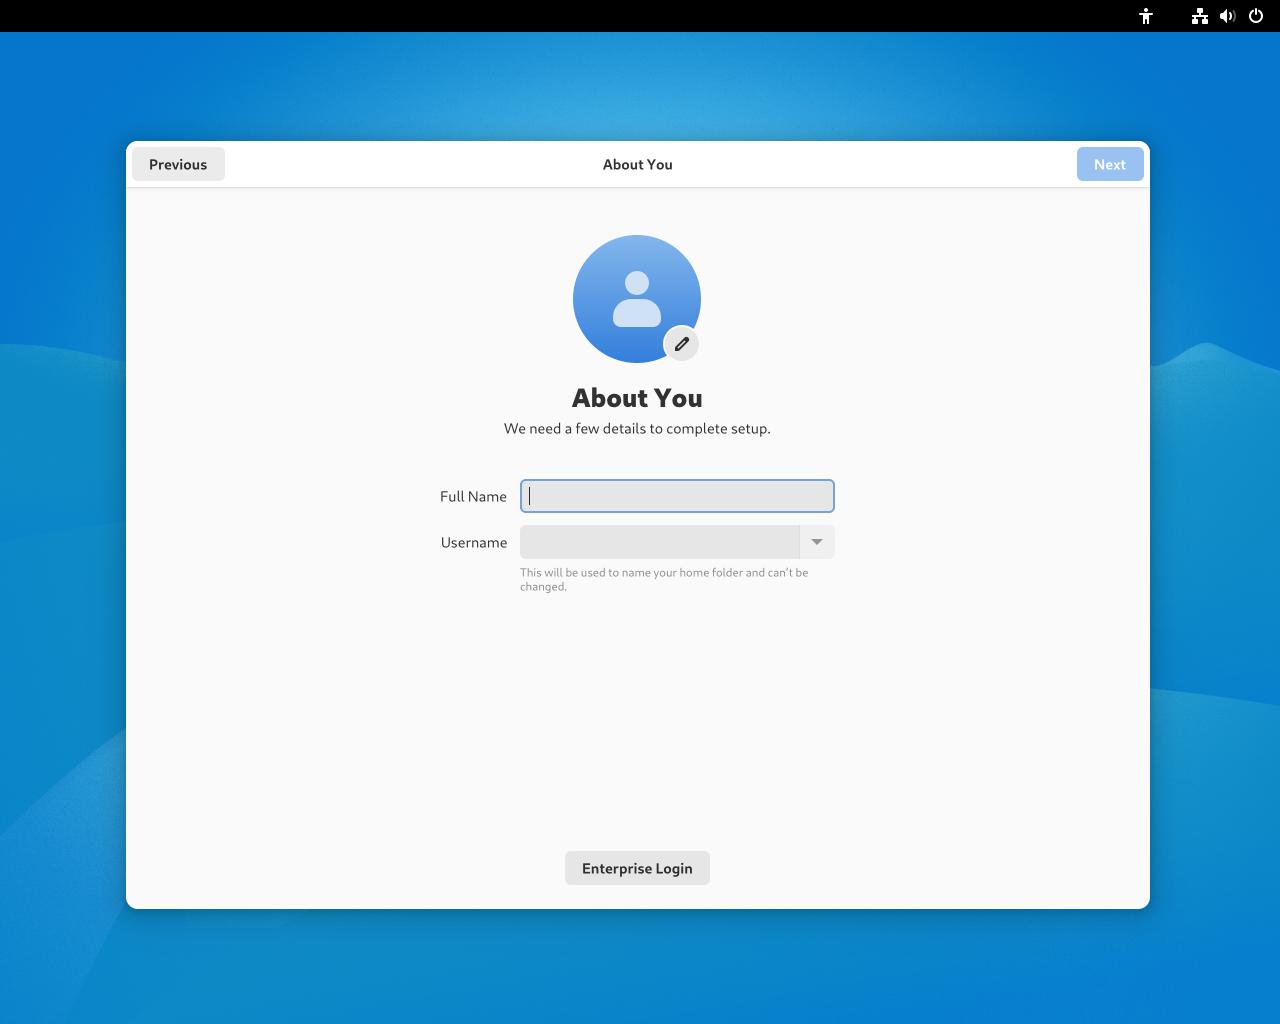
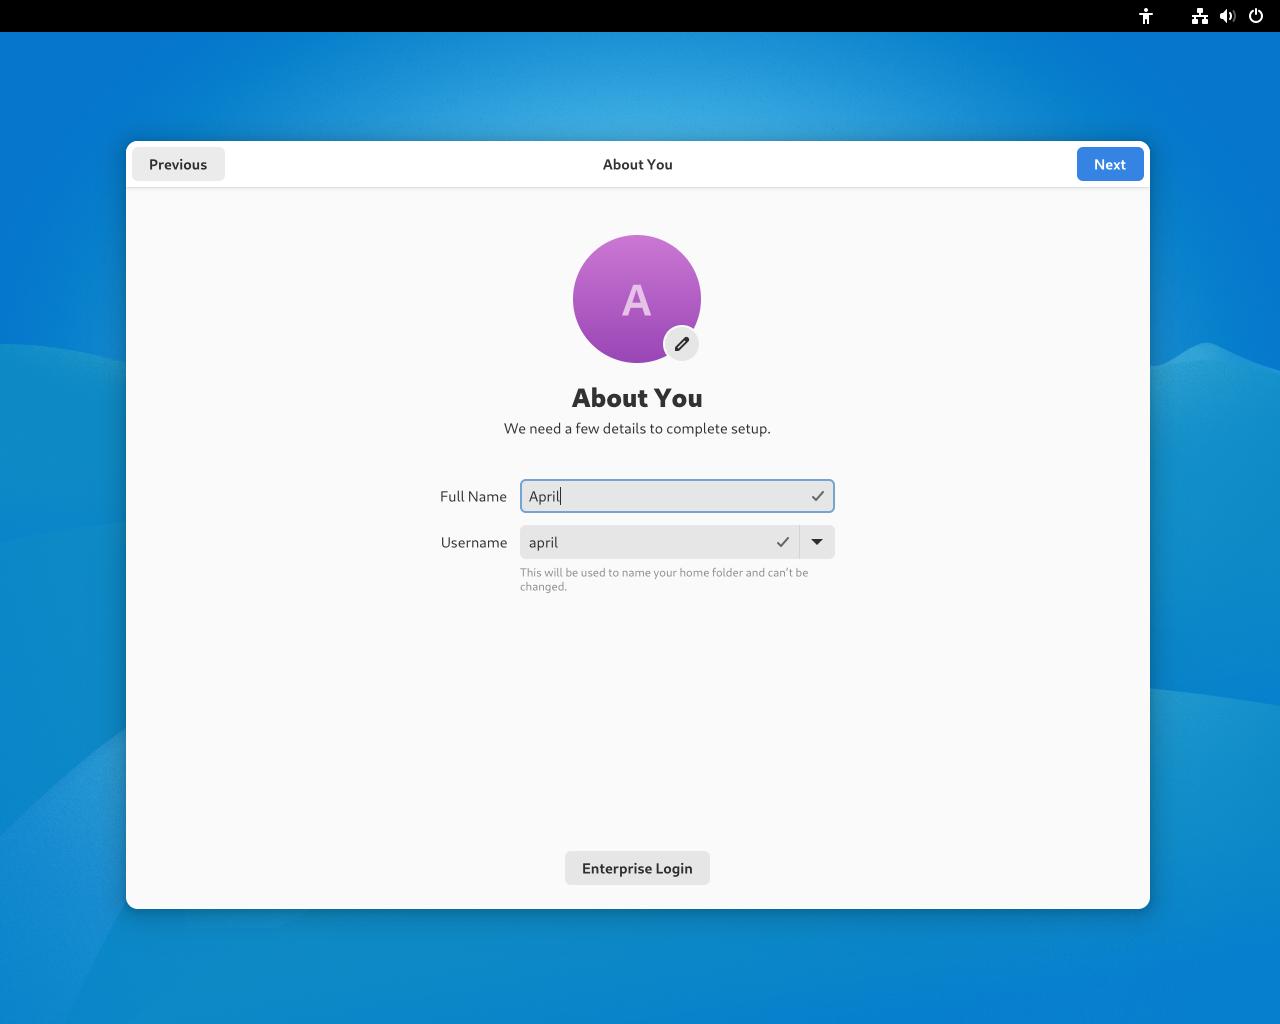
Step #2C: Fill this in how you normally would. Usernames have certain character restrictions and will be used to name your home folder.
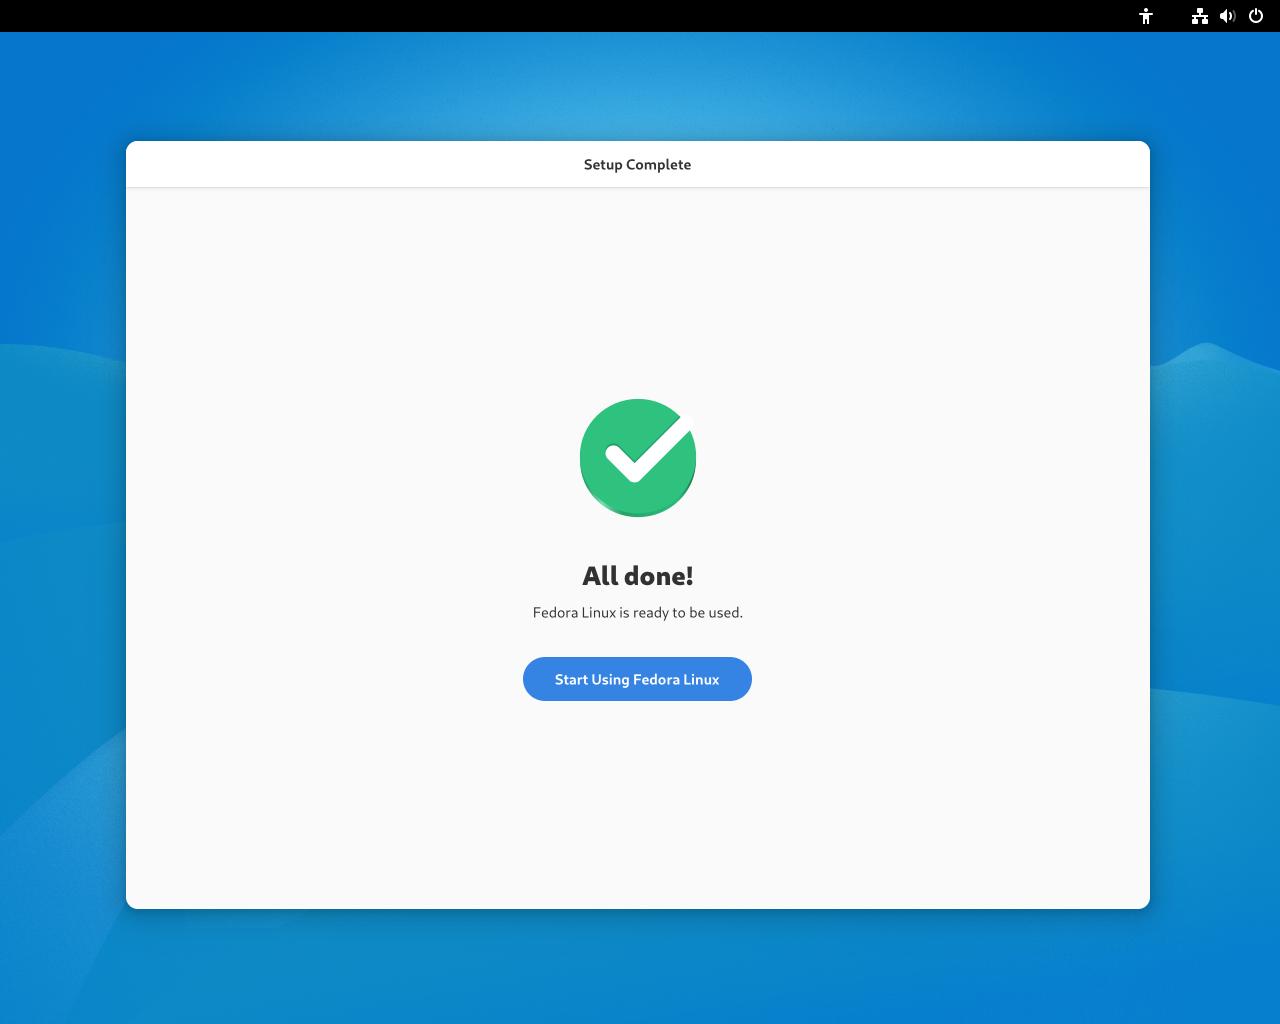
Step #2D: You're all done the out of the box setup. Click "Start Using Fedora Linux"
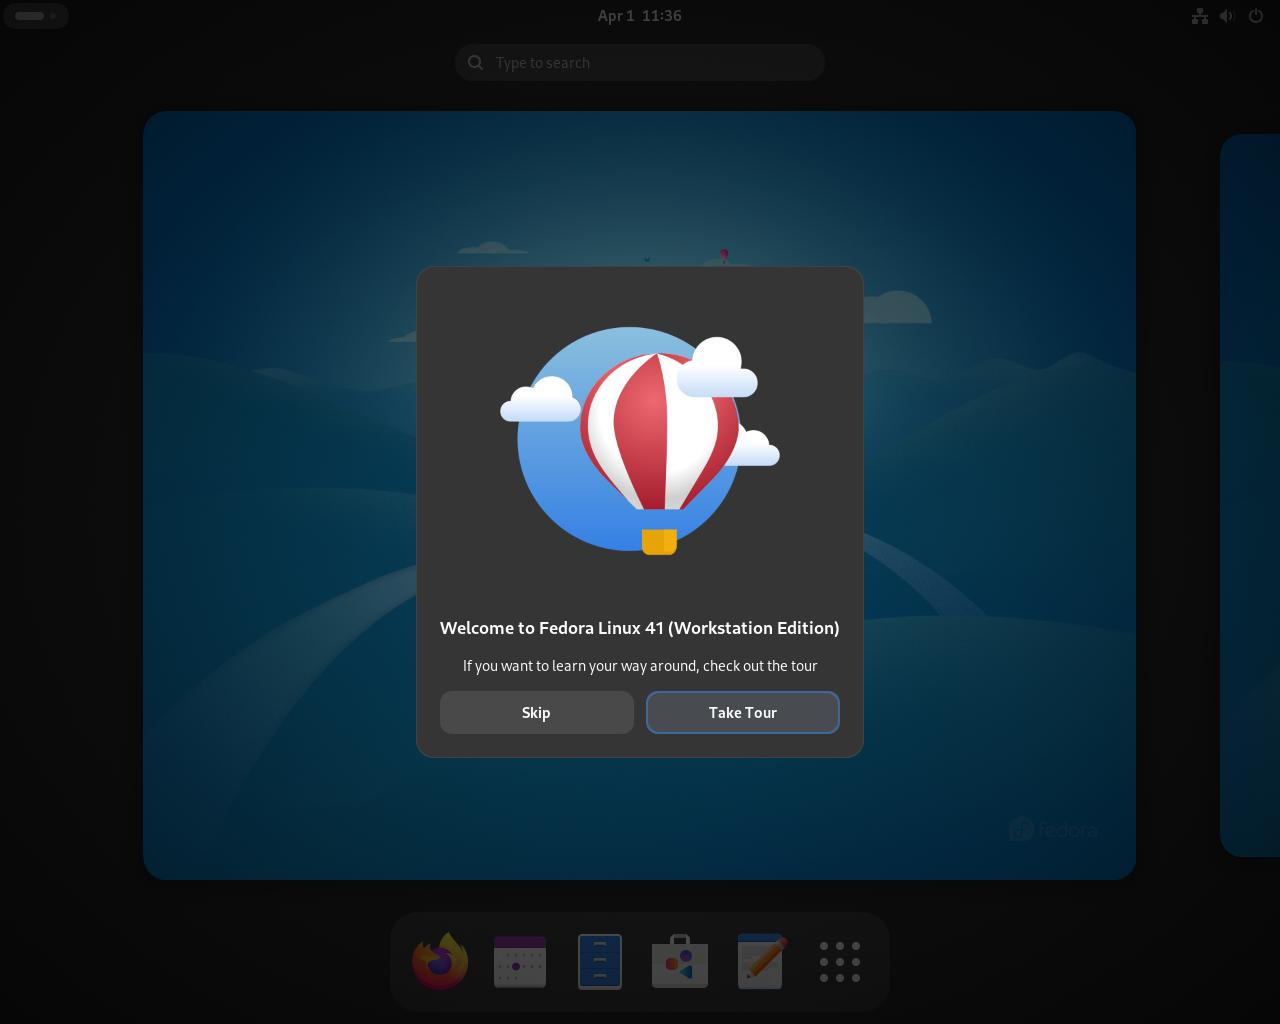
Step #3A: I highly recommend you to take the tour. It's short and will give you a basic understanding of the interface. I will be covering most of what it covers in more detail later.
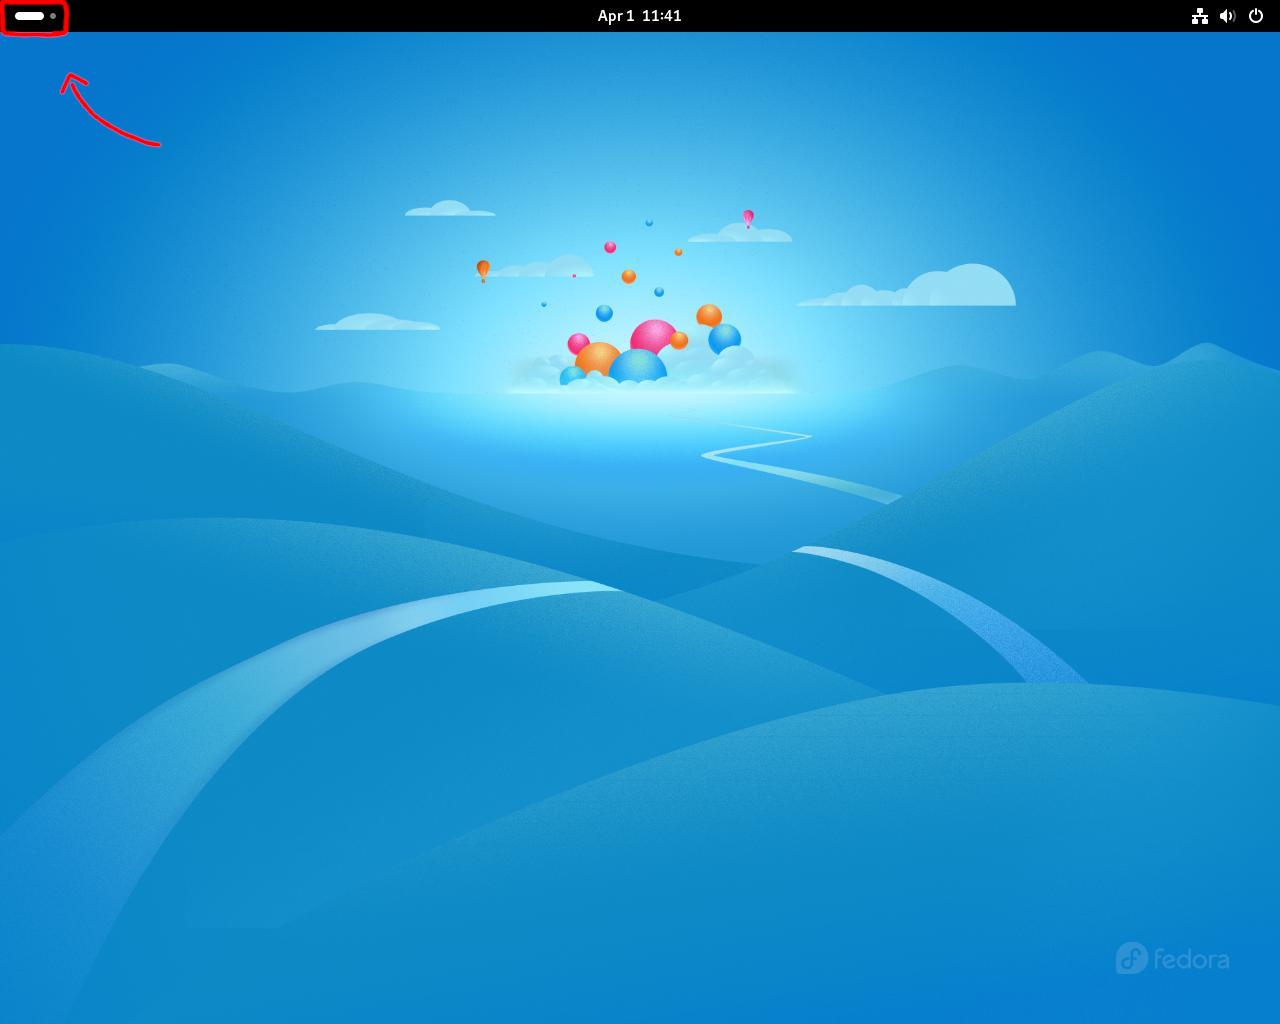
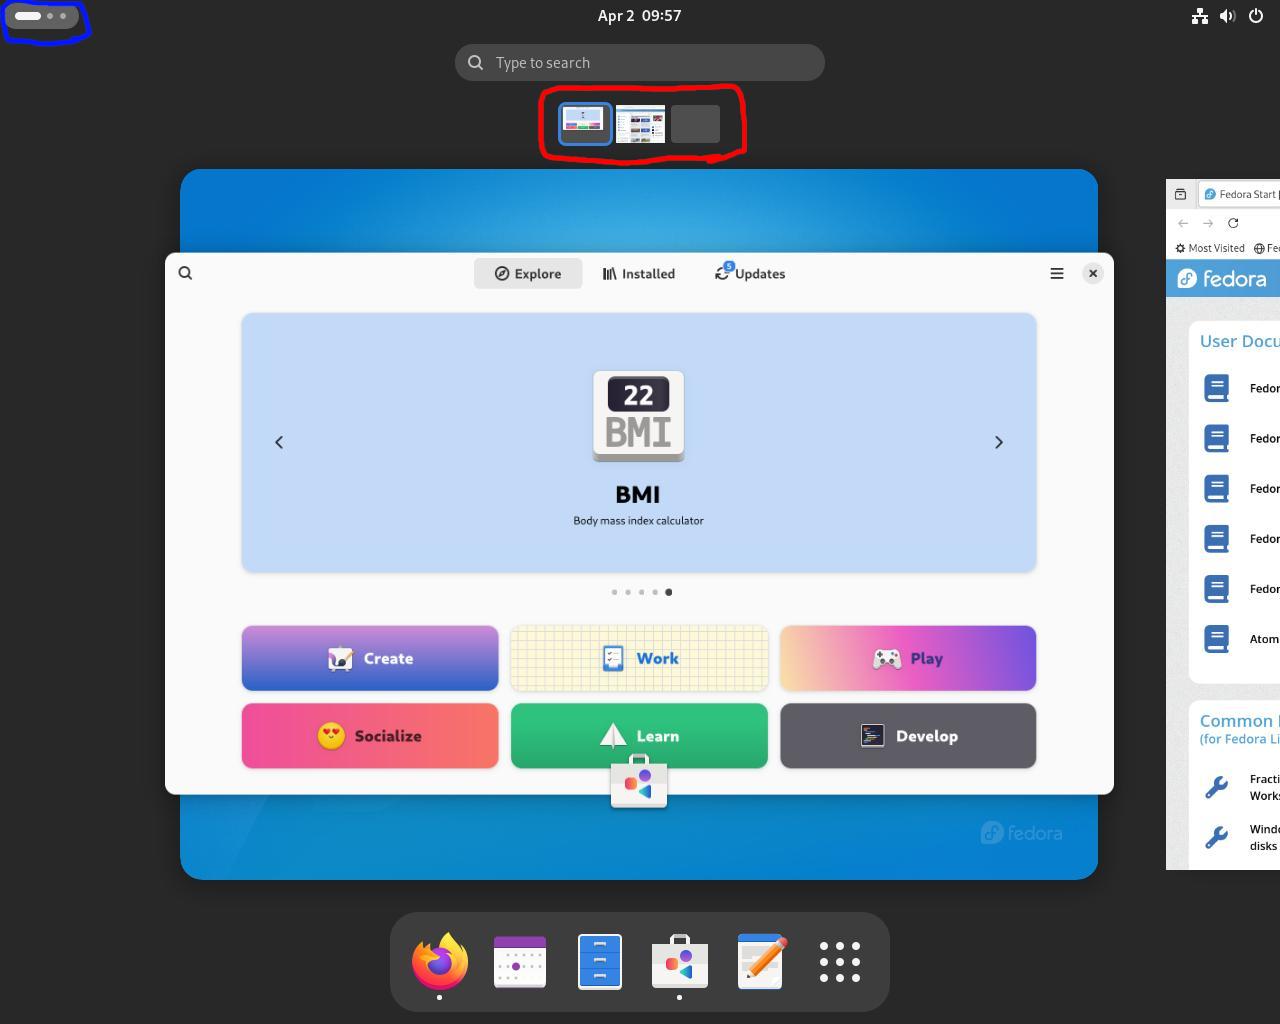
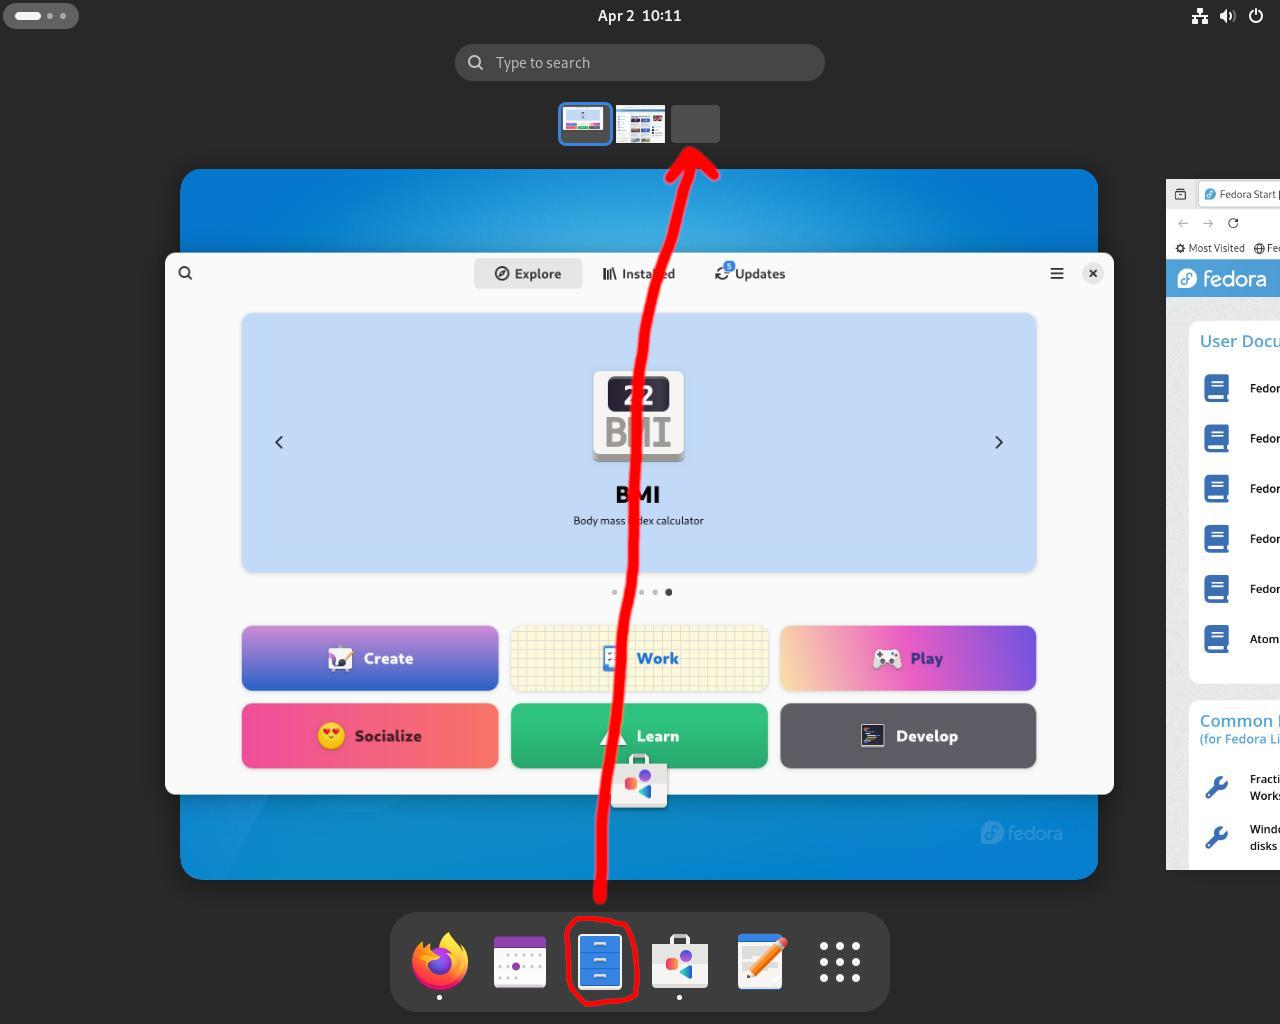
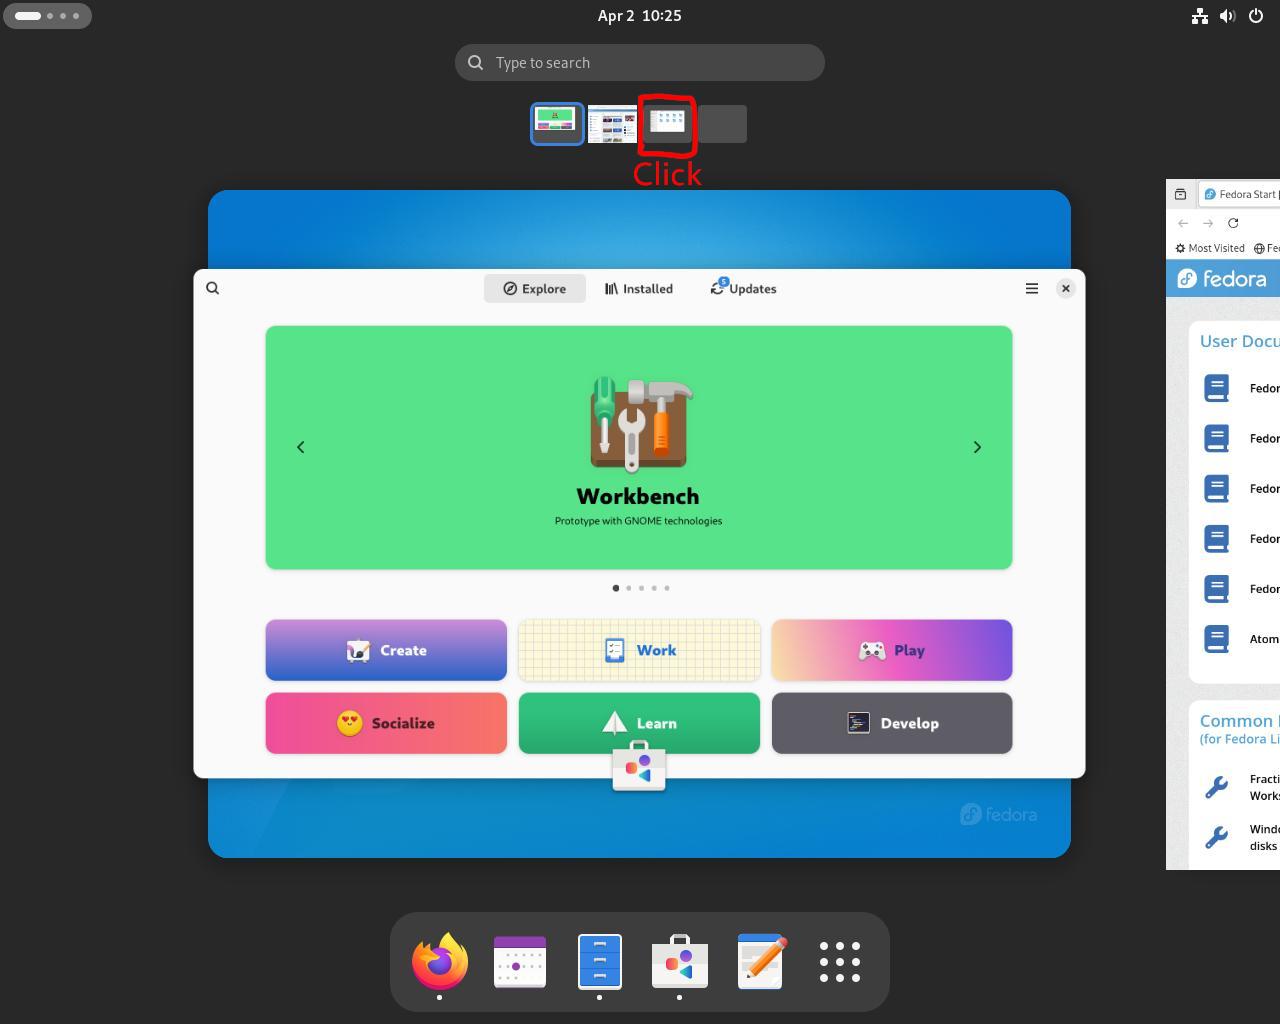
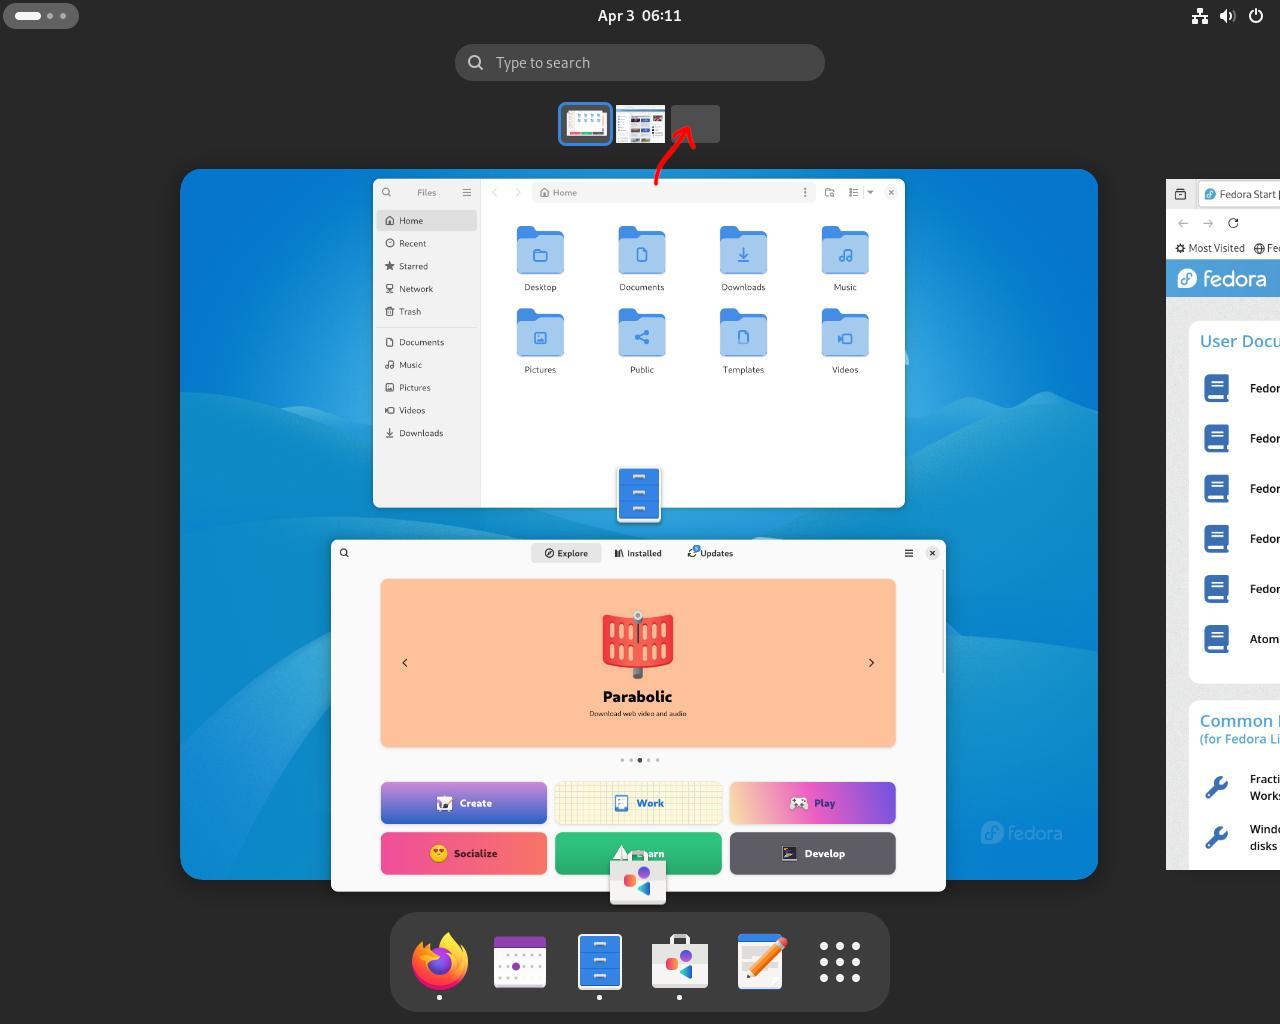
Step #4A: After completing the tour (or not) you'll want to open the overview. Click on the two dots on the top left or press the Windows (generally referred to as super or meta) key.
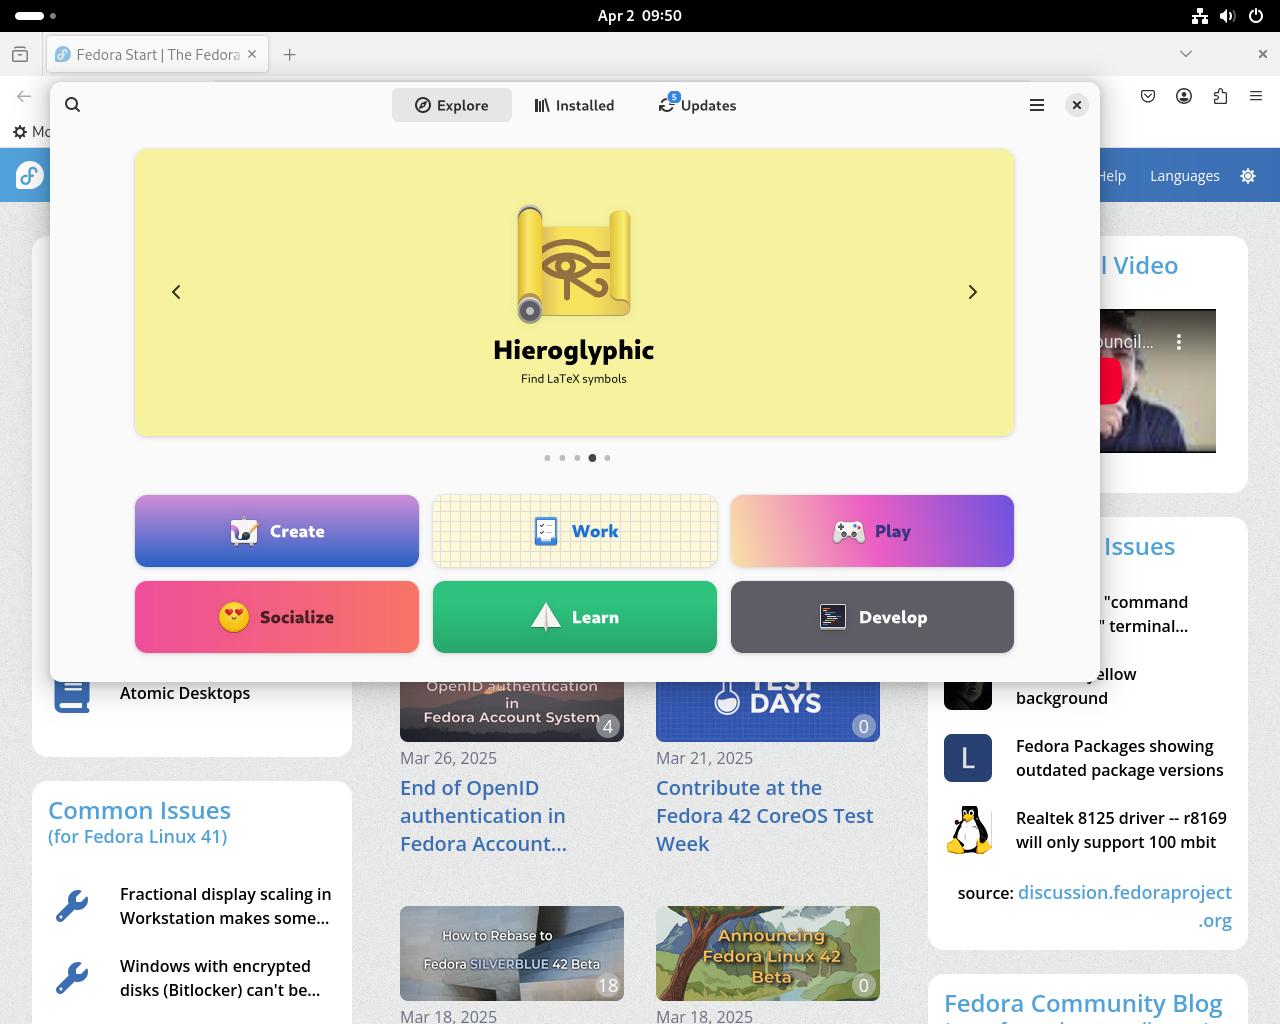
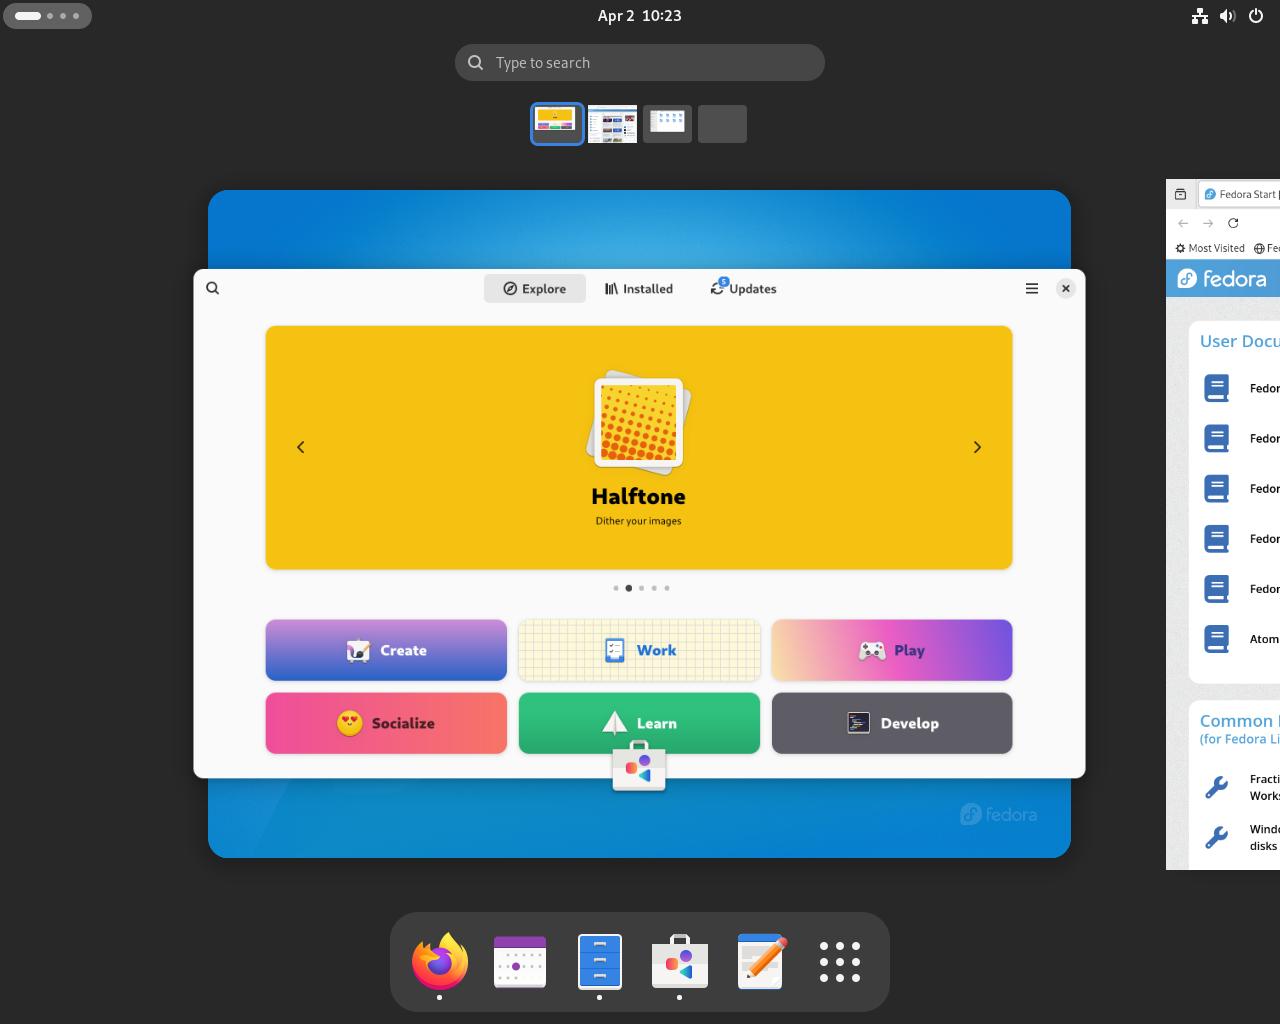
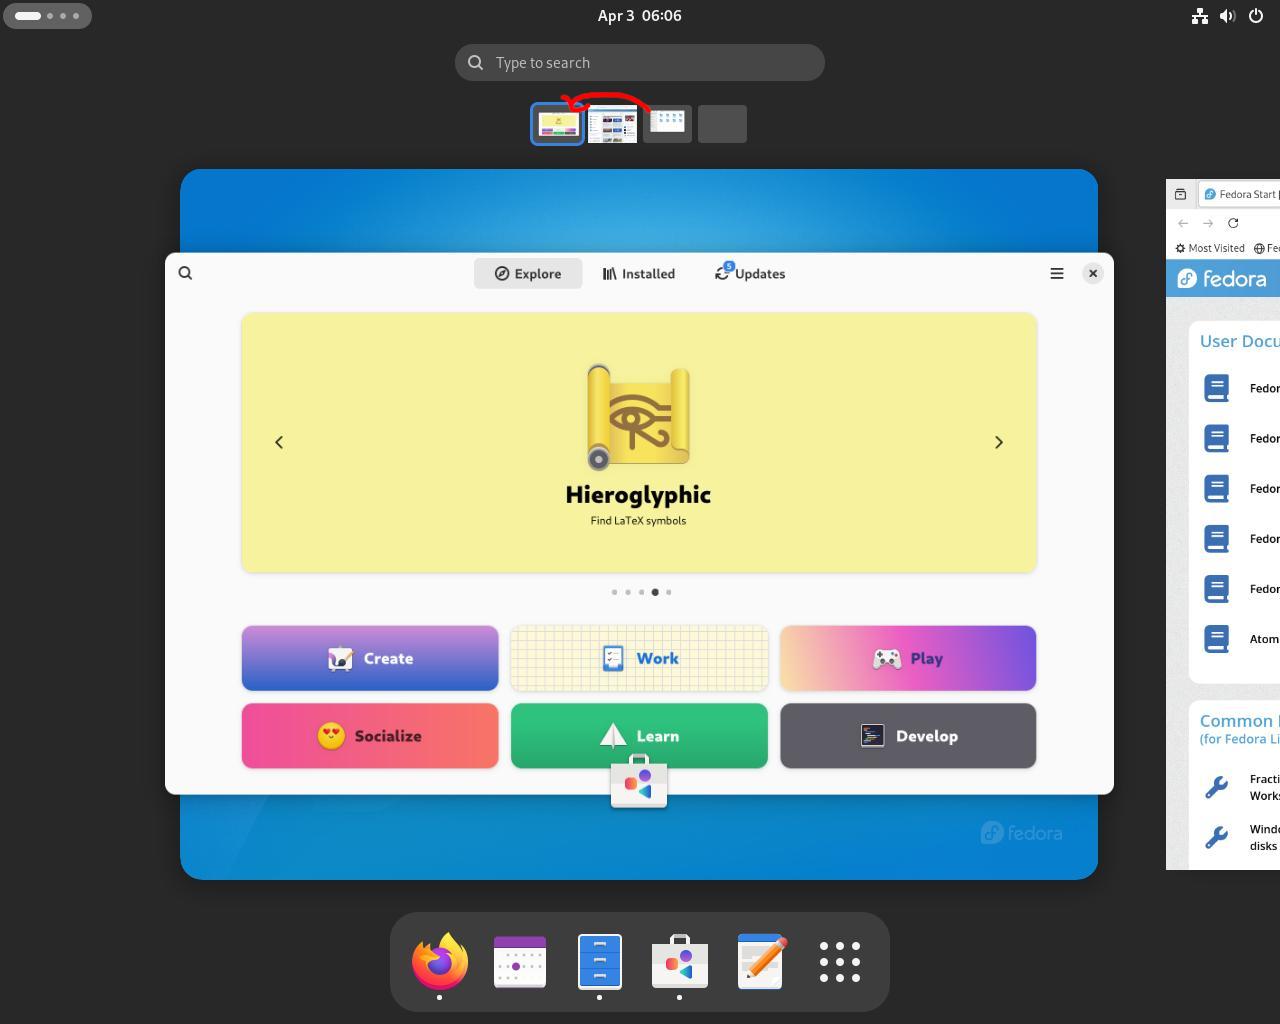
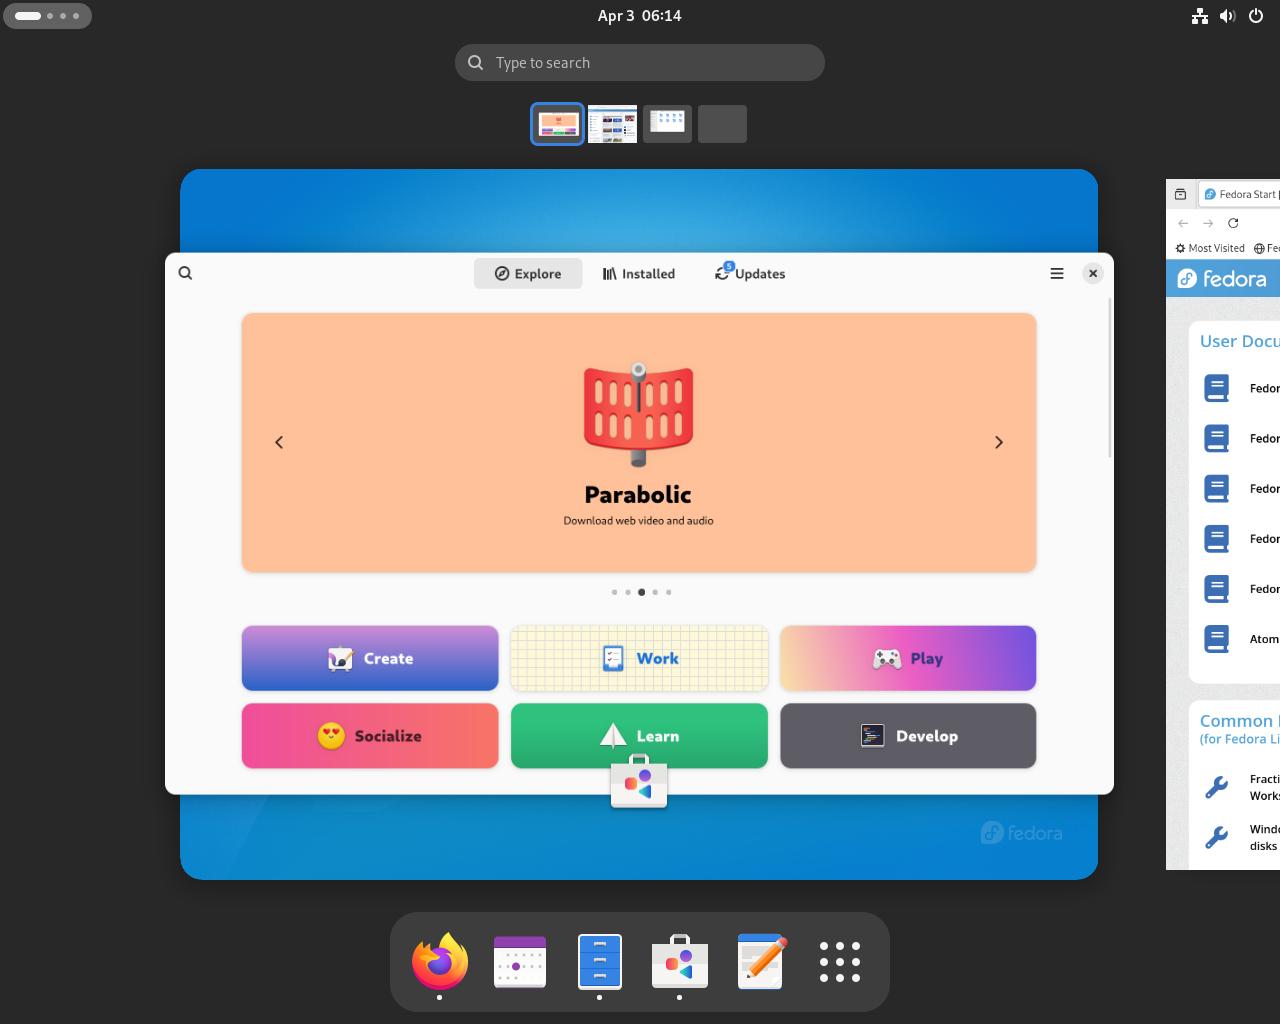
Step #5A: The GNOME Overview is where you launch applications, manage running applications, and manage workspaces however we will come back to that later. Launch GNOME Software by clicking on the icon in the circle.

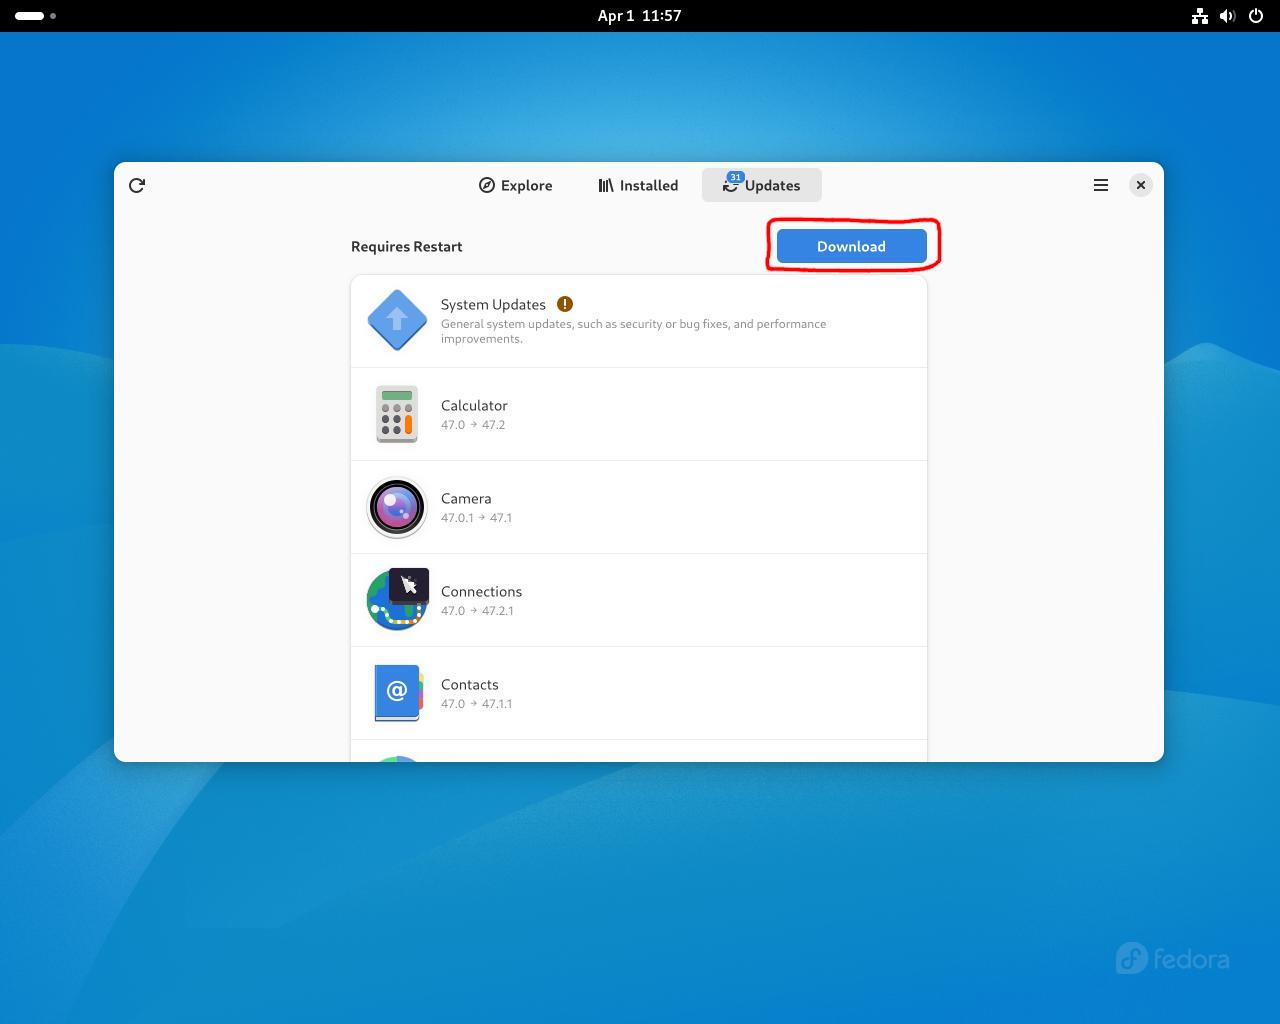
Step #5B: With GNOME Software launched, click on the "Updates" tab on the top of the window.

Step #5C: Your system is likely several months behind on updates. Click the blue "Download" button to download these updates. This will likely take around as long as it did for Fedora Media Writer to download Fedora earlier in the guide, so this might take a while.
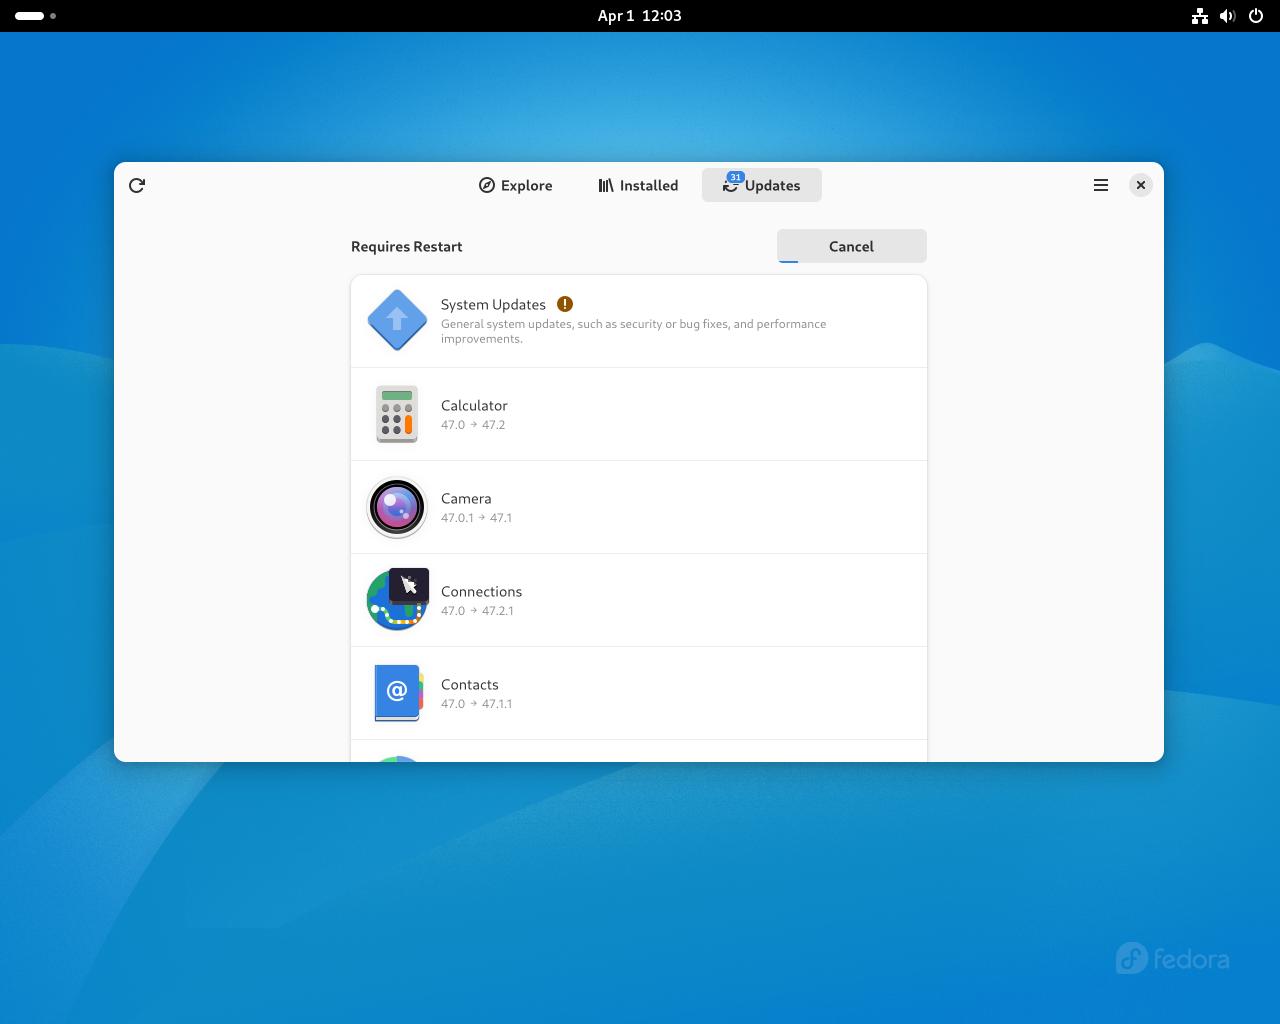
Step #5D: Once the updates have completed, click the blue "Restart and Update" button and the "Restart and Install" button


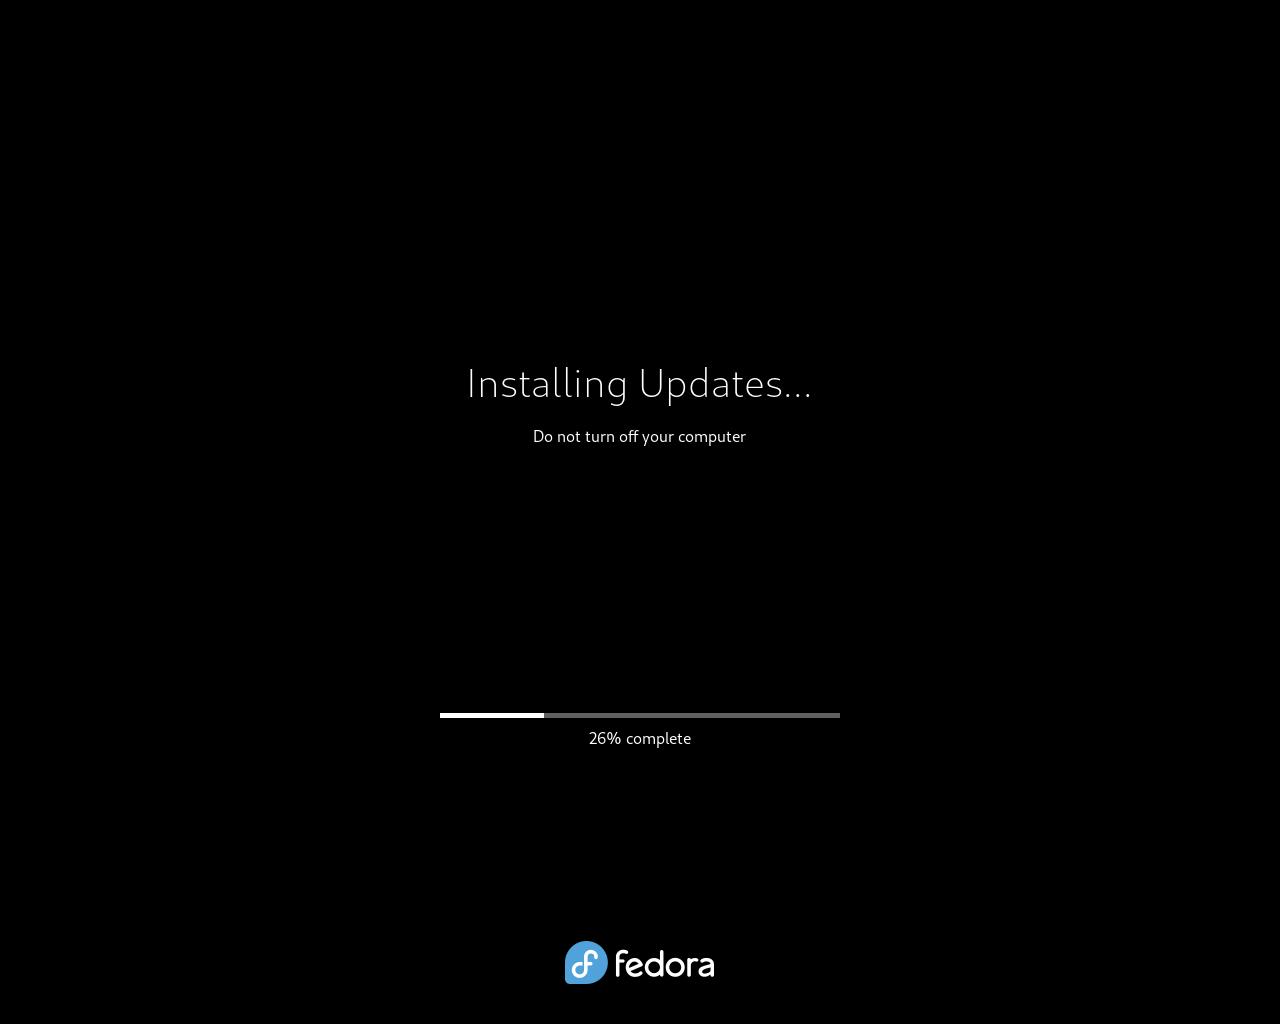
Step #5E: Now system updates will install, sit back and relax because will likely take a while. It is recommended to check for updates at least once a day, but Fedora Workstation has automatic updating enabled by default.
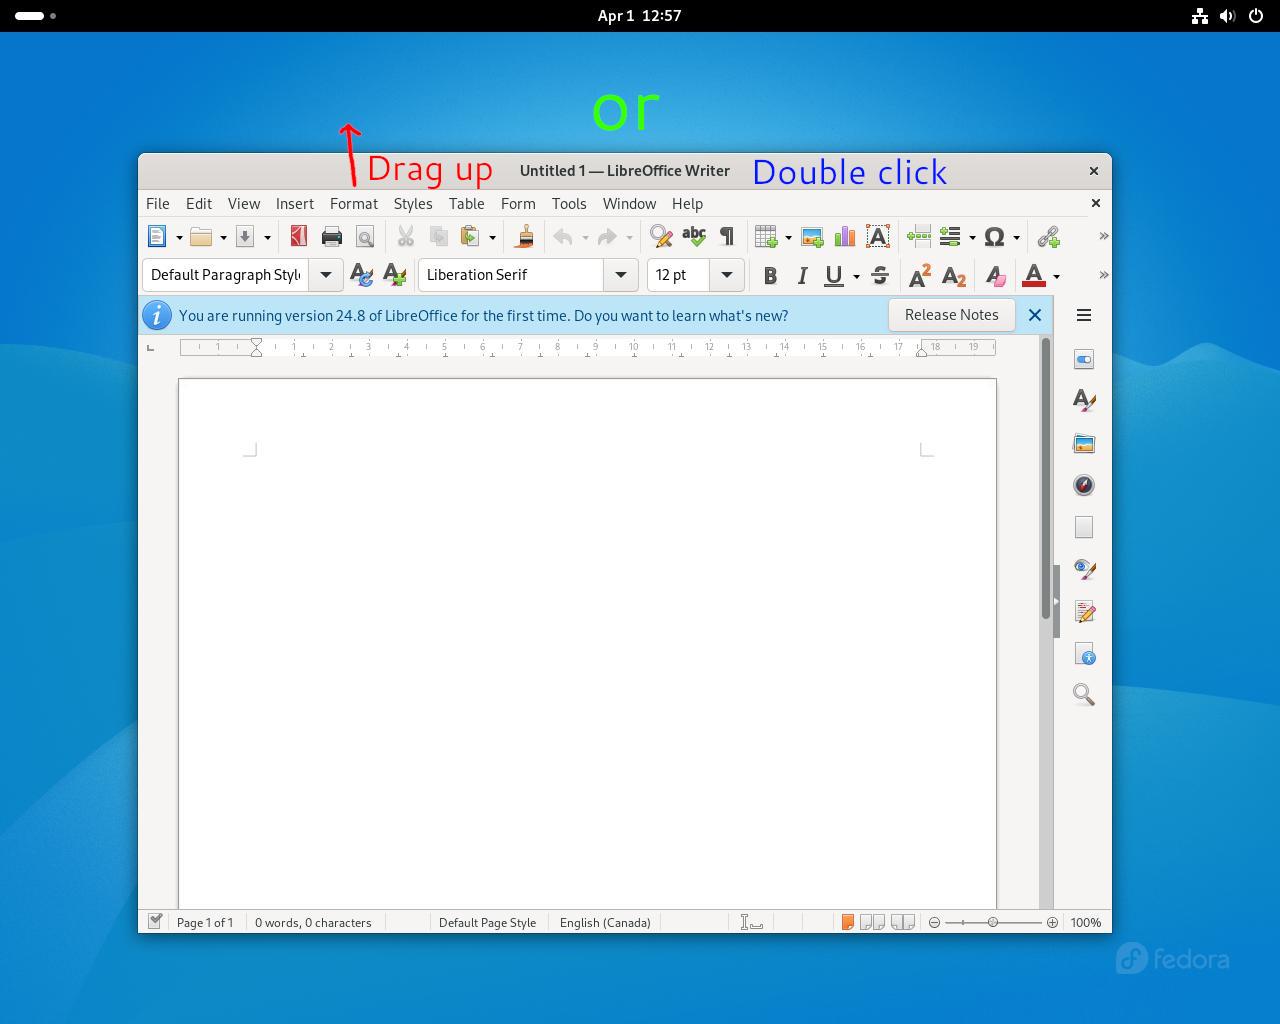
Step #6A: By default, GNOME lacks a minimize and maximize button. To maximize an application, drag it to the top of screen, double click the title bar, or right click the title bar and select "Maximize"

Step #6B: To minimize an application (generally referred to as "hiding" in GNOME) you can right click the title bar and click "hide". When a window is hidden, it appears in the overview but not on the desktop. This isn't something you'll be doing as much in GNOME as you probably do in most GUIs due to GNOME's overall workflow.
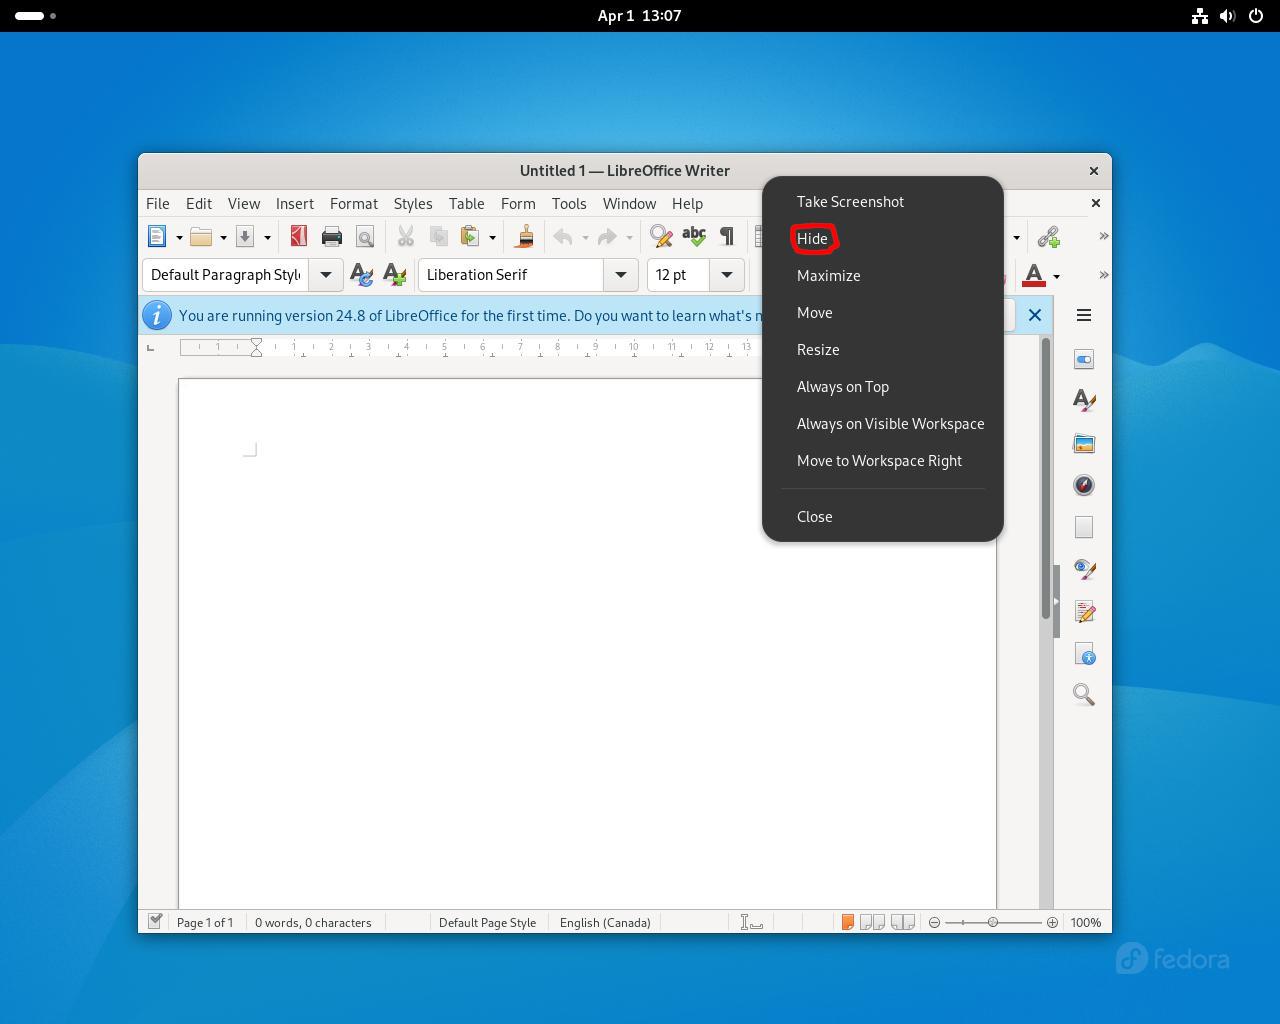

Step #6C: You can click on the hidden application in the overview to unhide it.
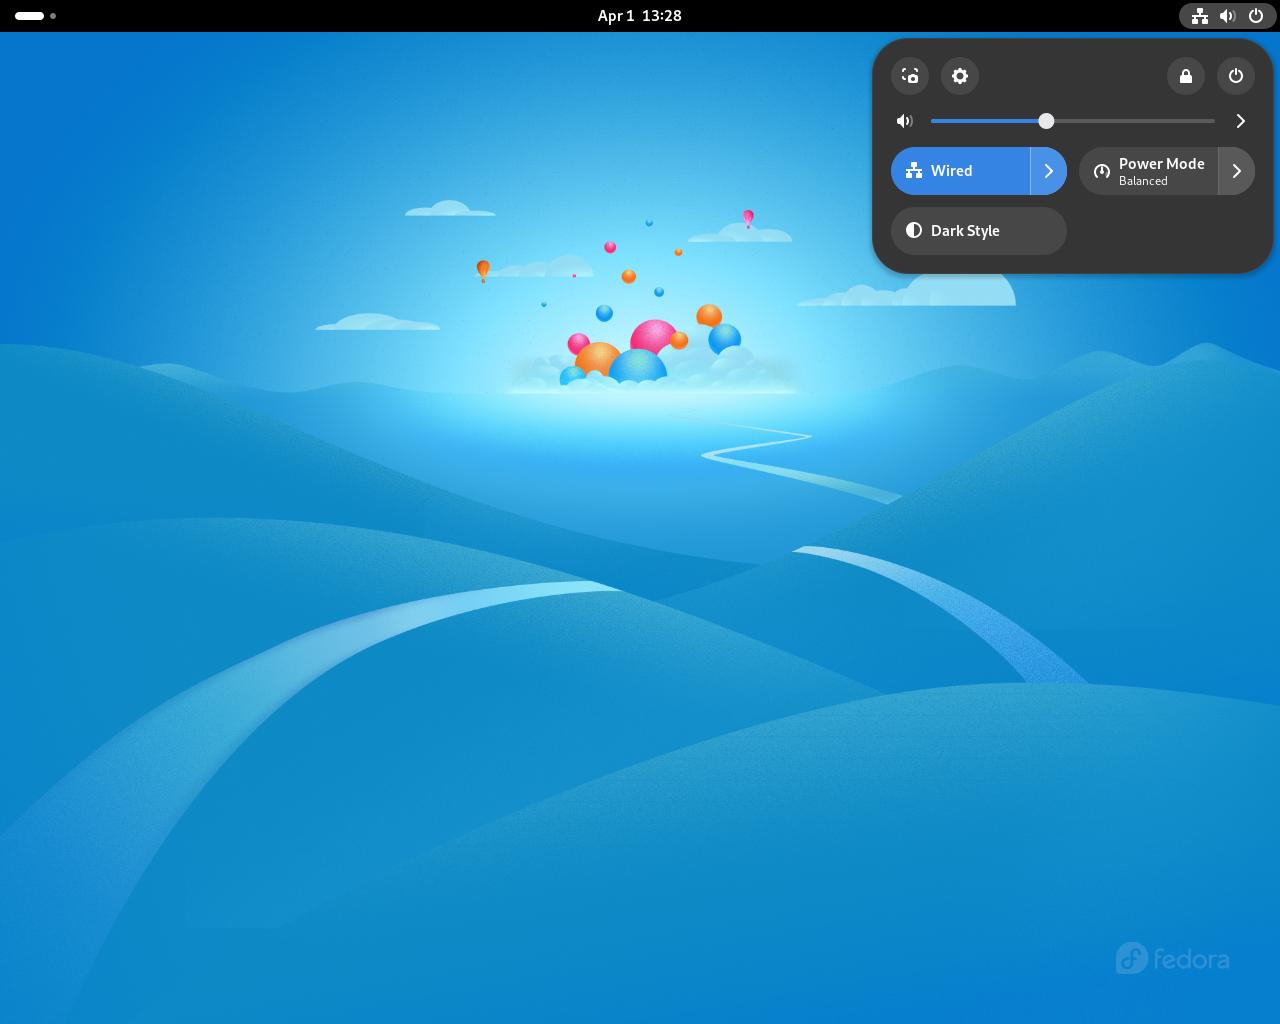
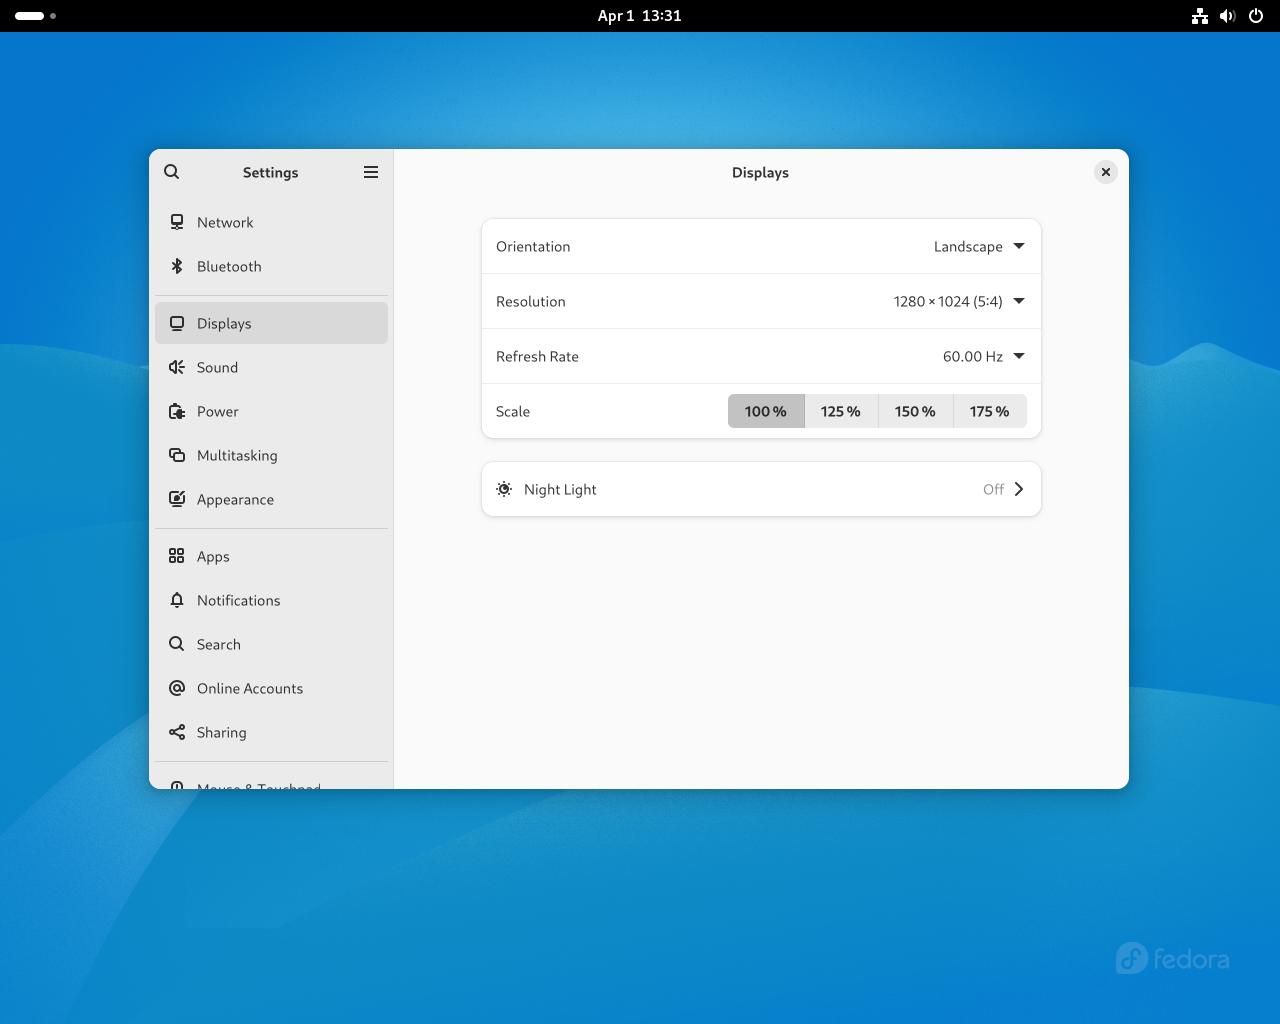
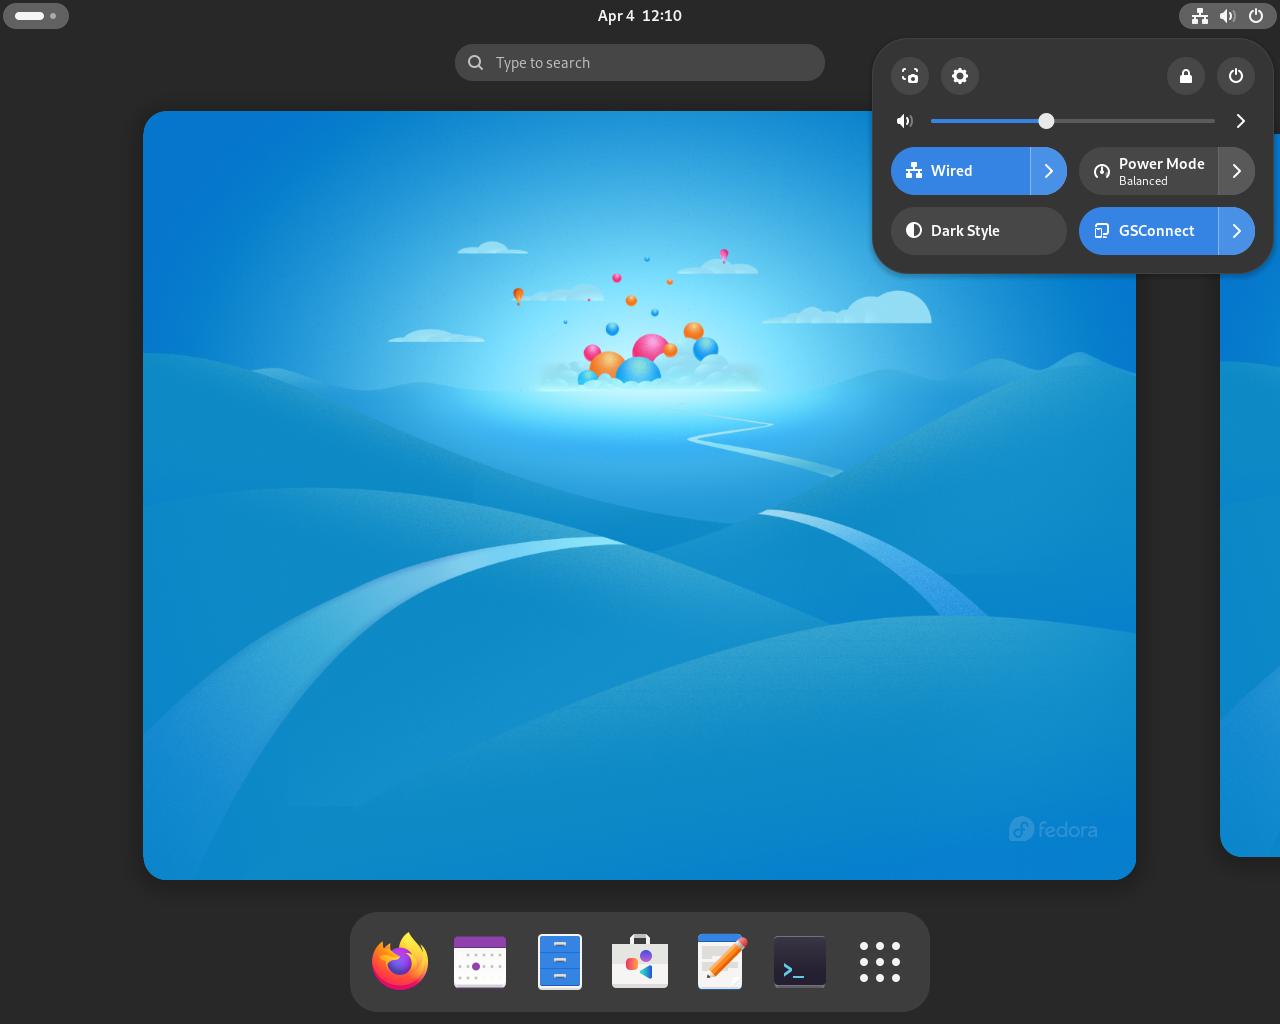
Step #7A: You might want to change various settings, such as mouse sensitivity or desktop background. Click on the top right quick settings area and click the gear icon. This will bring you to the settings application.
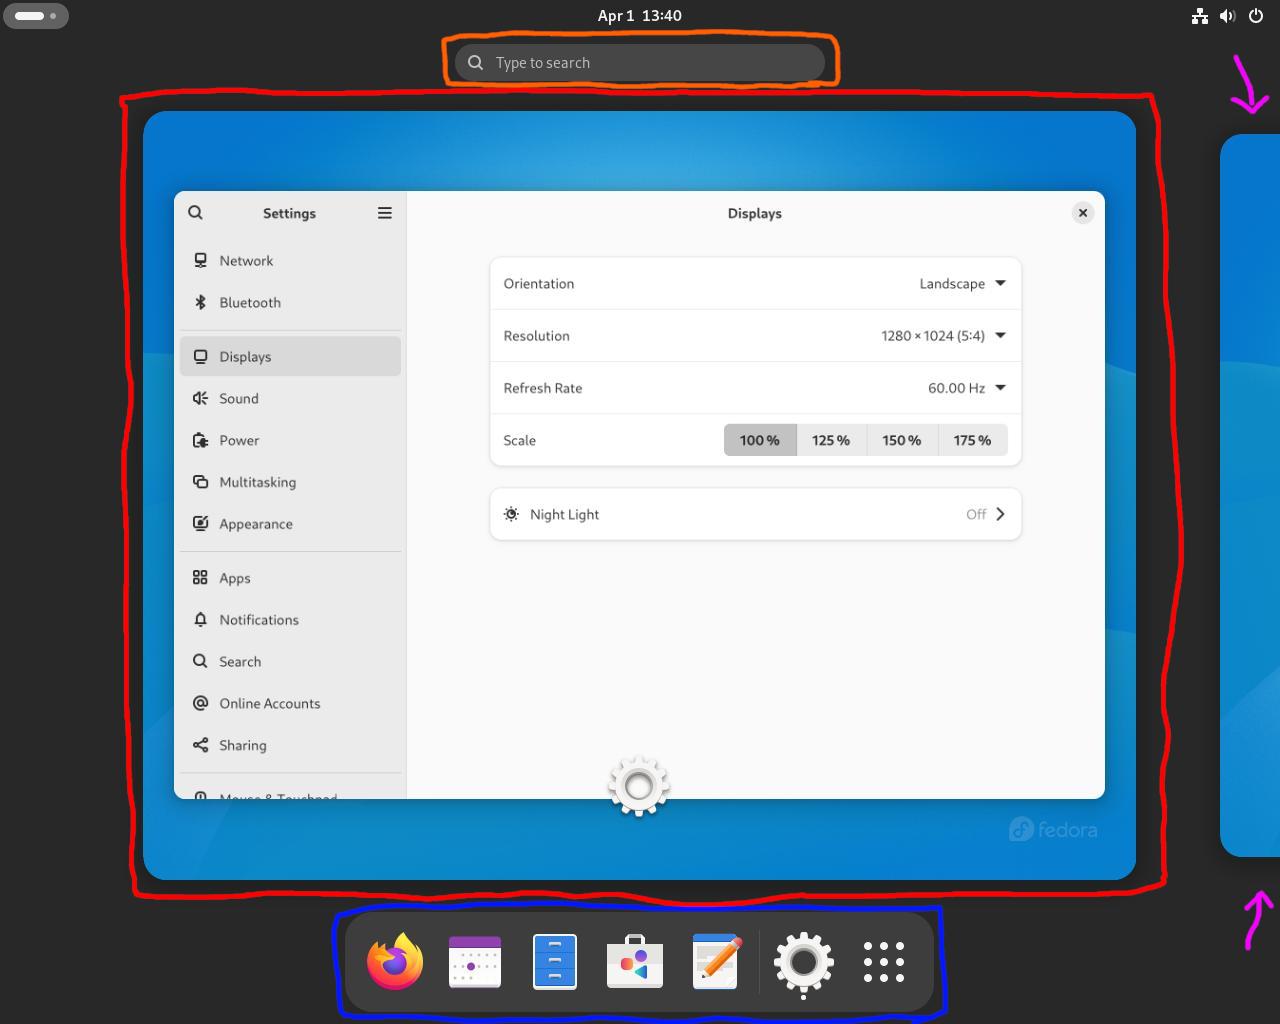
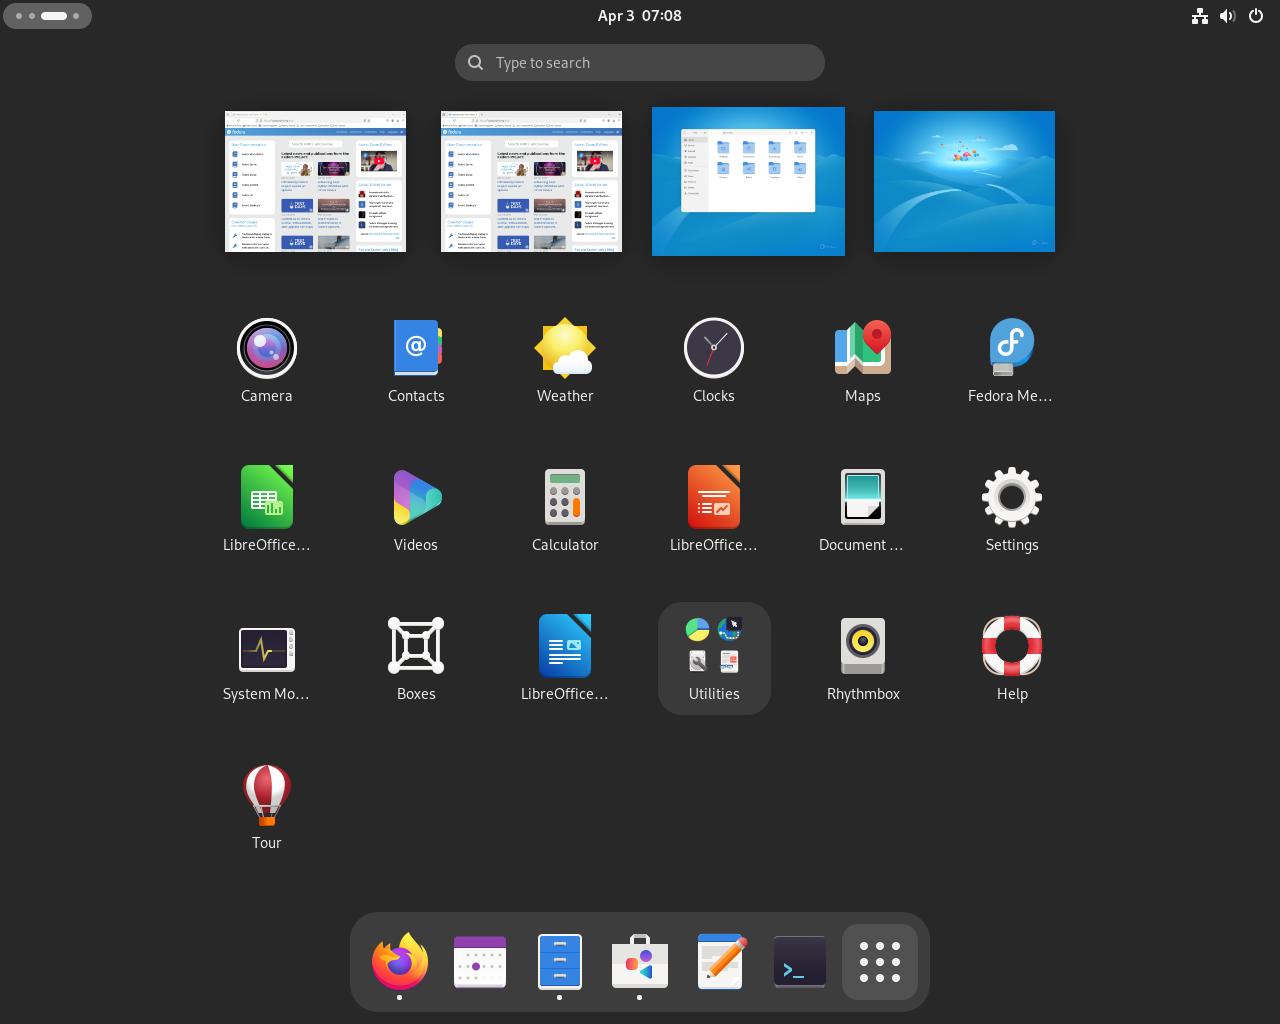
Step #8A: Let's open the overview and take a closer look at it and how it functions
The image is divided into 4 categories. Here's what they are:
- Apps: Where you manage your open applications
- Workspaces: Where you manage your workspaces
- Search: Where you search for files and applications
- Dash: A place where your pinned and open applications reside
Let's start with Apps
Step #8A: When you mouse over an application, you can either focus it or close it. As mentioned previously, if you had a window hidden you can unhide it by clicking on it.

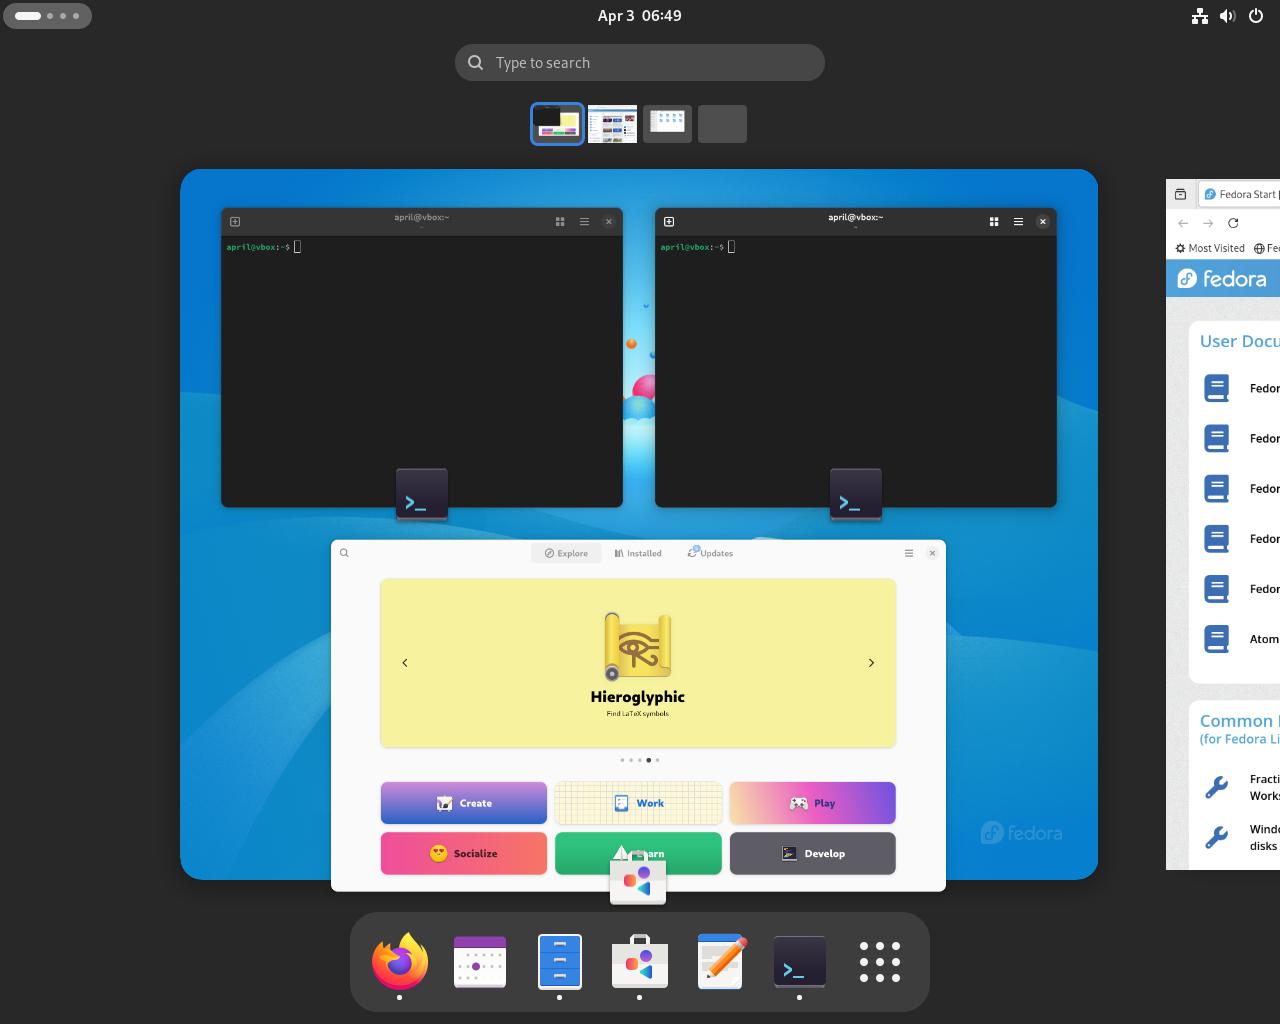
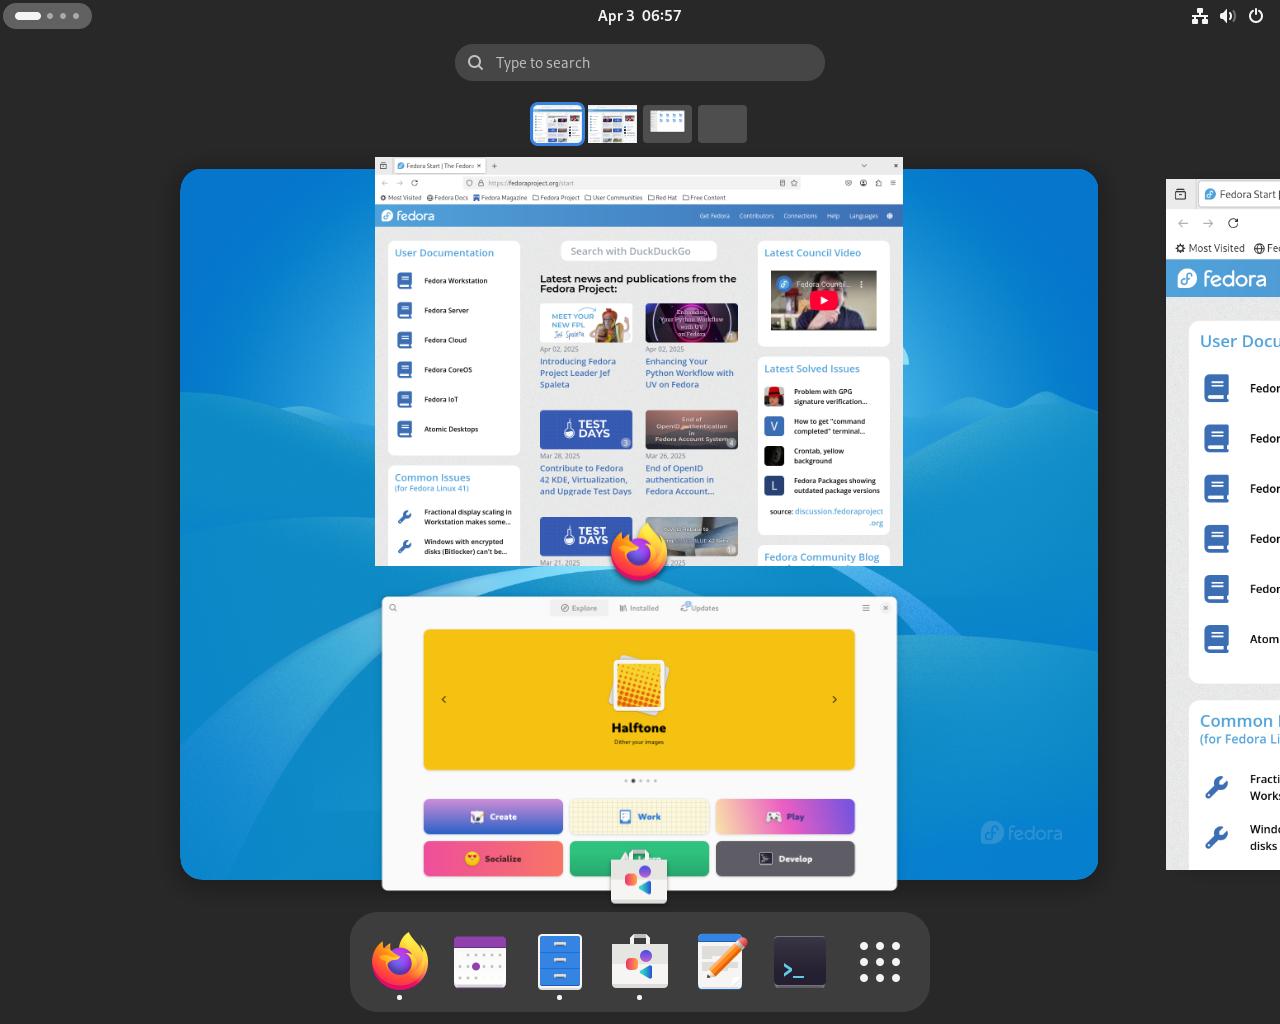
Step #8B: Let's open up 2 applications, Firefox and GNOME Software


Step #8C: When you open the overview, you will see both applications in a birds eye view. Try it! You can focus on either application by clicking on it's respective window.
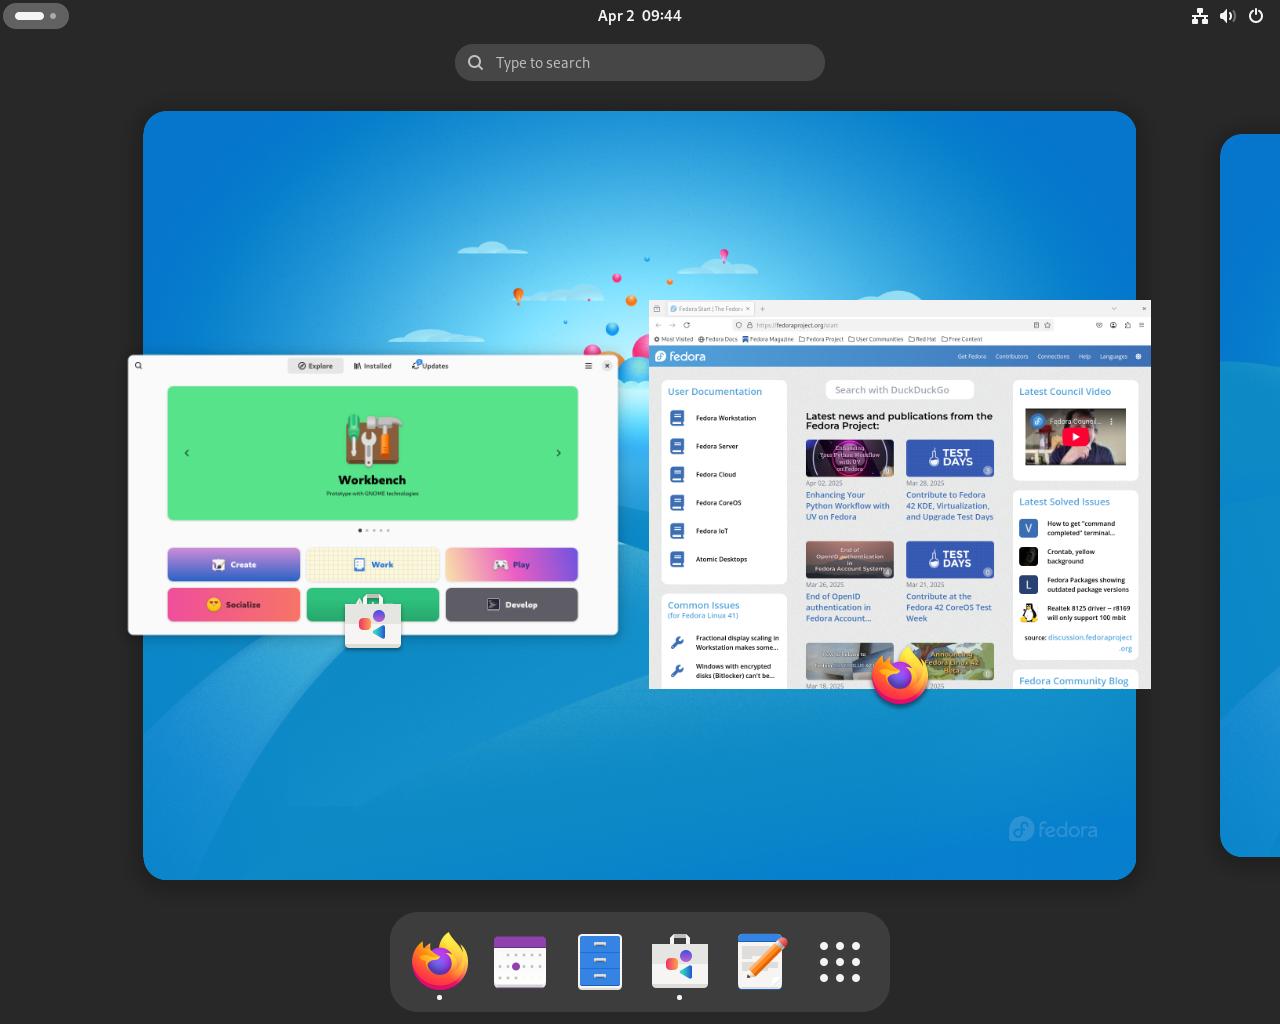
Clicking on Firefox does this:
Clicking on GNOME Software does this:
Now let's shift our attention to workspaces
Step #8D: Now, drag the Firefox window over to the strip of wallpaper on the right you can see

You should notice two things: a new indicator has appeared below the search bar, and the amount of dots in the overview button has increased
When you close the overview, you will be left with just whatever window you had open in that workspace. This is a big factor in why GNOME users rarely minimize applications, since this is usually a better solution.
Let's open up the overview again
Step #8E: You can also open up applications by dragging their icon from the dash in the workspace indicator below the search bar
Step #8F: To move between workspaces in the overview, use your scroll wheel (up - left, down - right) or click to the left/right of the desired workspace
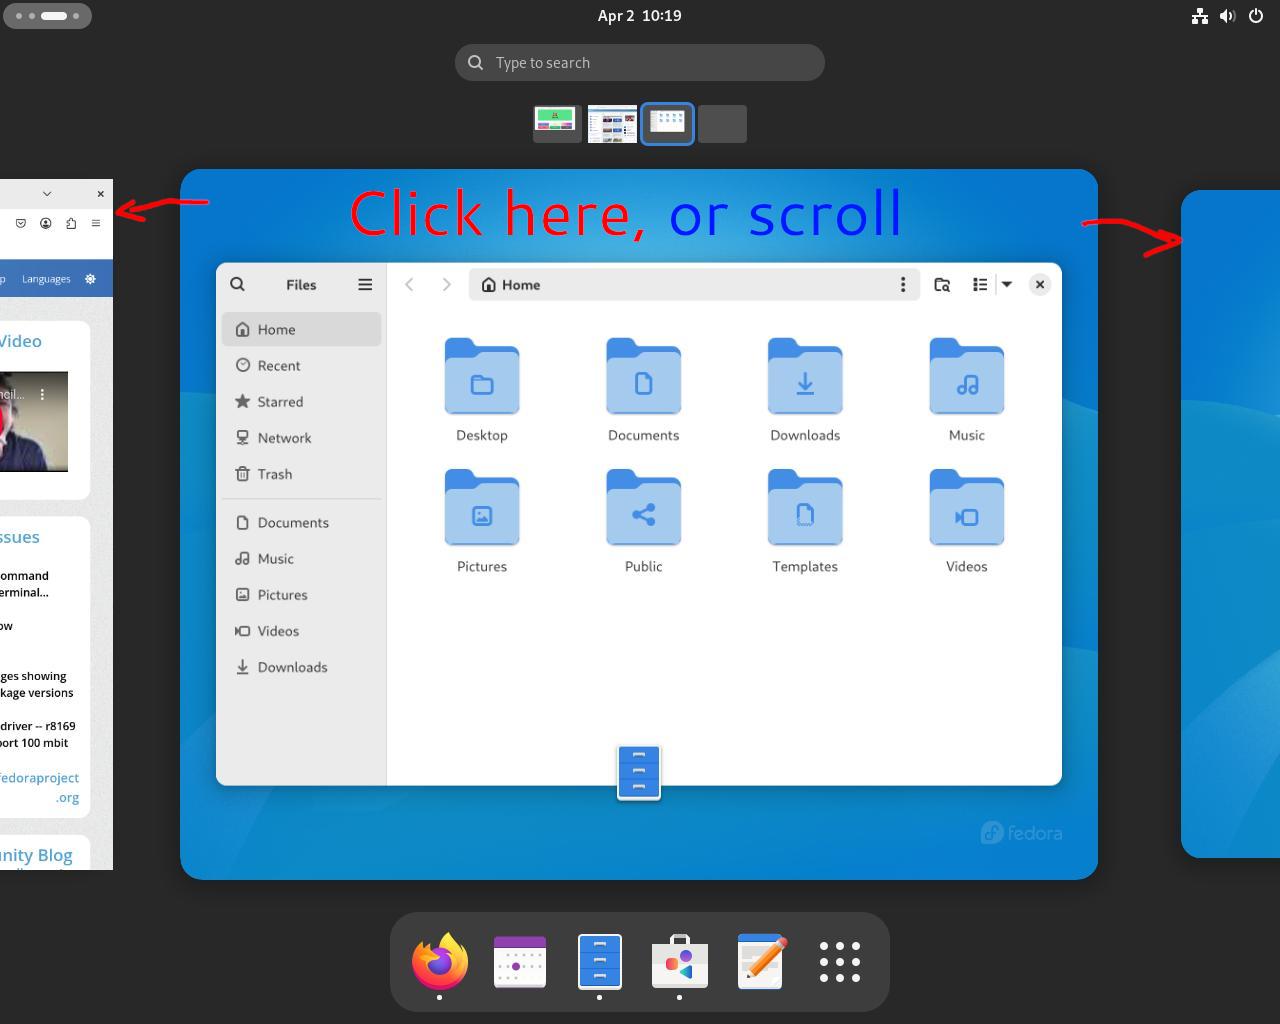
Step #8G: You can also get to the desired workspace by clicking on the workspace indicator below the search bar, and you can move applications to different workspaces with this indicator by dragging your desired app from one workspace to another in the indicator or dragging them from the birds eye view to the indicator
Let's exit the overview for a bit
Step #8H: You can also cycle through workspaces by scrolling on the overview indicator button on the top left, by pressing Alt+Scroll Wheel, or by pressing Super+Page Up/Super+Page Down. Also notice how the button in the top left changes changes as you cycle through workspaces, acting as a mini indicator.


Now let's focus on search
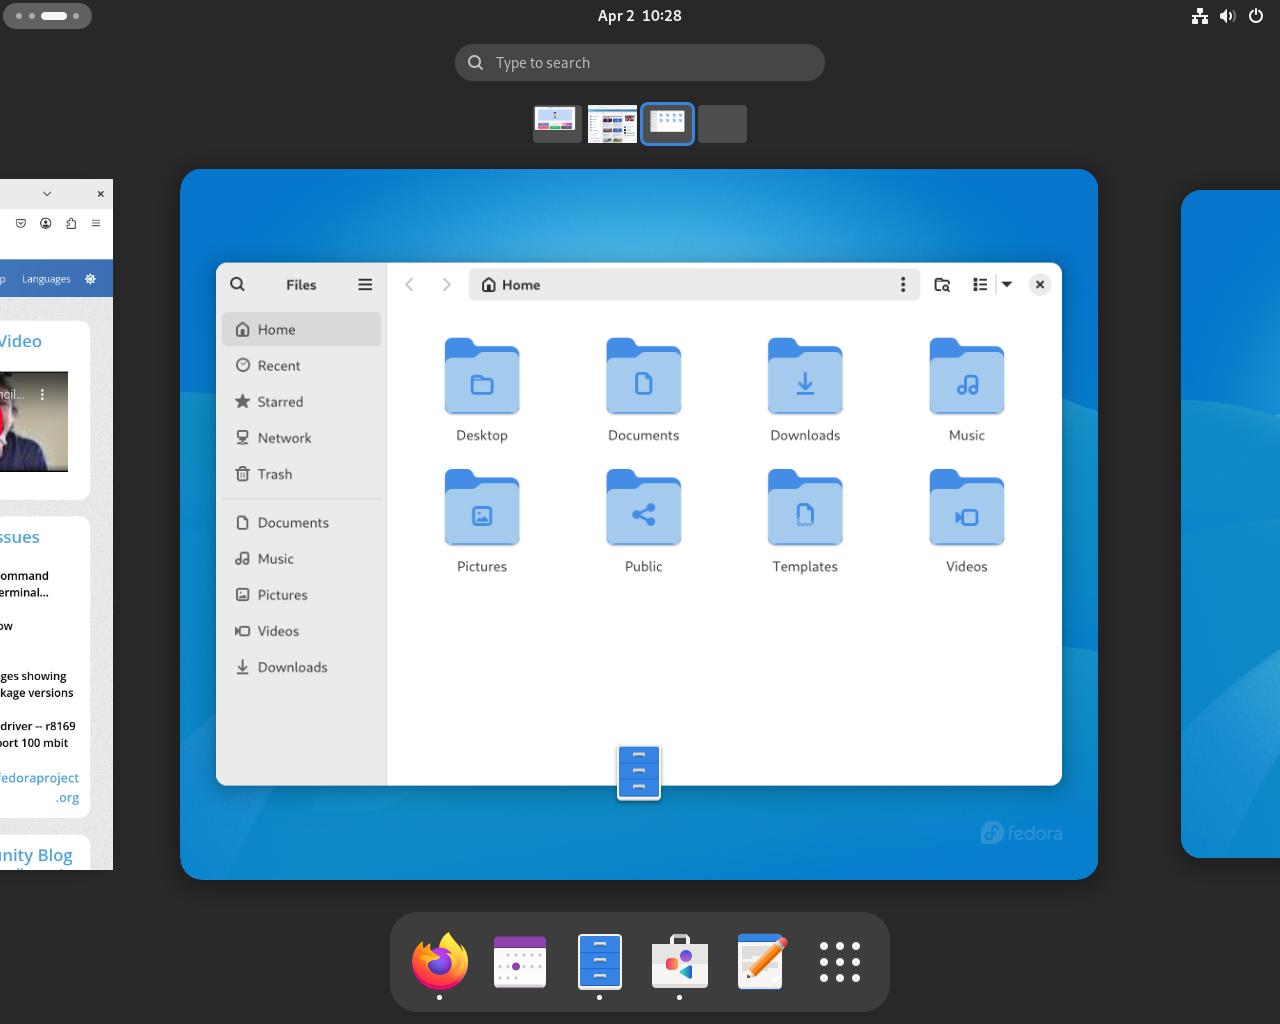
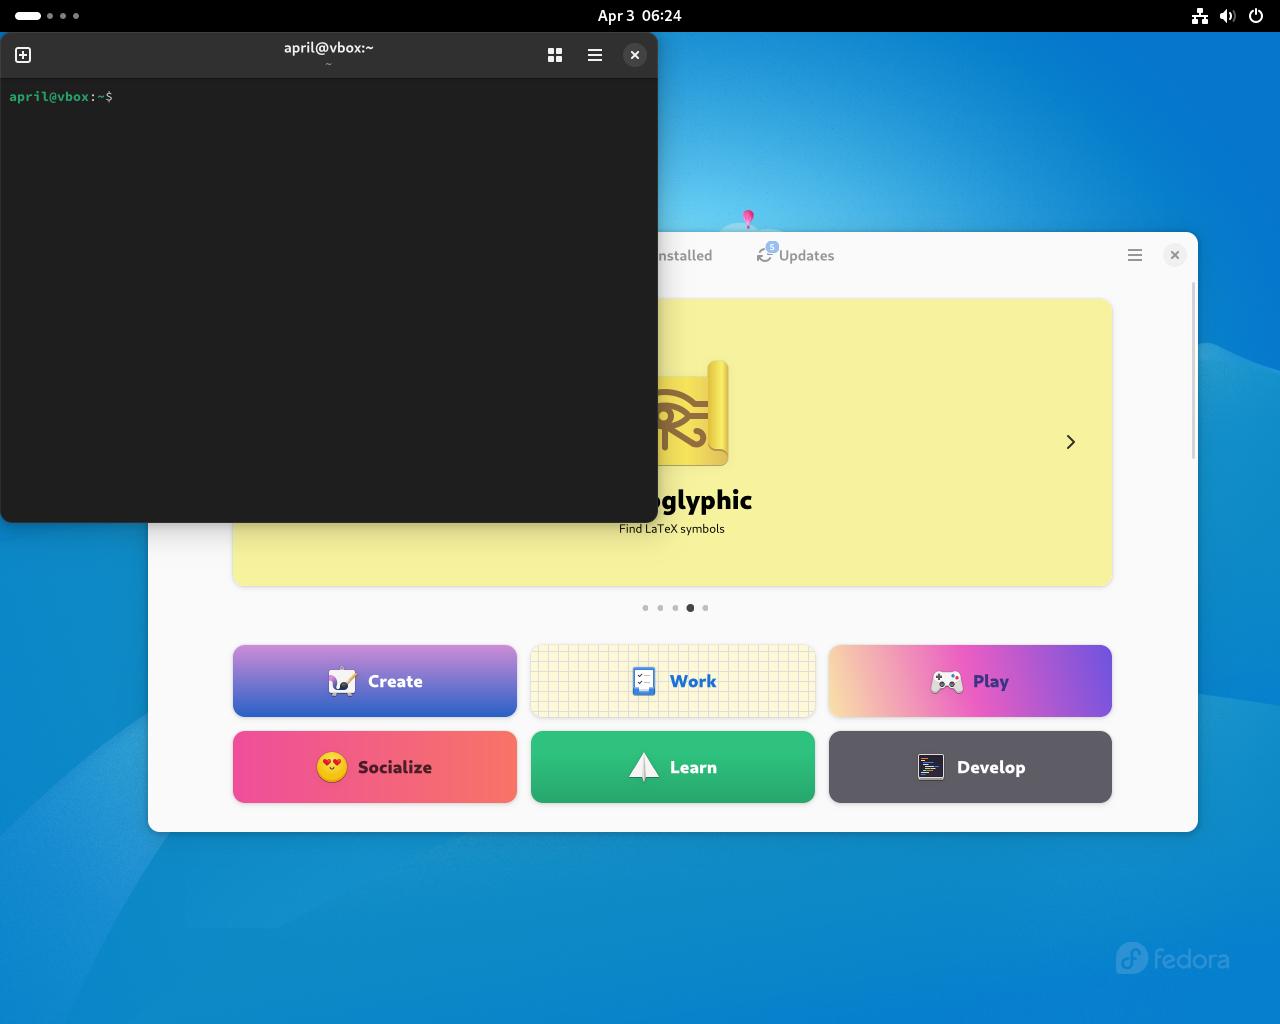
Step #8I: You can search for apps or files as soon as you open the overview, so let's open the terminal

Step #8J: Let's also search for "screenshot" in the overview
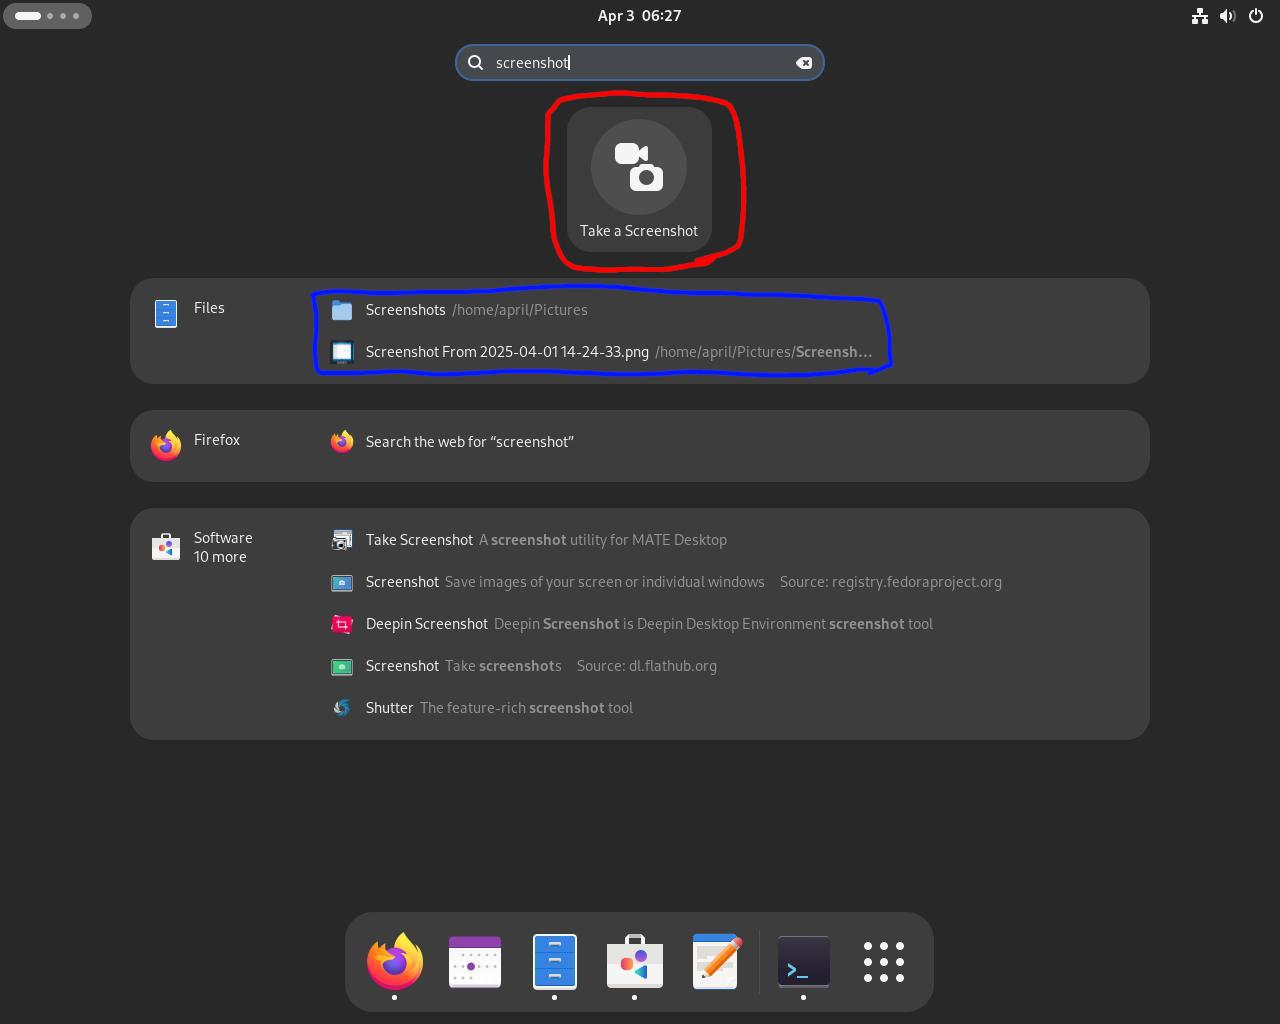
As you can see, when I search the word "screenshot" I can not only see an action to take a screenshot, but I can see other screenshots I took in the past and some software to take screenshots in GNOME Software. No files will likely appear for you if you haven't taken a screenshot though.
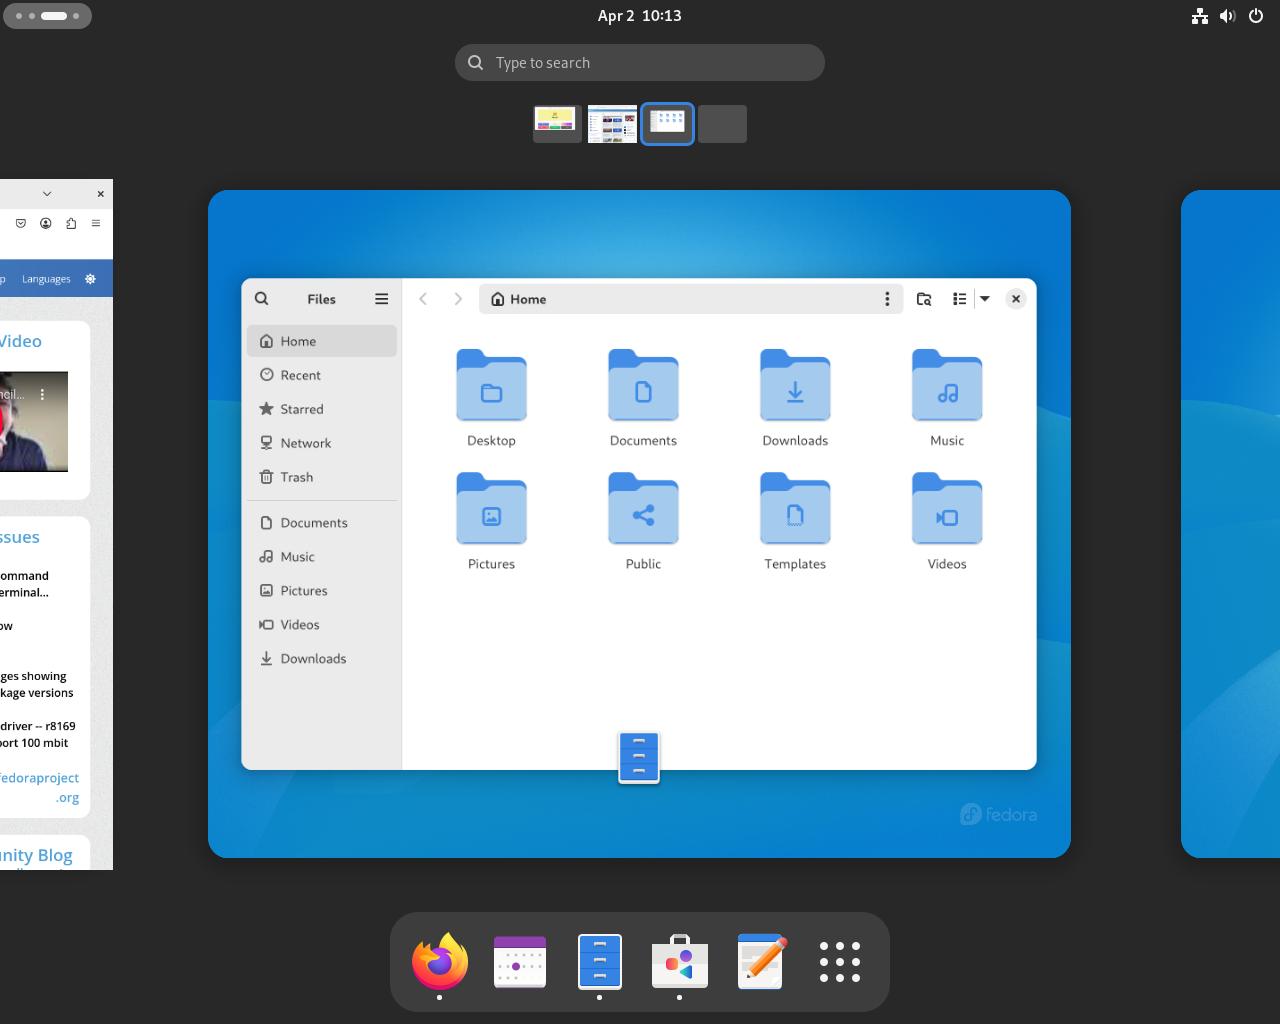
Now let's talk about the dash
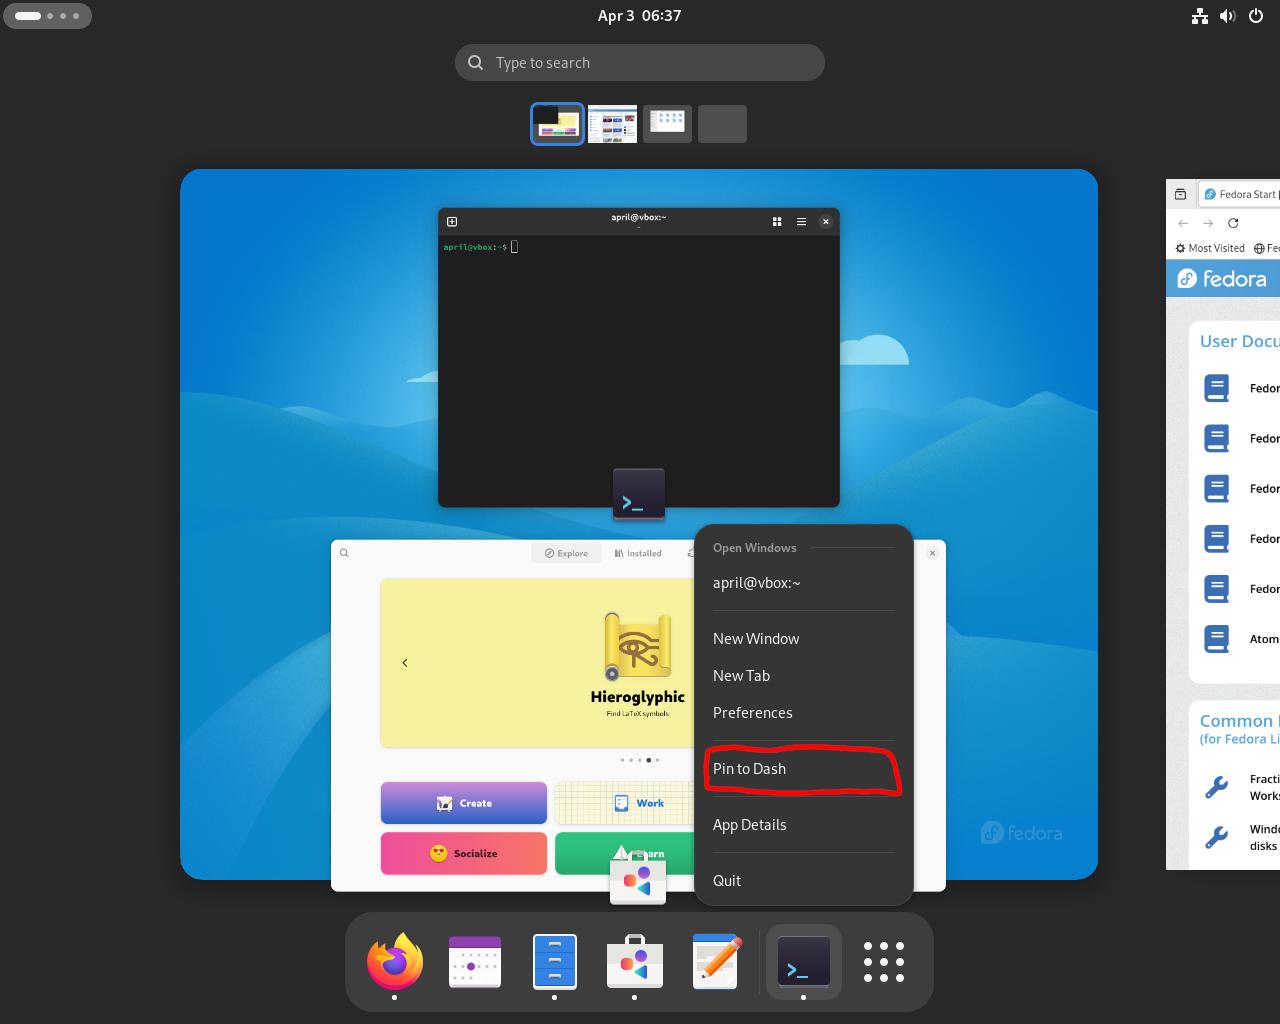
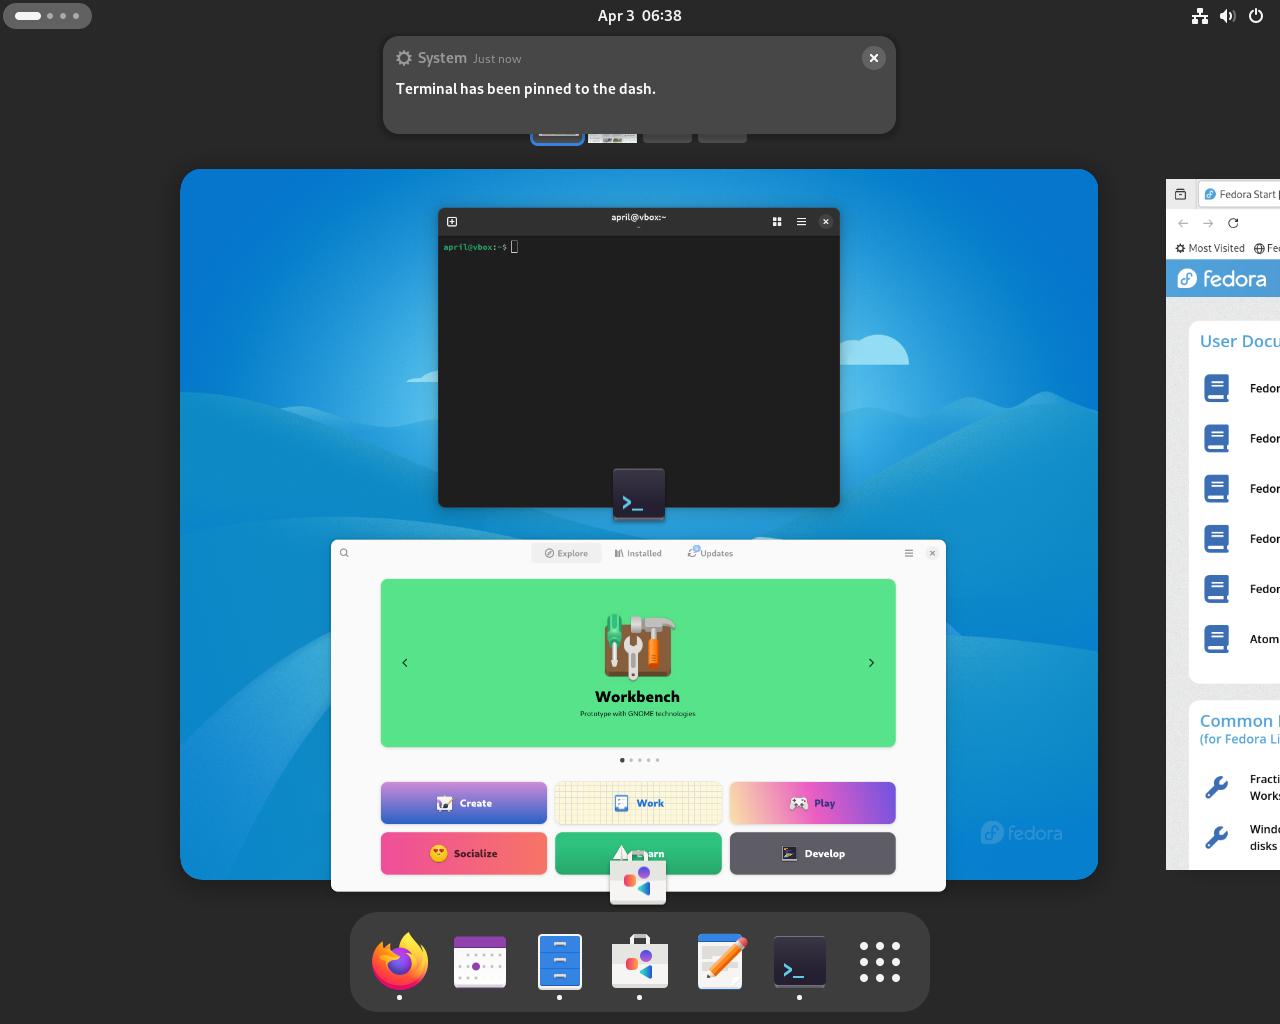
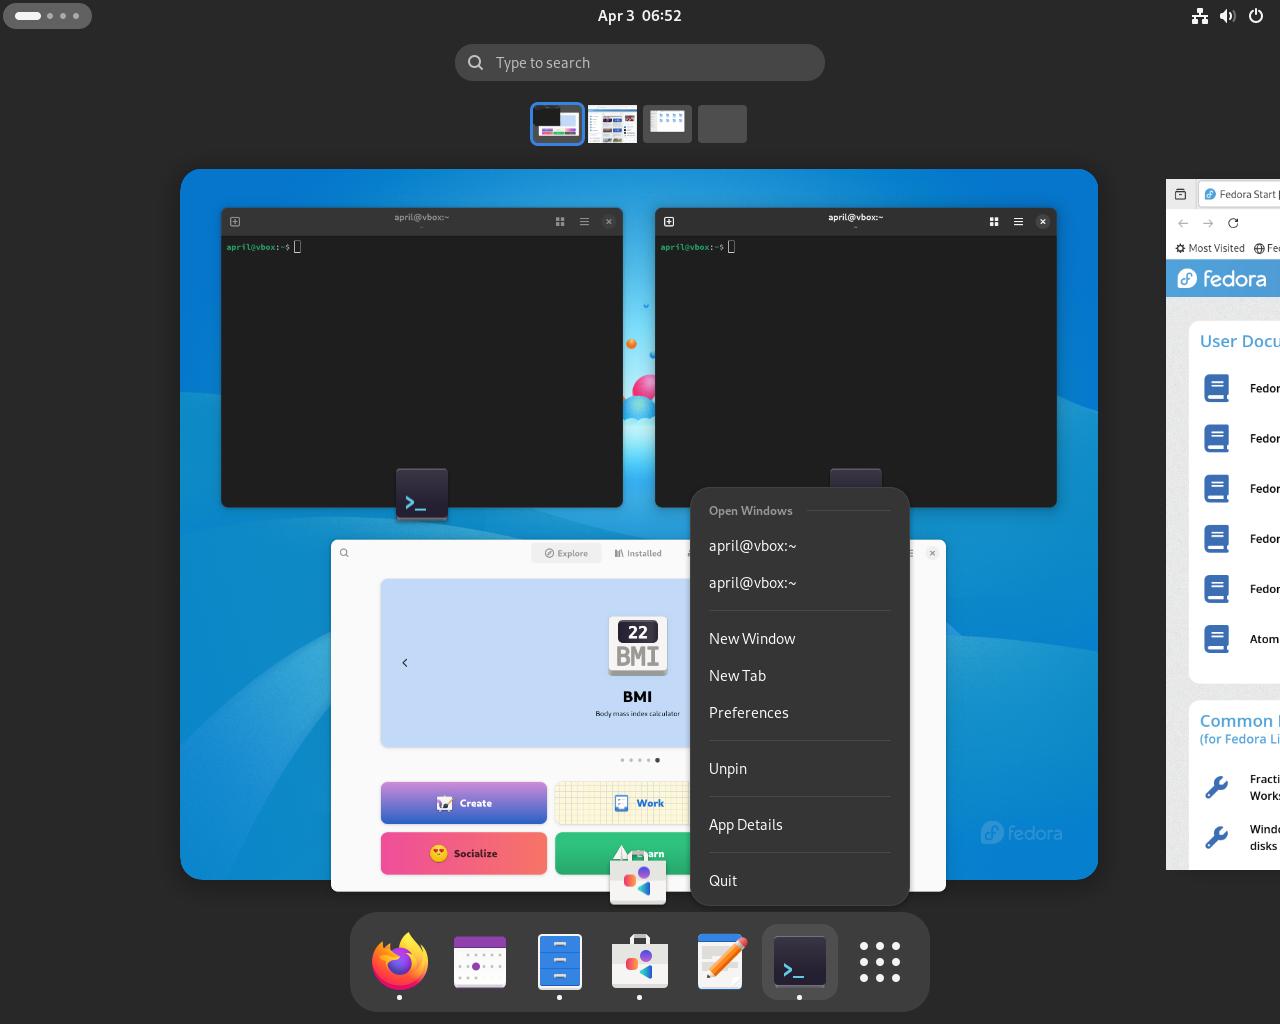
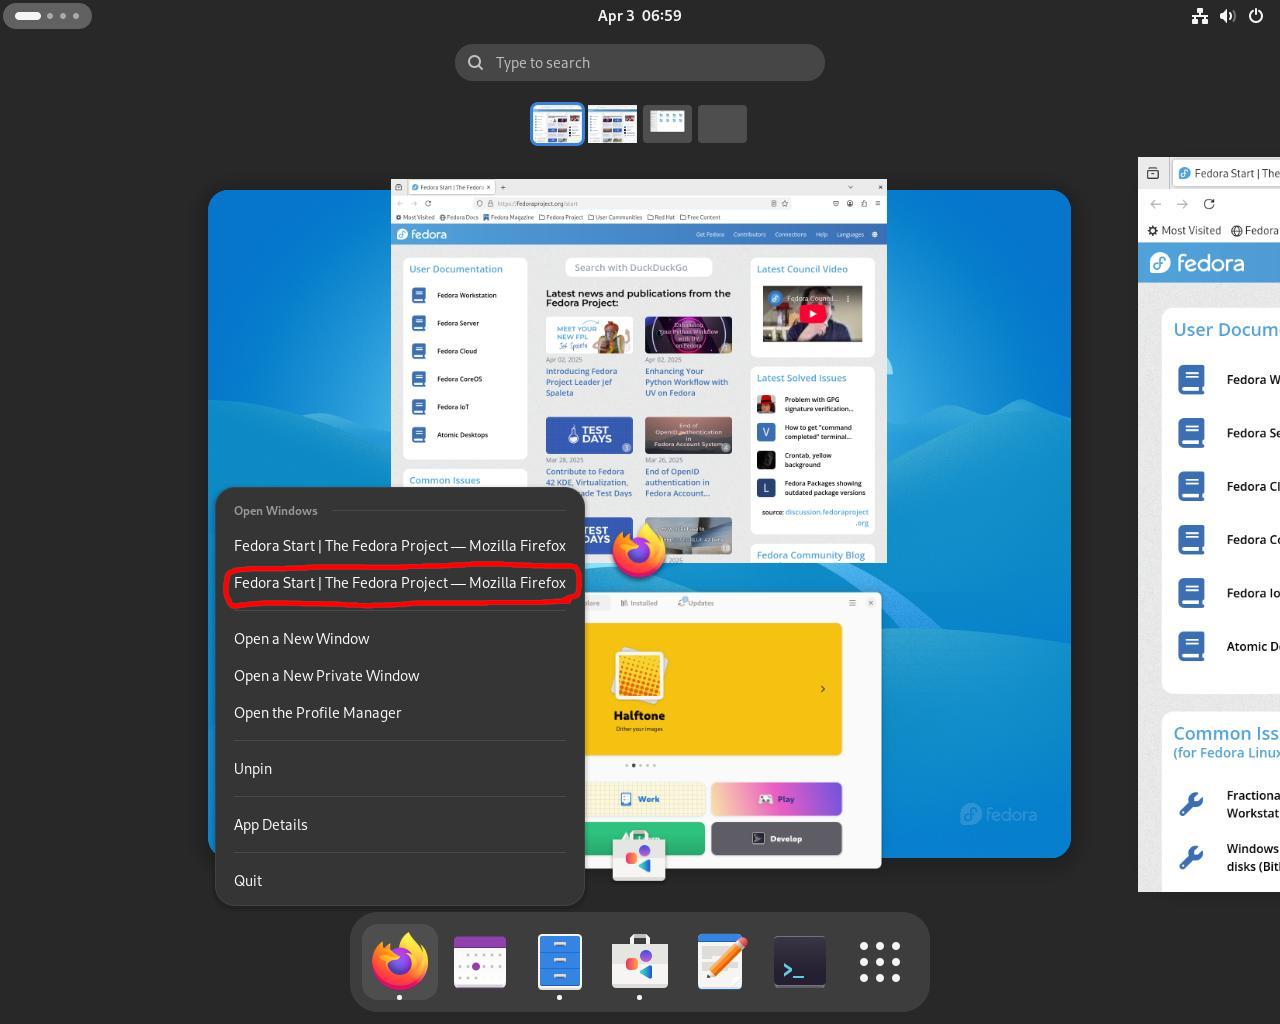
Step #8K: On the bottom of the overview is the dash, which allows you pin apps for easy access and manage open windows. Let's pin the terminal we just opened.
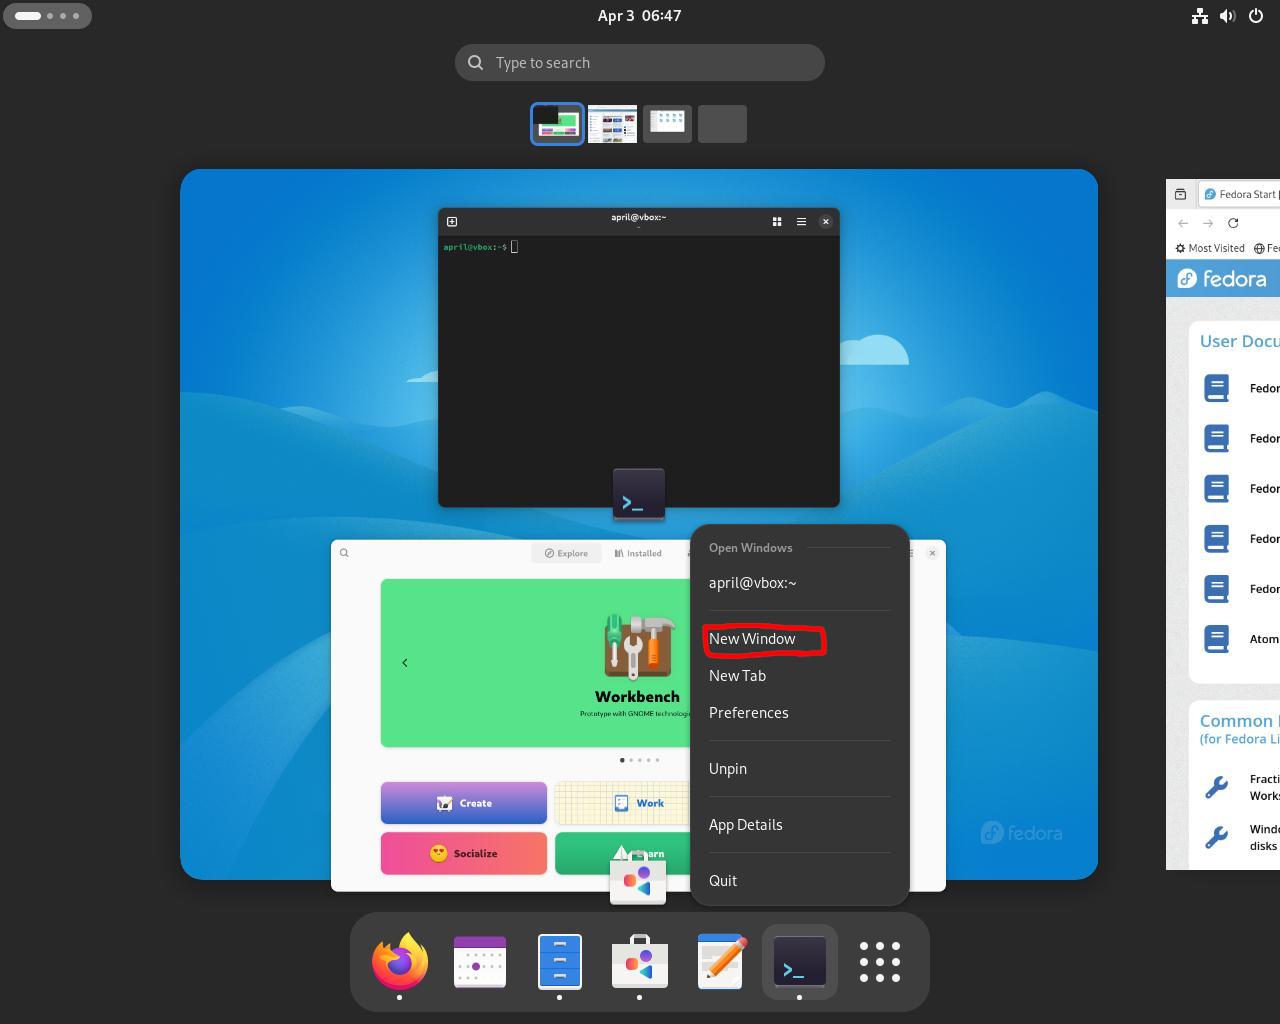
Step #8L: We can also open a new instance of the terminal using the dash
Step #8M: Now let's close all instances of the terminal
Step #8N: Let's open another instance of Firefox using the dash
Step #8O: You can also use the dash to switch to applications on other workspaces or ones overlapping each other.

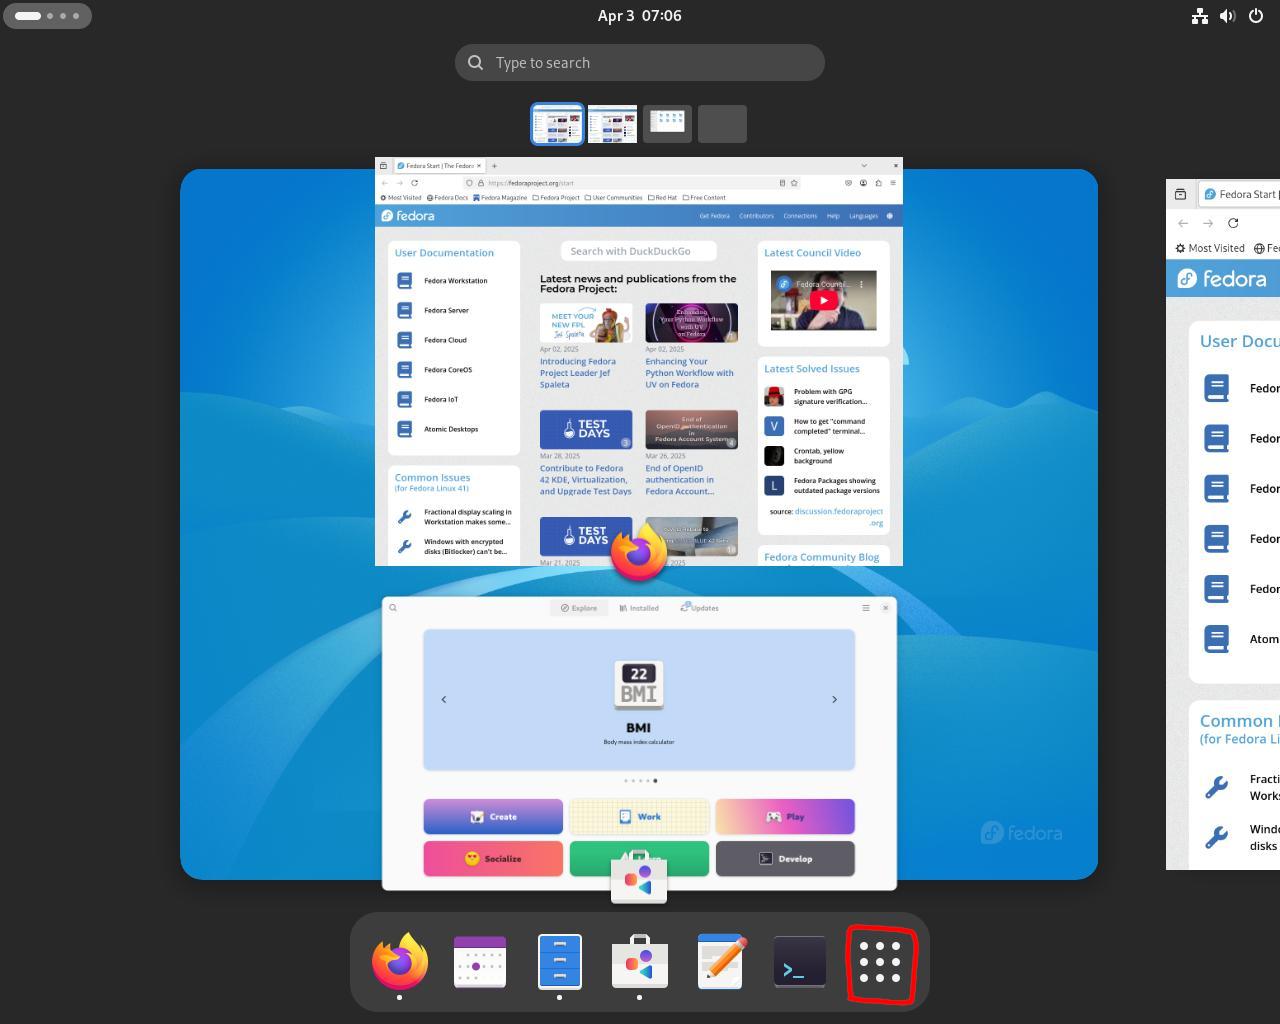
Step #8P: The dash also has an all apps grid, which some may prefer to search especially if you use a touchscreen
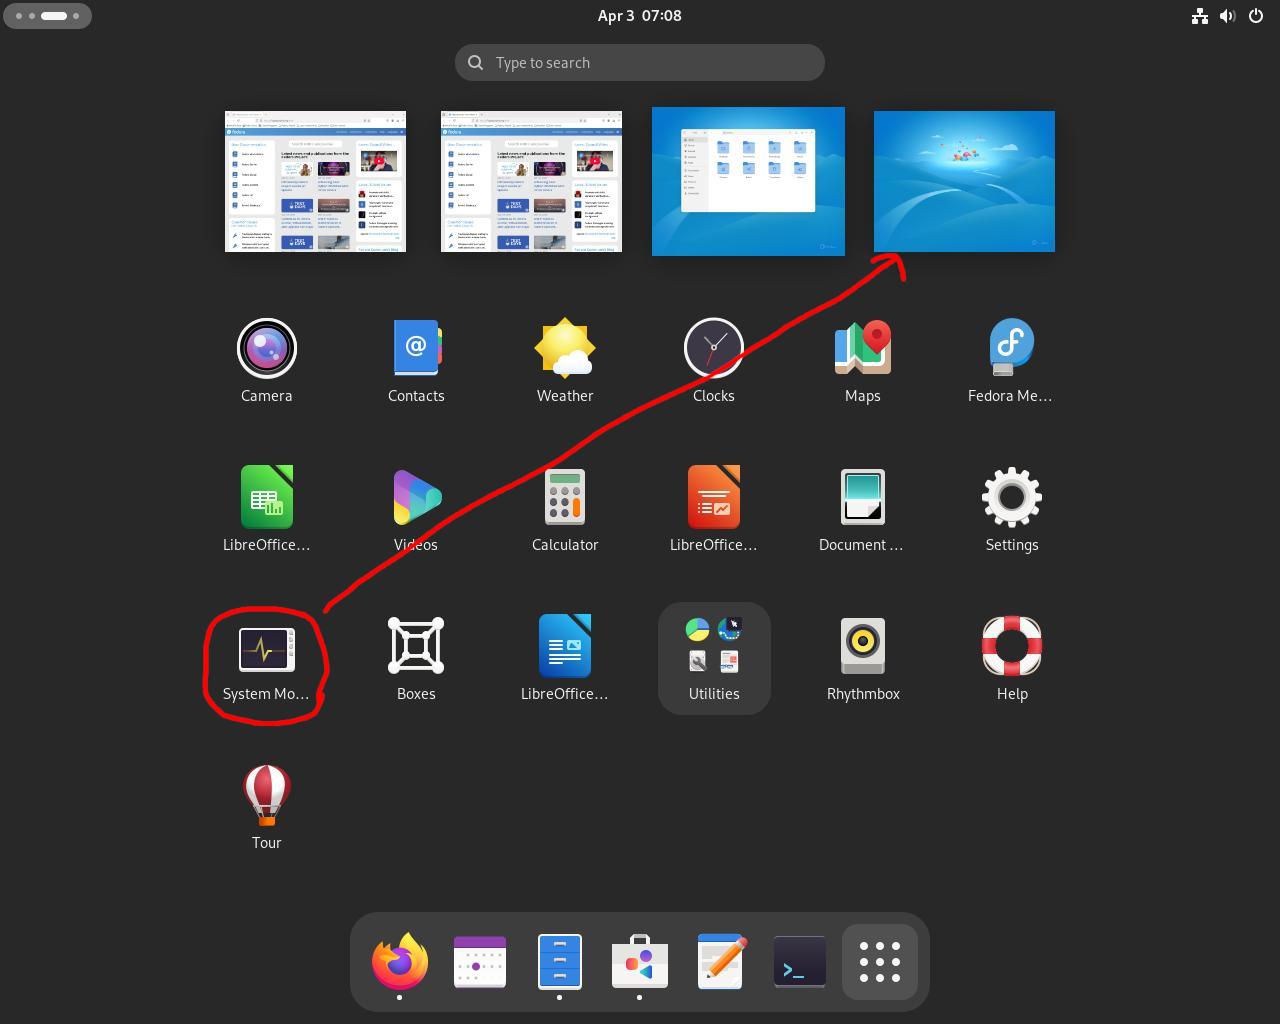
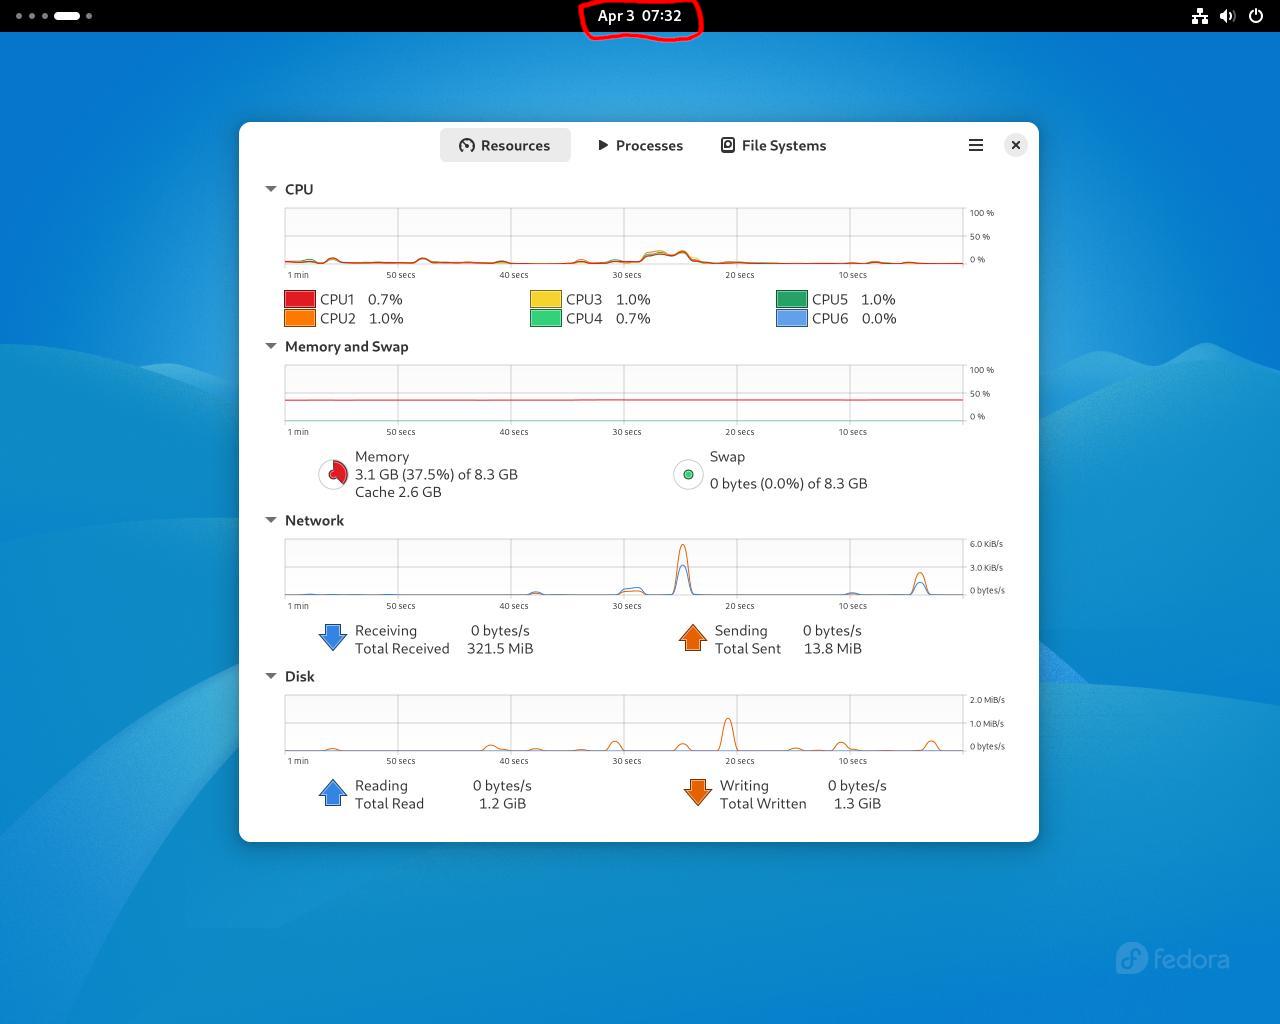
Step #8Q: You can also do workspace management here. Let's open up a system monitor in the farthest right workspace by dragging the icon to that workspace

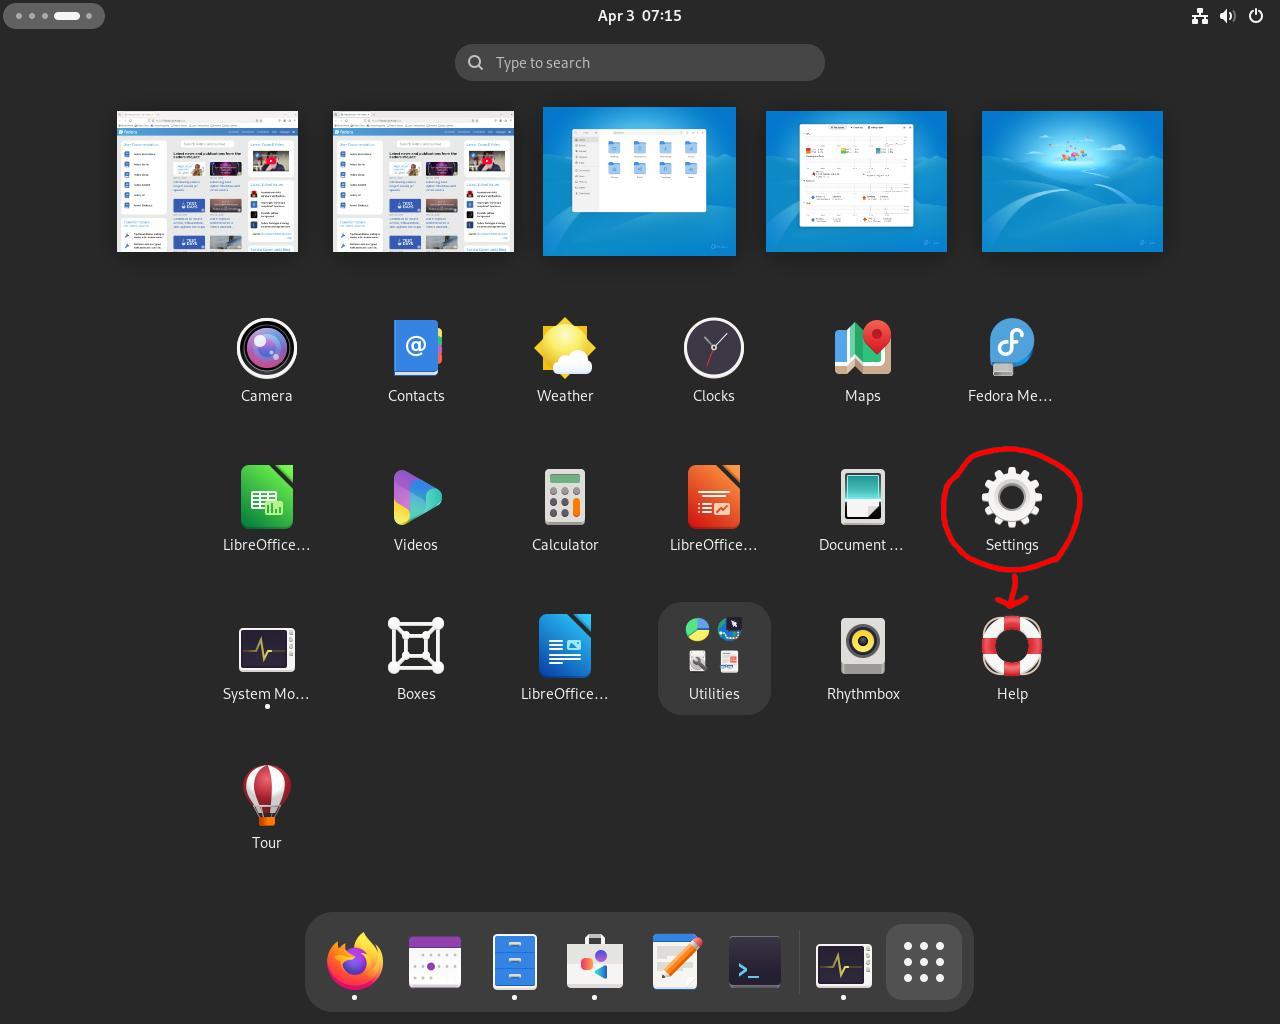
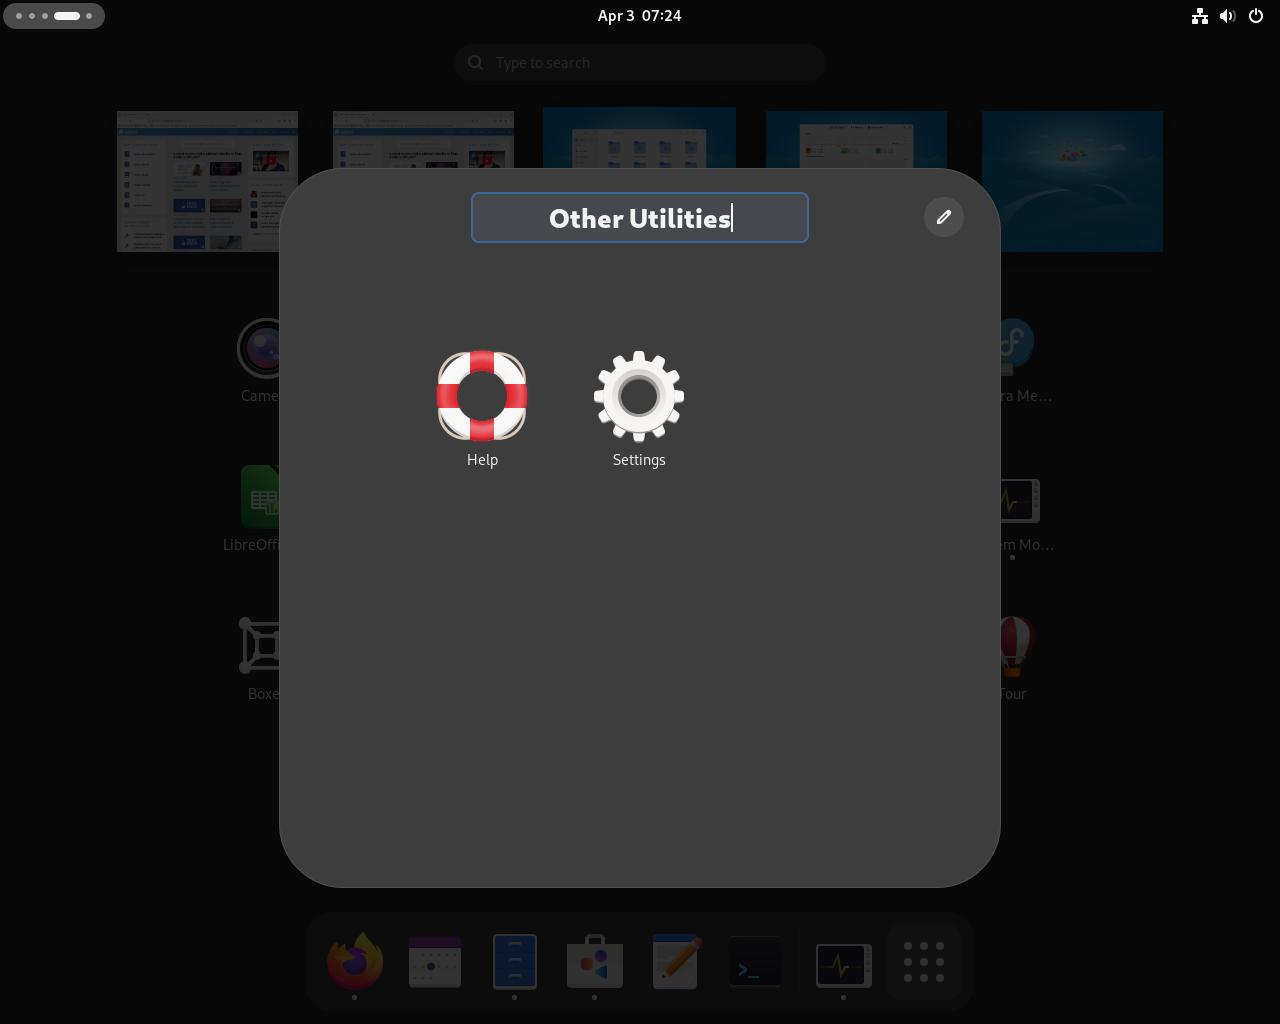
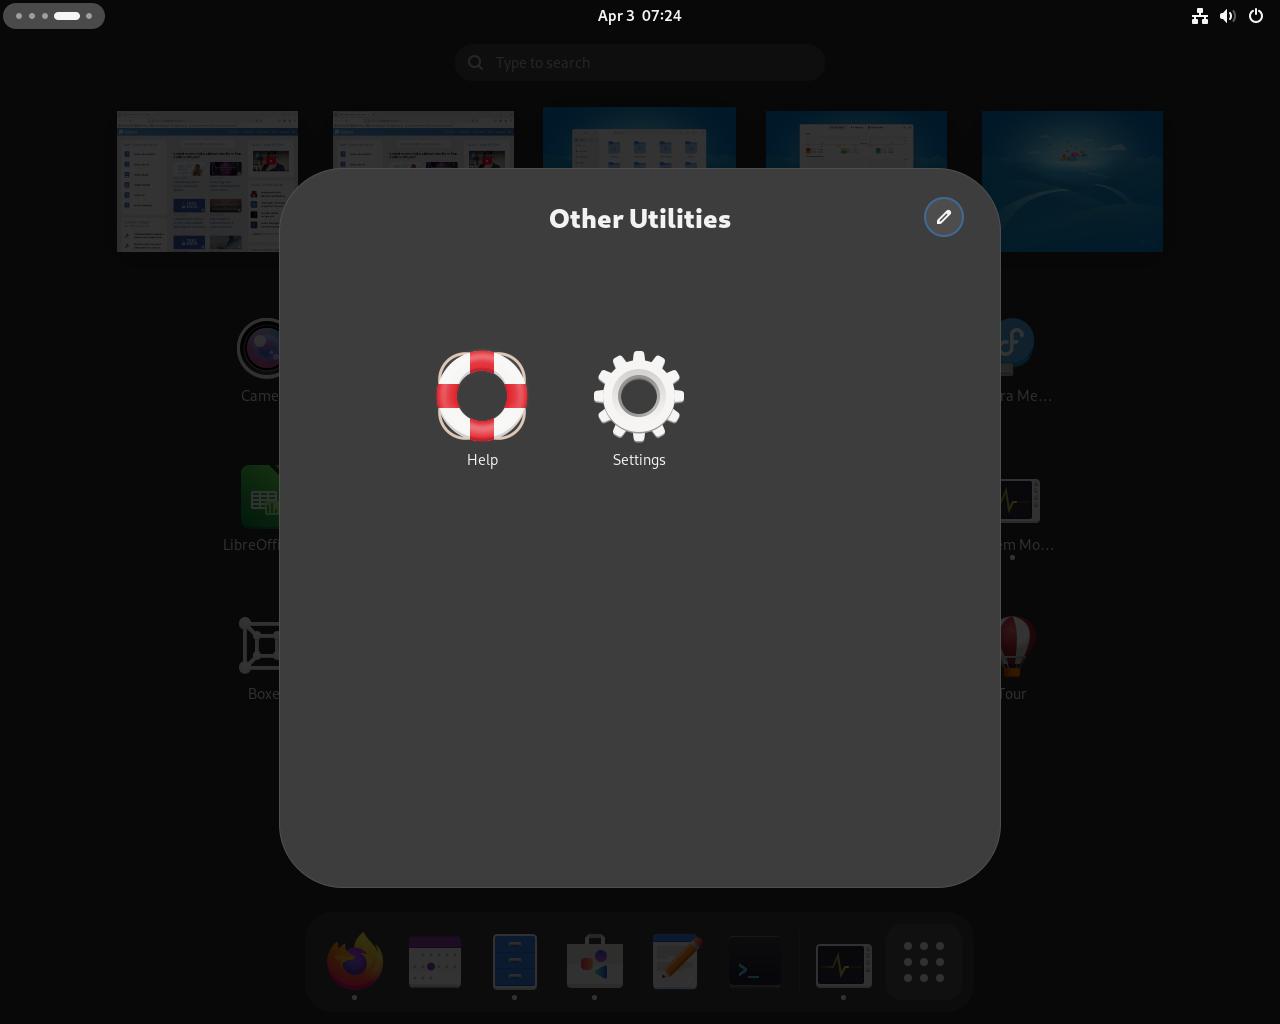
Step #8R: You can create or expand folders by dragging one icon into another. For example, let's combine settings with help
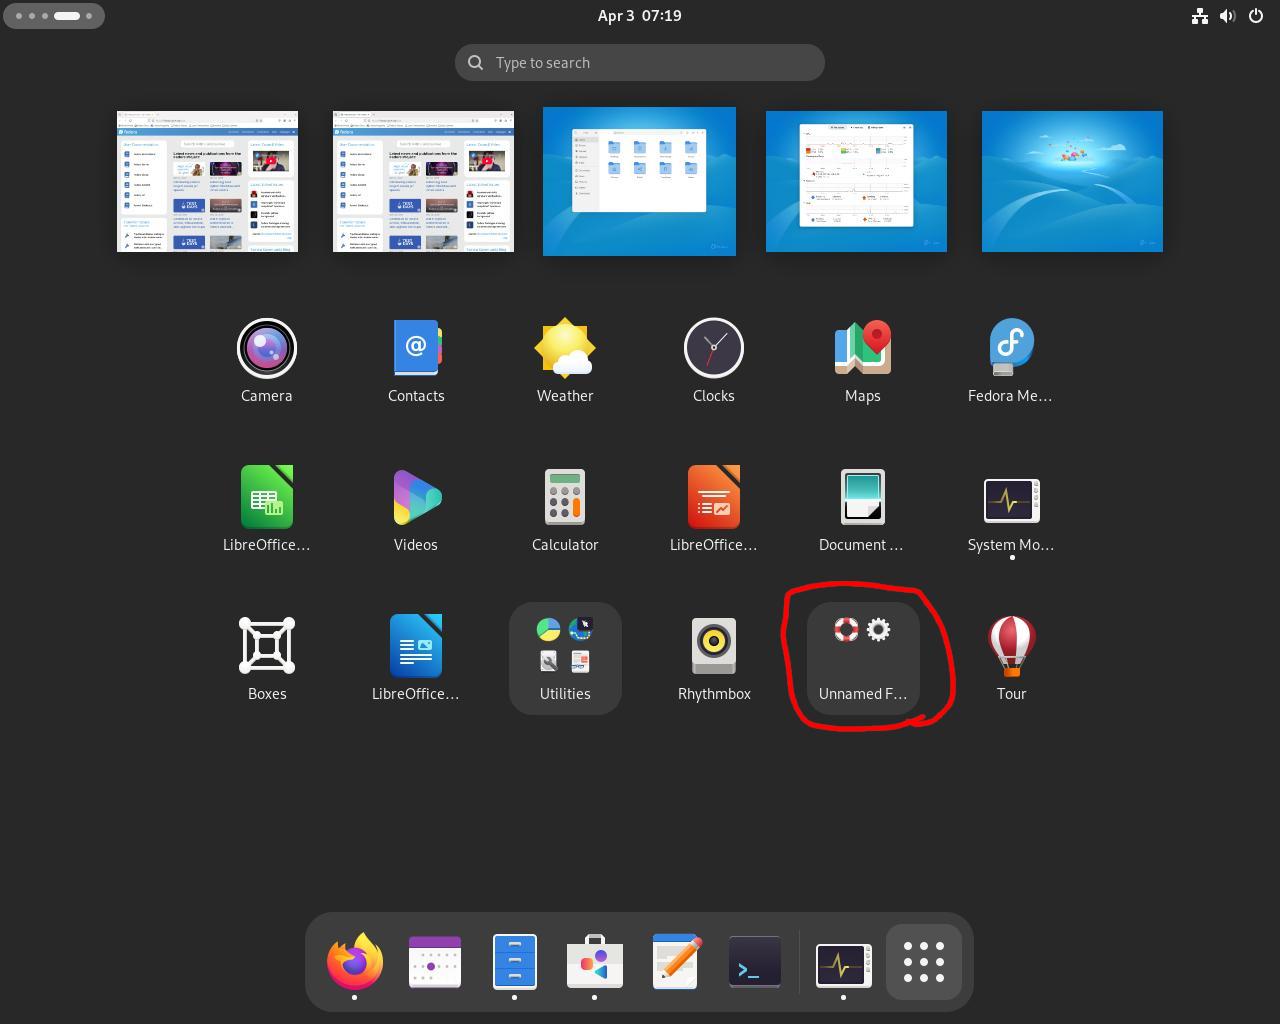
Step #8S: That will create a new unnamed folder. Let's name it "other utilities" by clicking into the folder and editing it's name

This is the end of the overview tutorial, however this does not cover everything but should be enough to get you started.
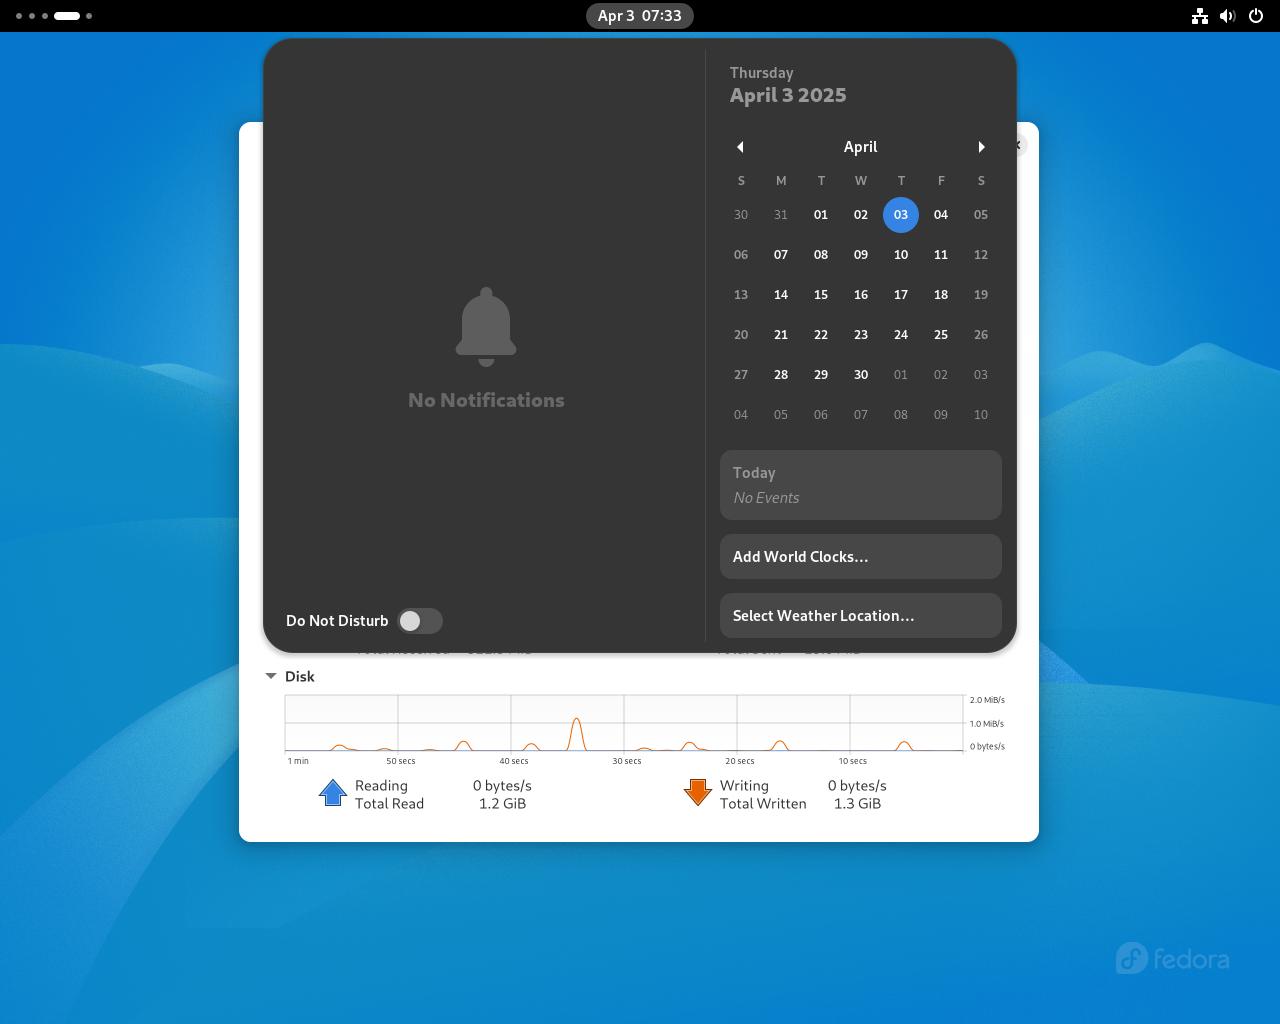
Step #9A: To view your clock, calendar, and notifications click on the clock area in the middle of the top bar
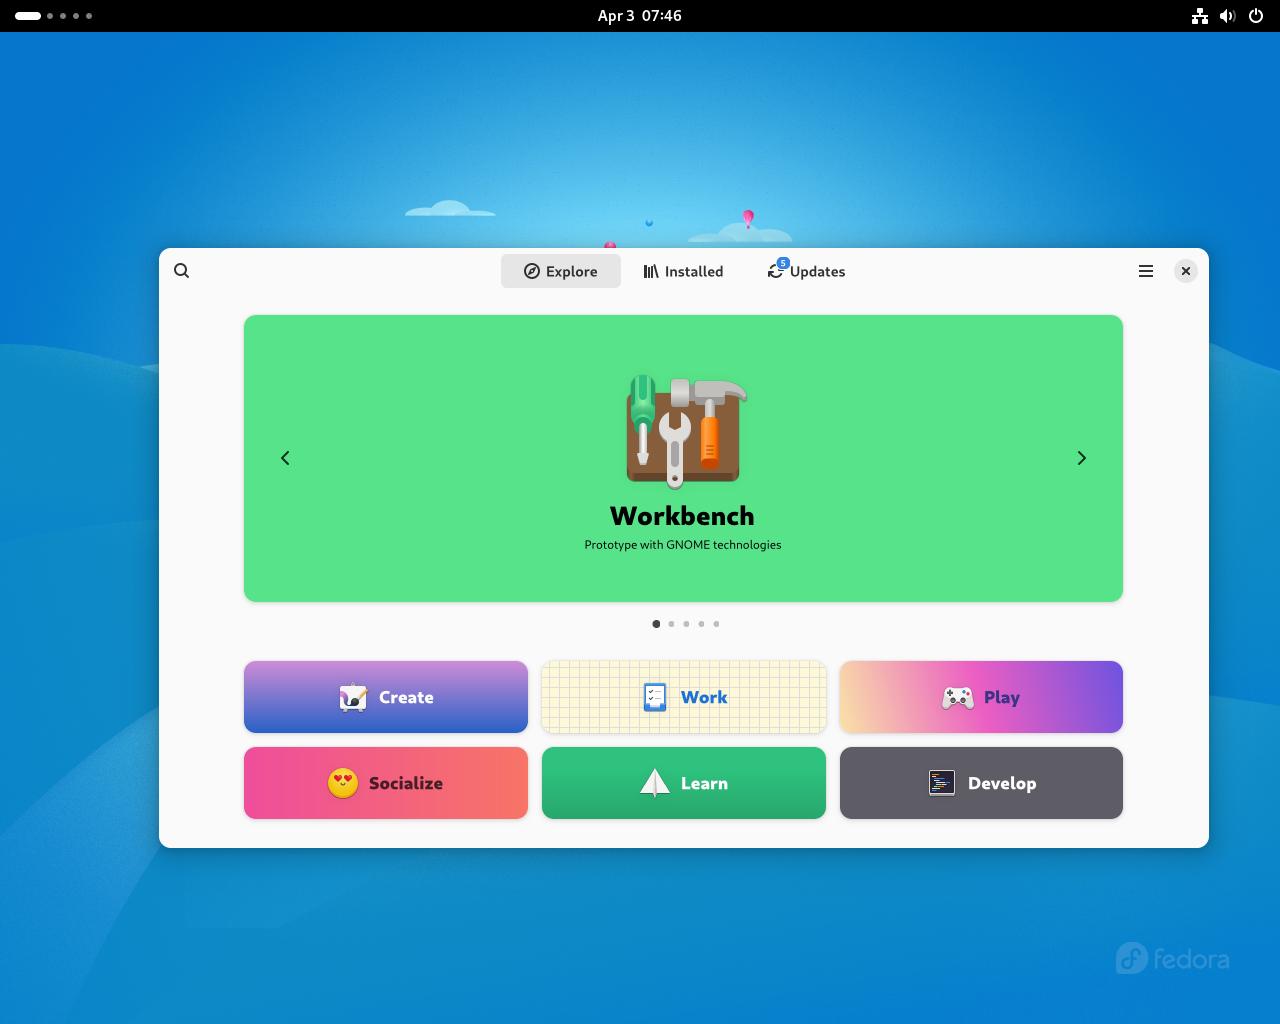
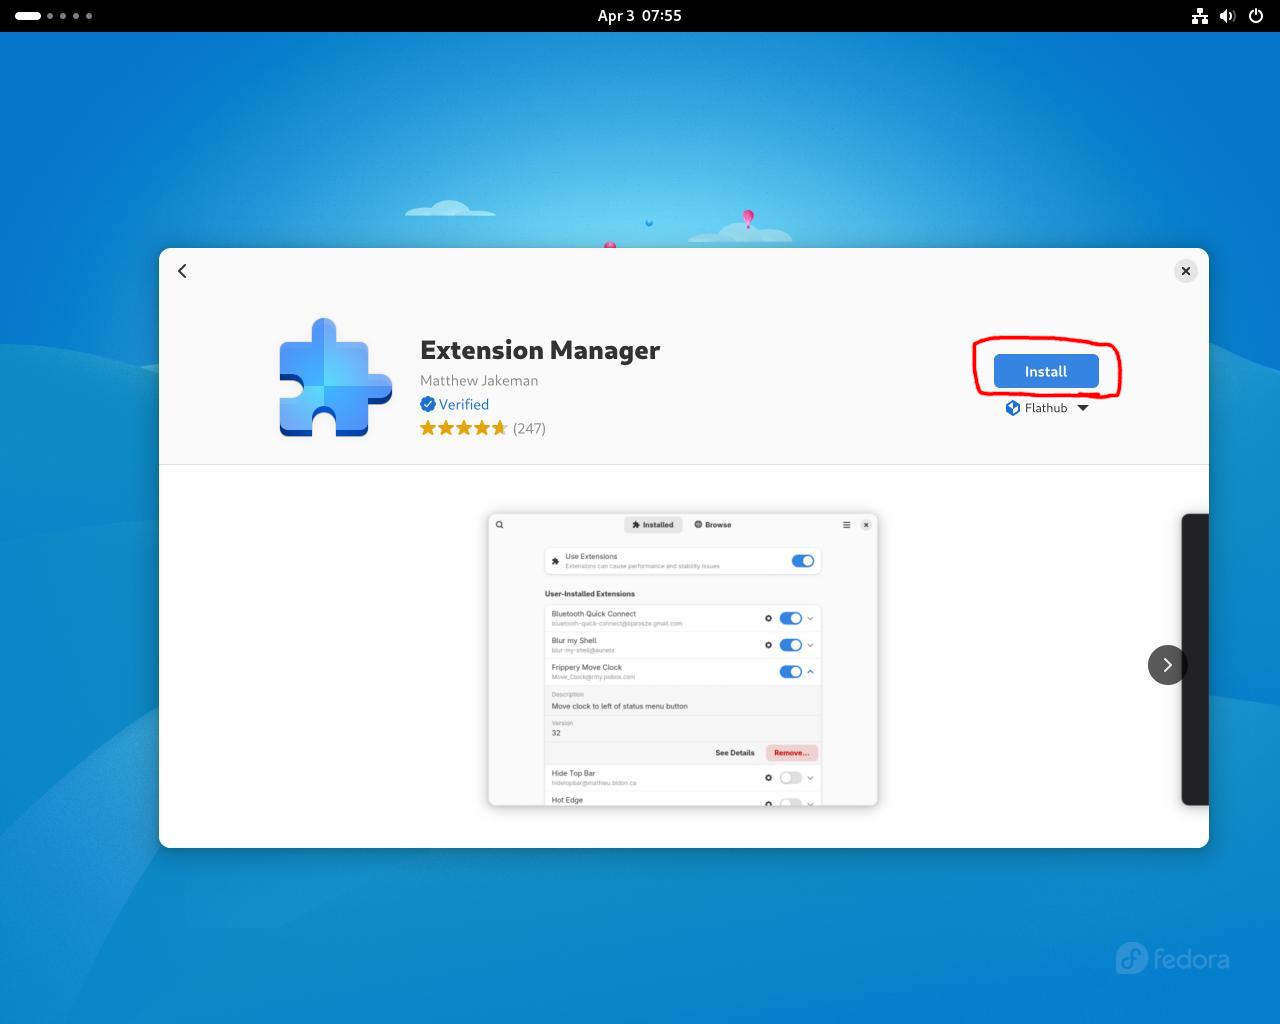
Step #10A: In Windows/macOS, you are likely used to hunting online for most applications with the app store being a rare exception. On Fedora (and most other distros) it is the opposite. Installing applications in Fedora is closer to installing apps on an Android/iOS smartphone. Let's focus back on GNOME Software that we opened earlier and install the "Extensions Manager" app
Step #10B: As soon as we open GNOME Software, we can start searching for Extensions Manager
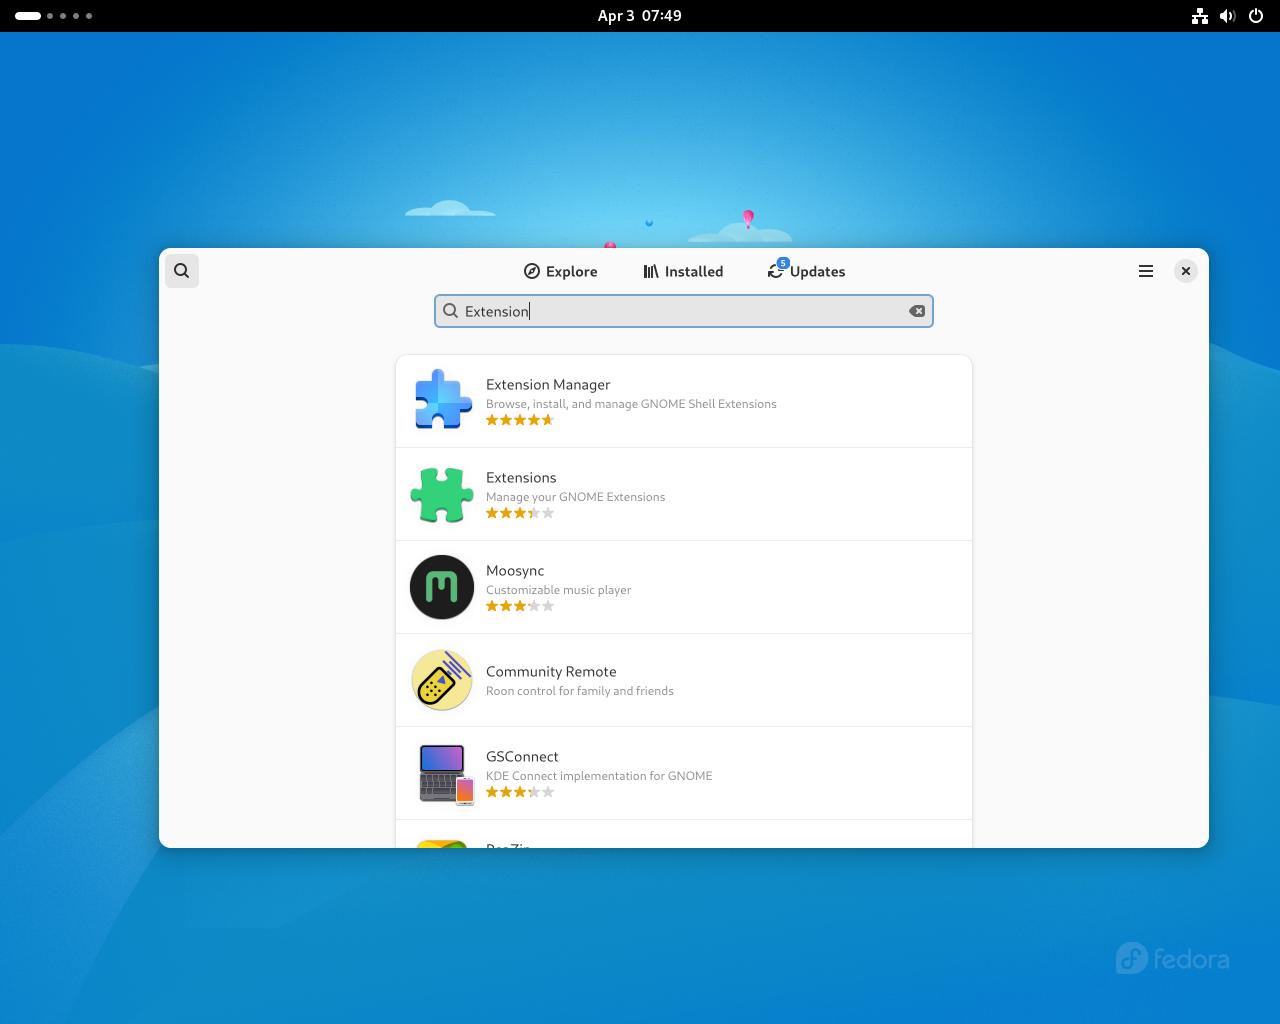
The application we are looking for is the first one
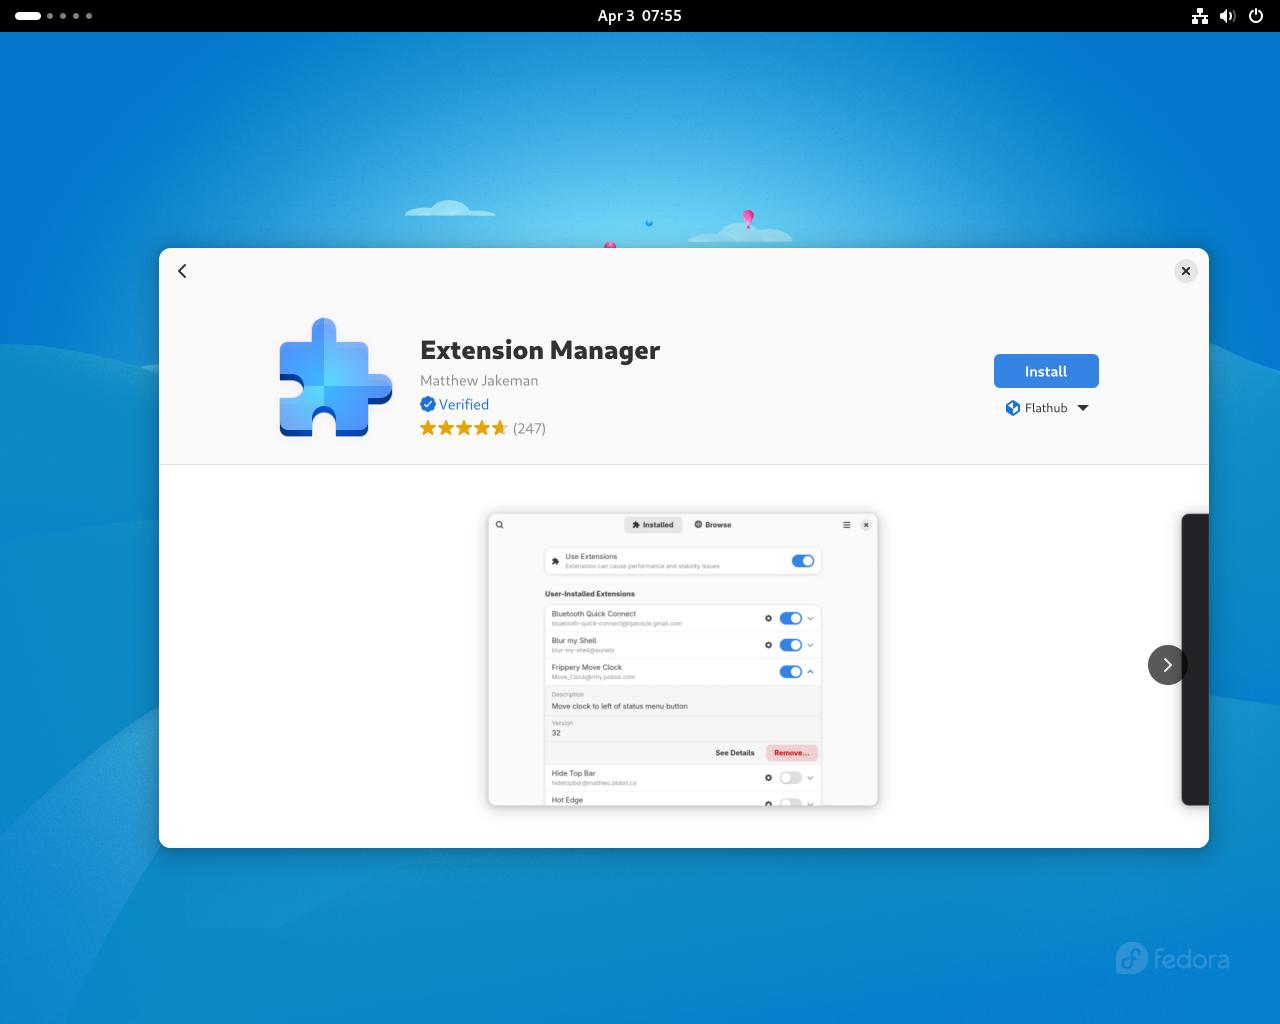
Step #10C: You are free to read about the app and look at the screenshots, but otherwise press the blue "Install" button.
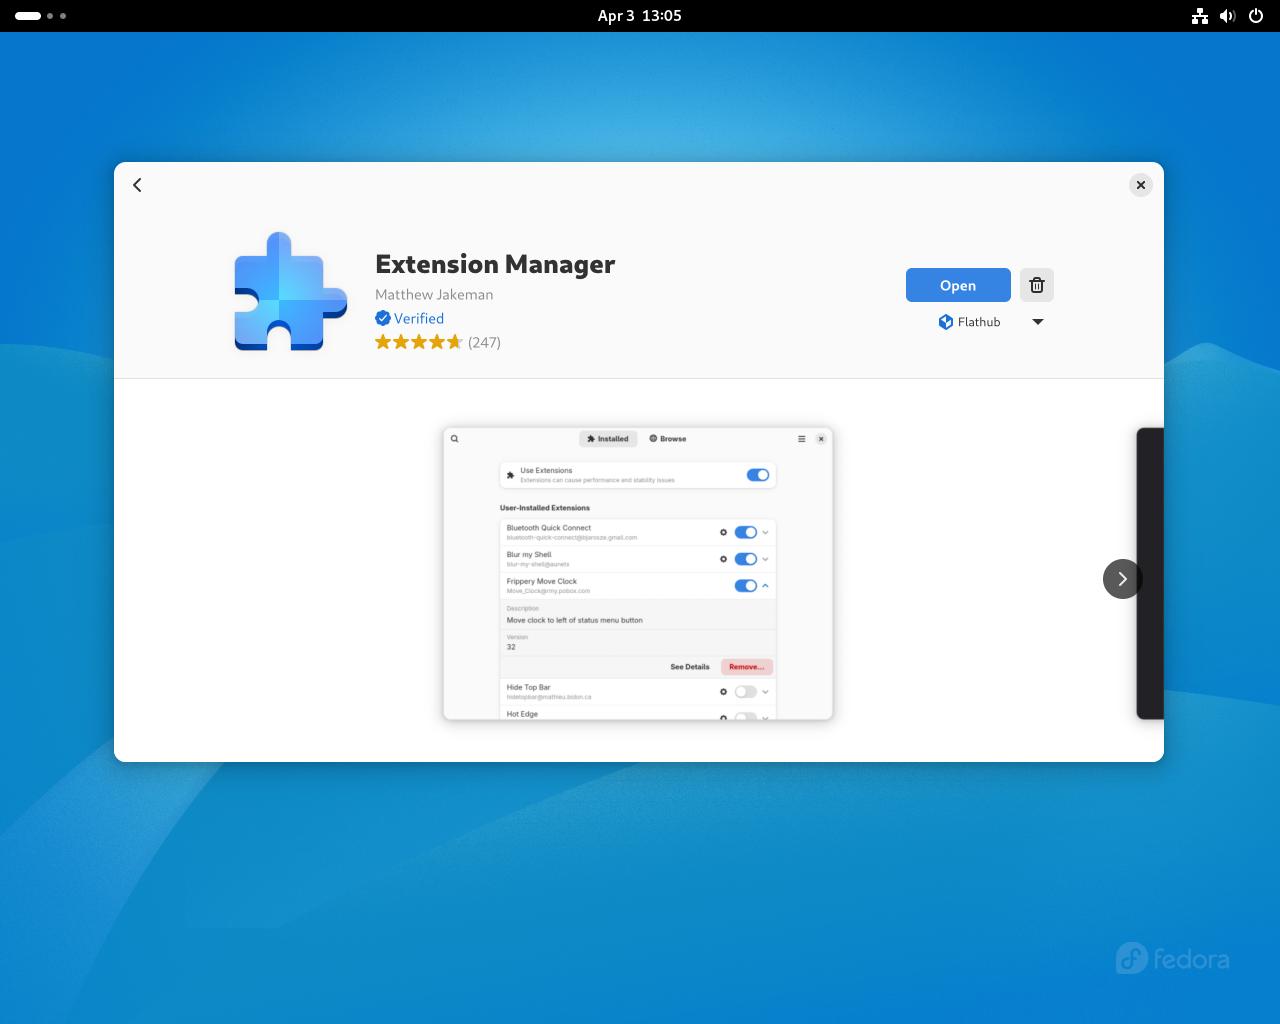
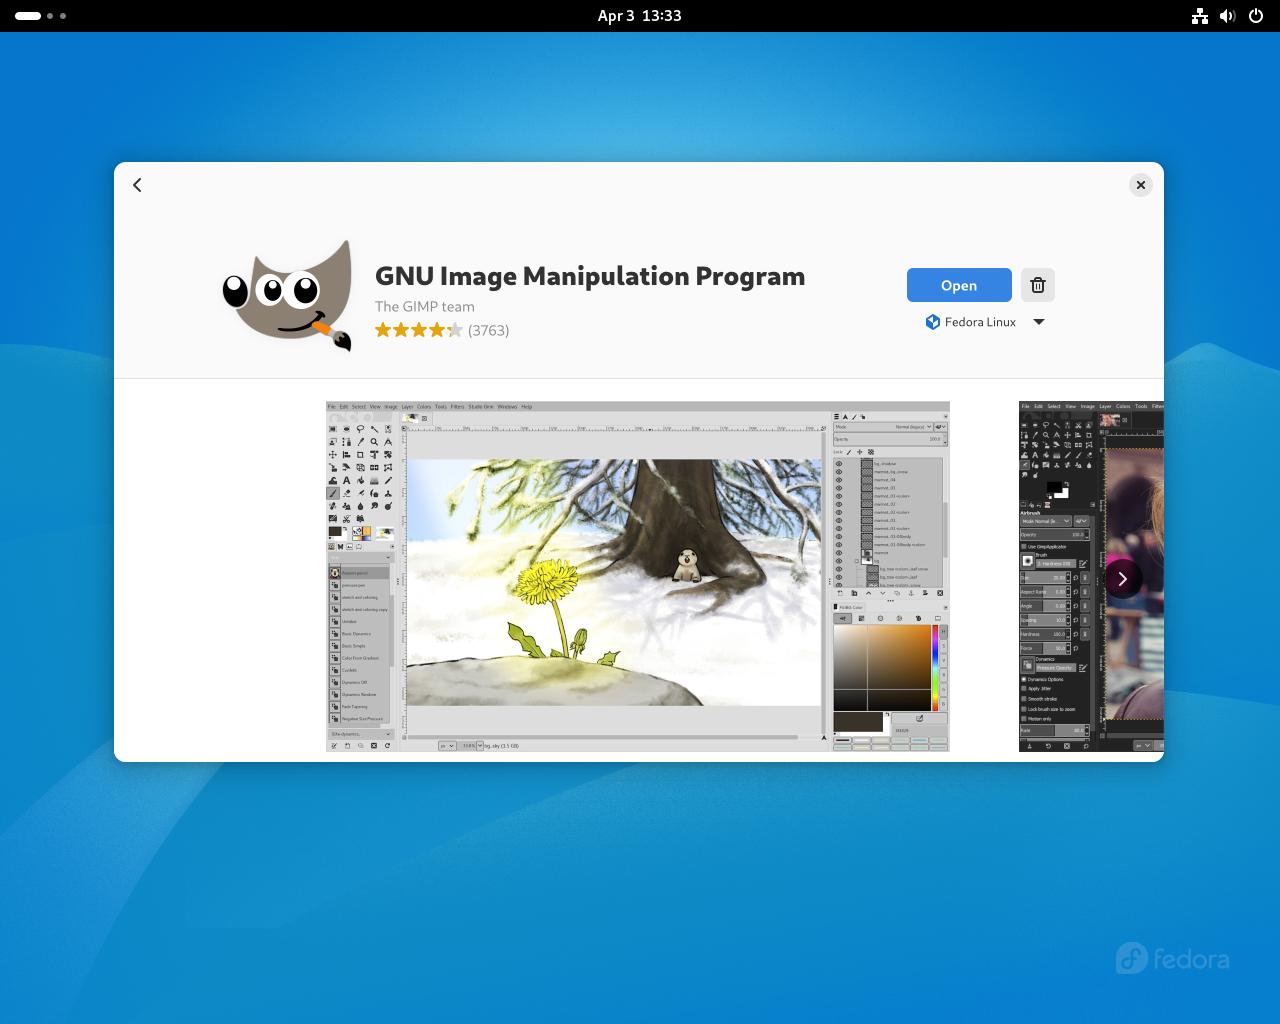
Step #10D: Once installed, the "Install" button is replaced with an "Open" button. We will come back to this app later.
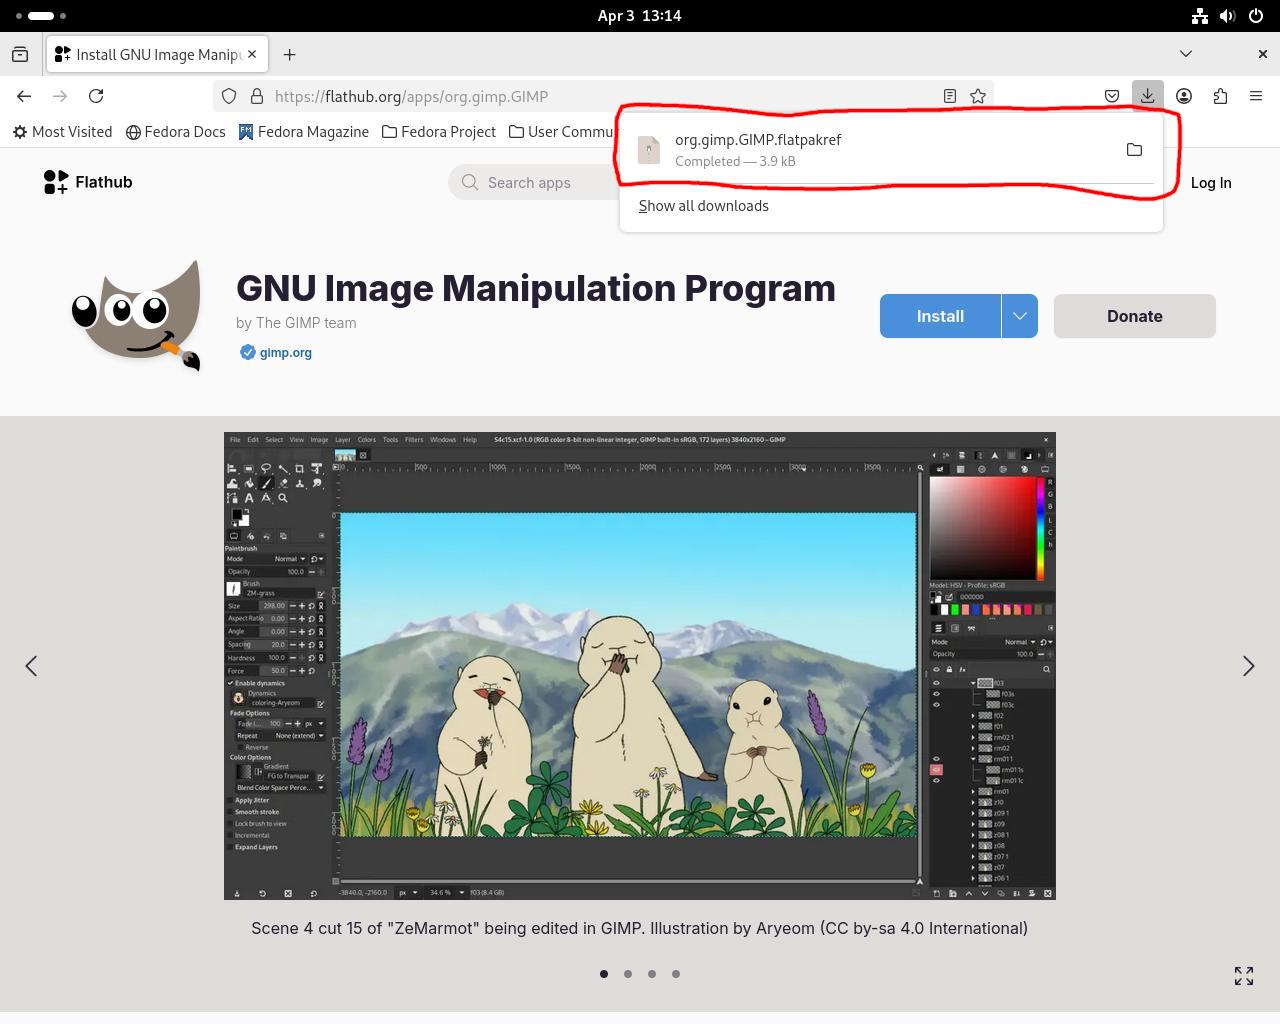
Step #10E: If you prefer to search on the web, you can also install many apps by searching for "[app name] flathub"
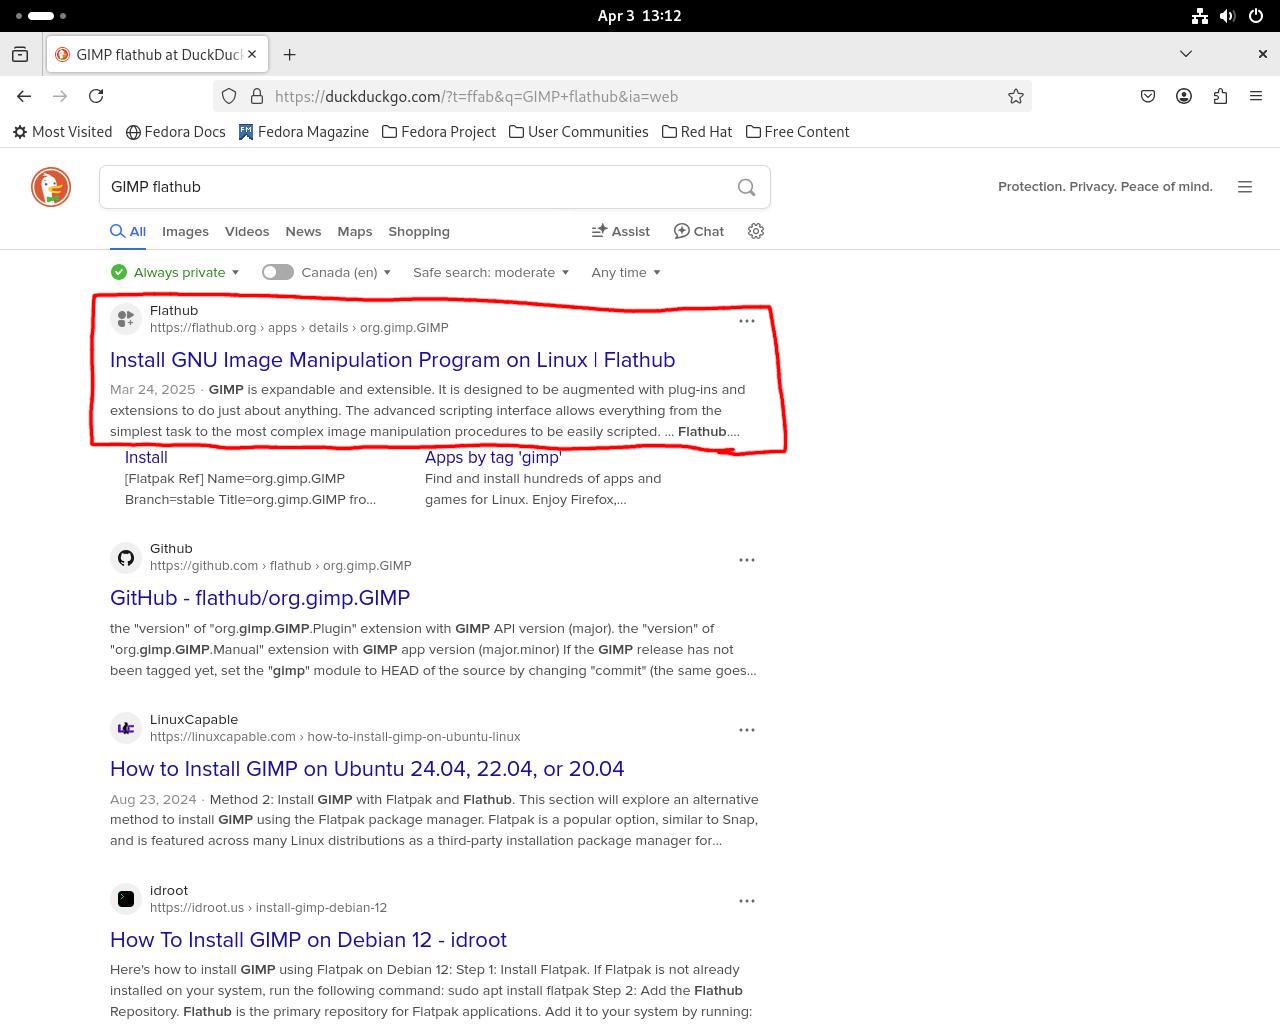
Step #10F: Click the "install" button
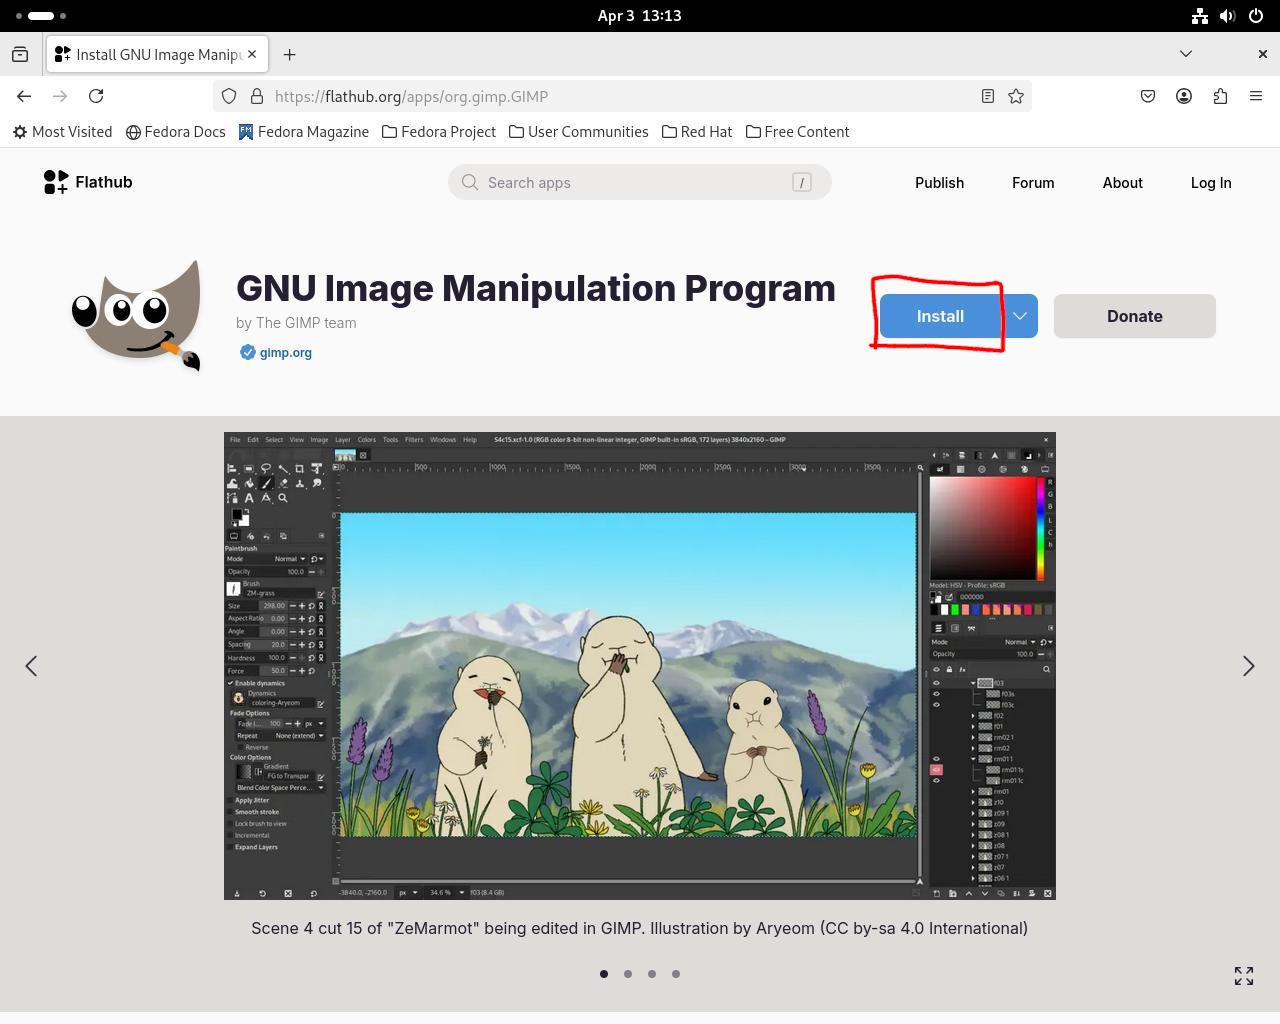
Step #10G: It'll download a .flatpakref file. On Firefox and Firefox-based browsers, you can click to open the file.
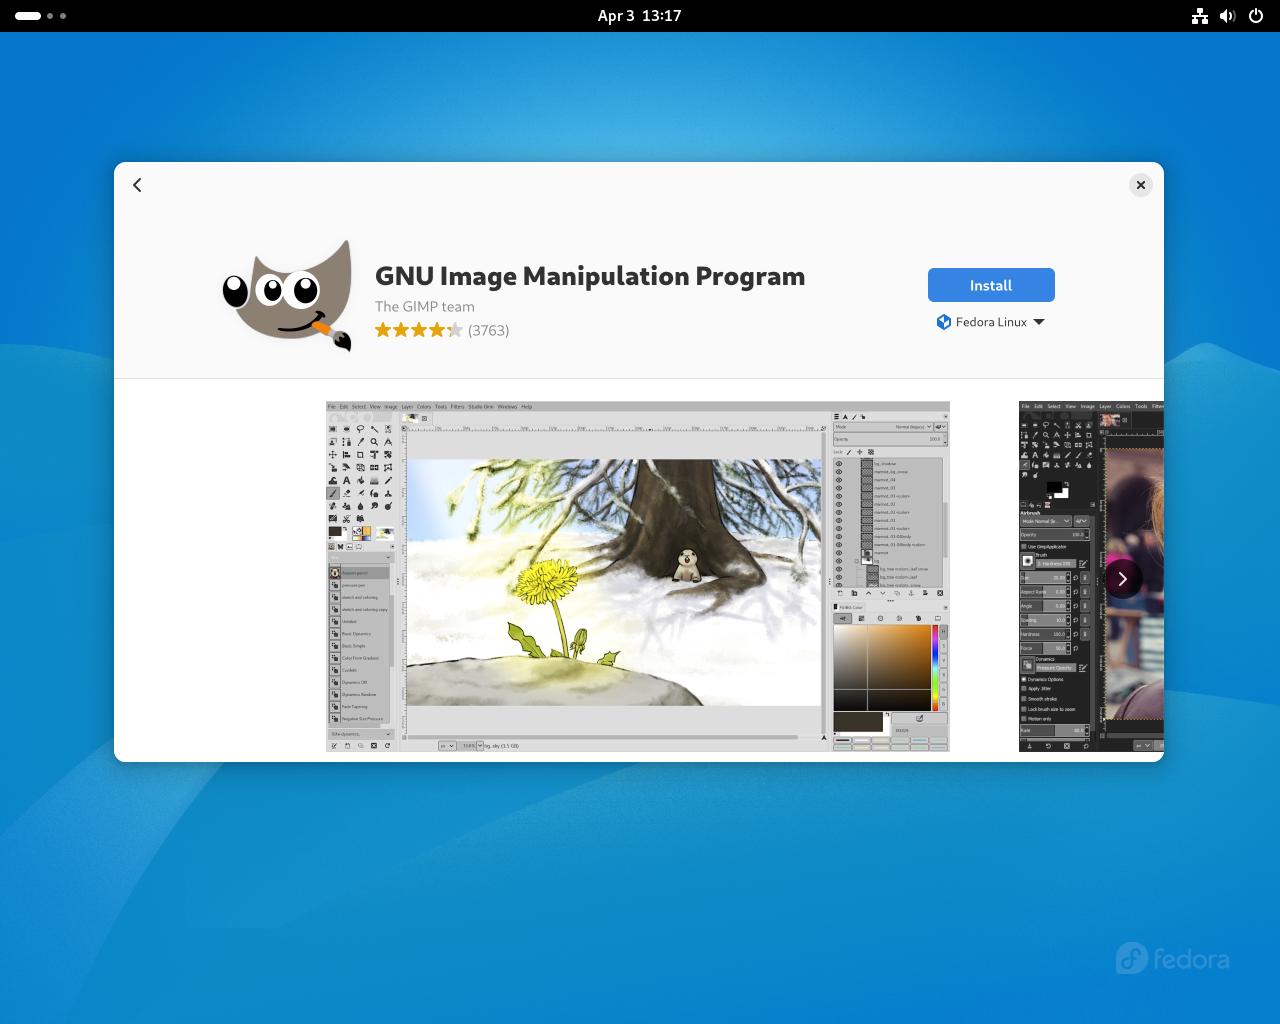
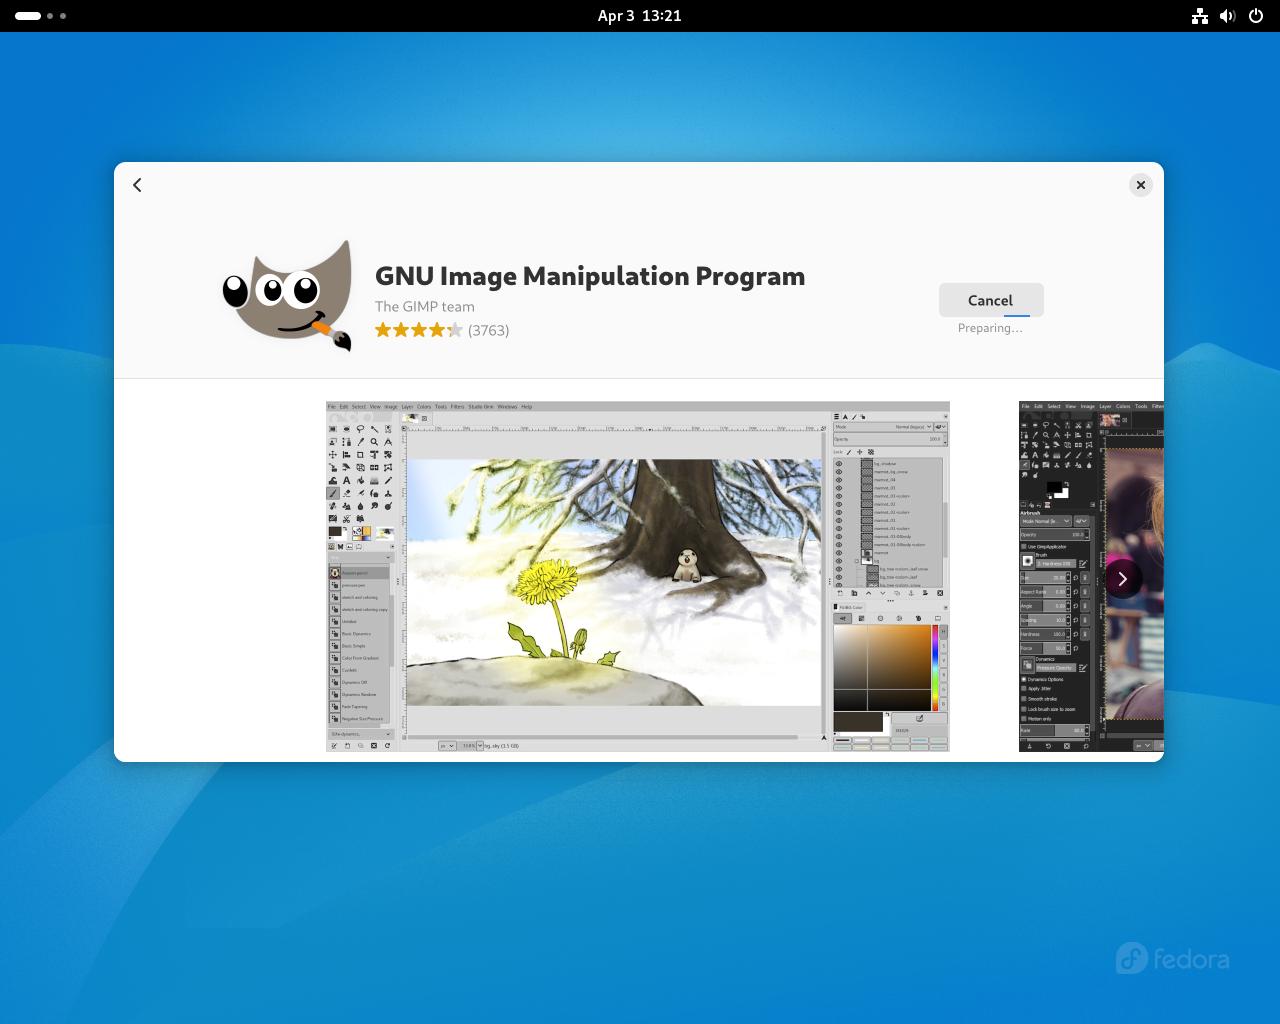
Step #10H: You can now install it in the same way seen in step 10A-D
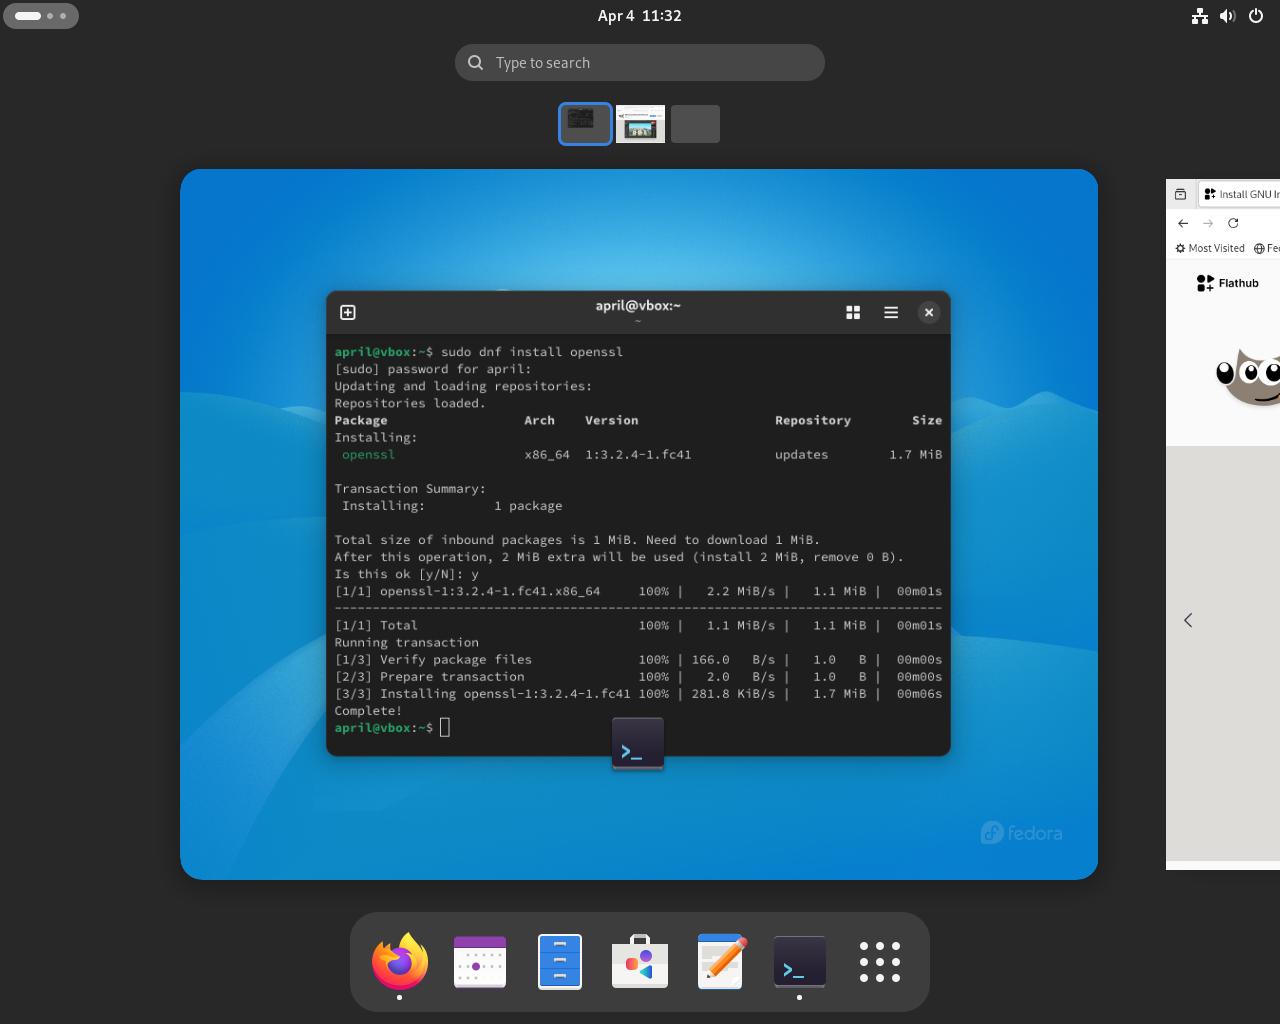
Step #11A: While it is not usually necessary to use the terminal for most things any more, it helps to have basic working knowledge of some commands. Since we've just installed an application using 2 graphical methods, let's install something using the command line. Open the terminal either by searching in the overview or clicking the dash icon you made earlier.
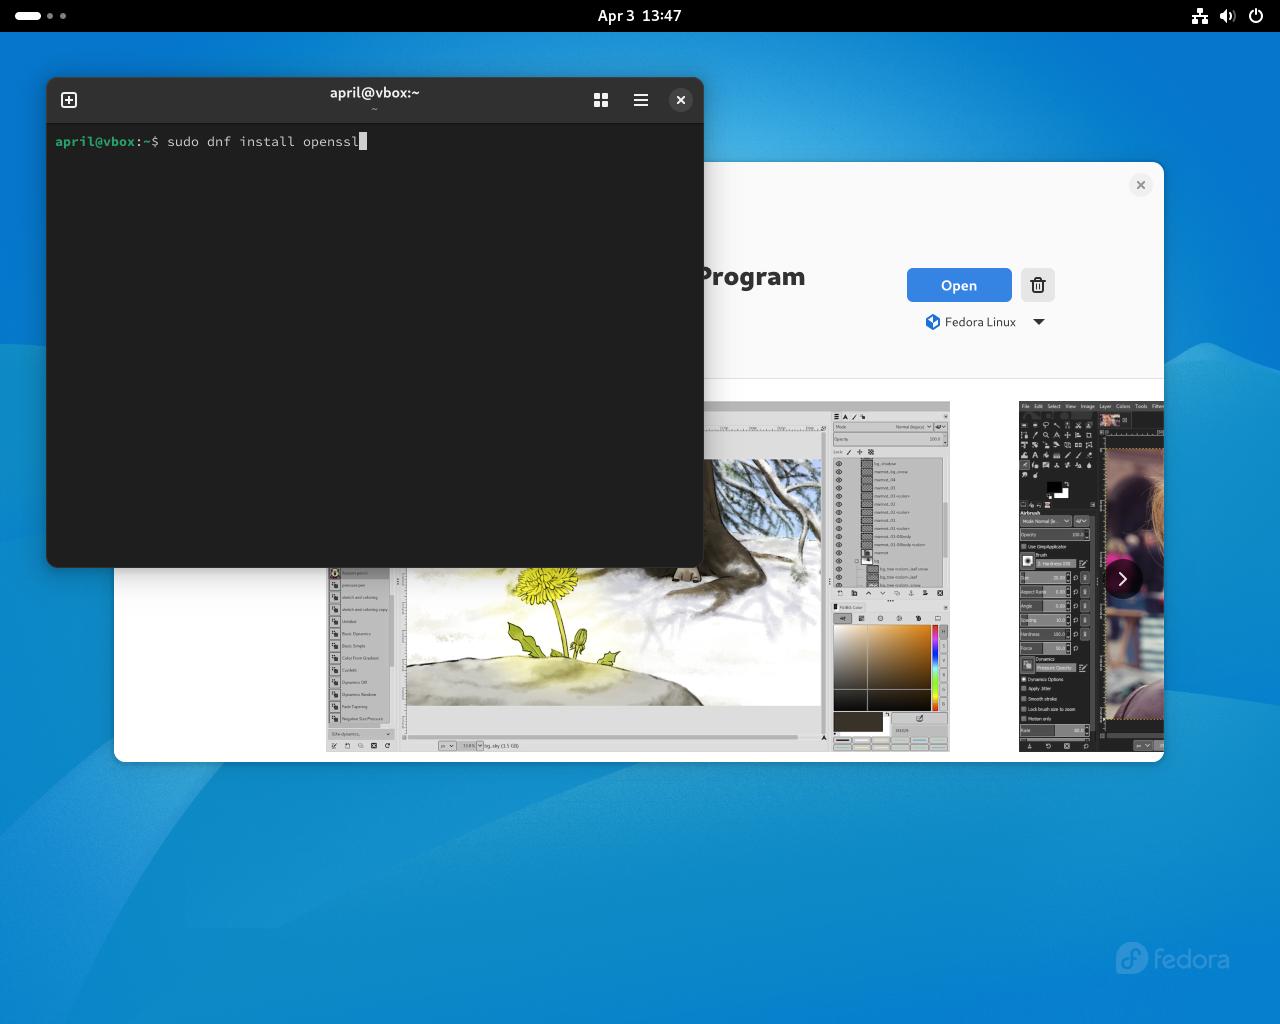
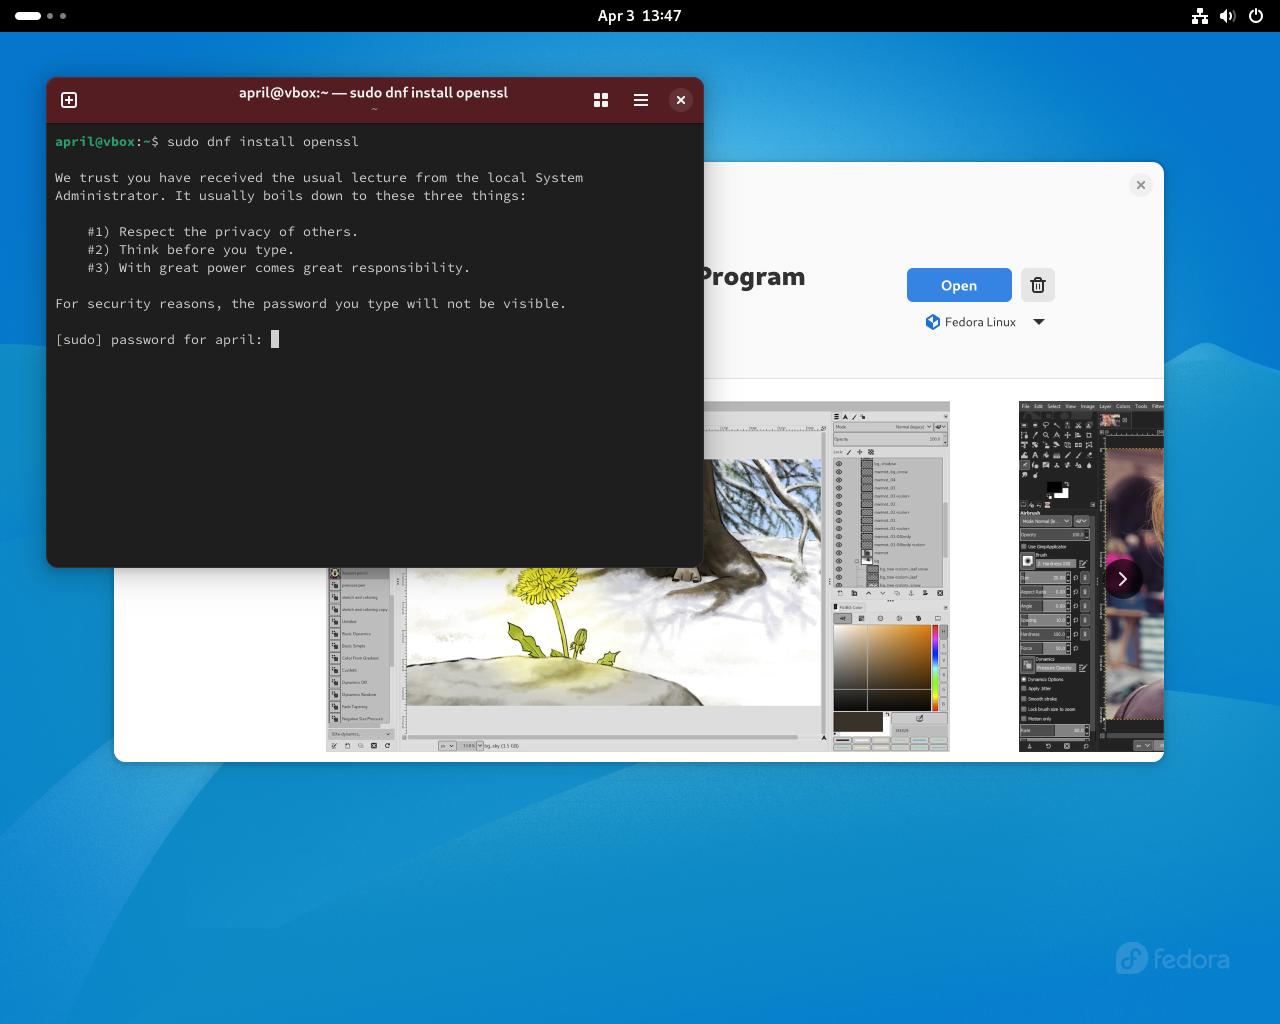
Step #11B: Install OpenSSL by typing "sudo dnf install openssl" into the terminal
You will get a one time message from sudo, but don't let that scare you. Type in your password and press enter. You won't be able to see any characters while typing in your password, but it is working.
Step #11C: Once the repositories refresh, you'll be asked to confirm whether you want to install OpenSSL. Press "y" and enter on your keyboard to confirm and install.
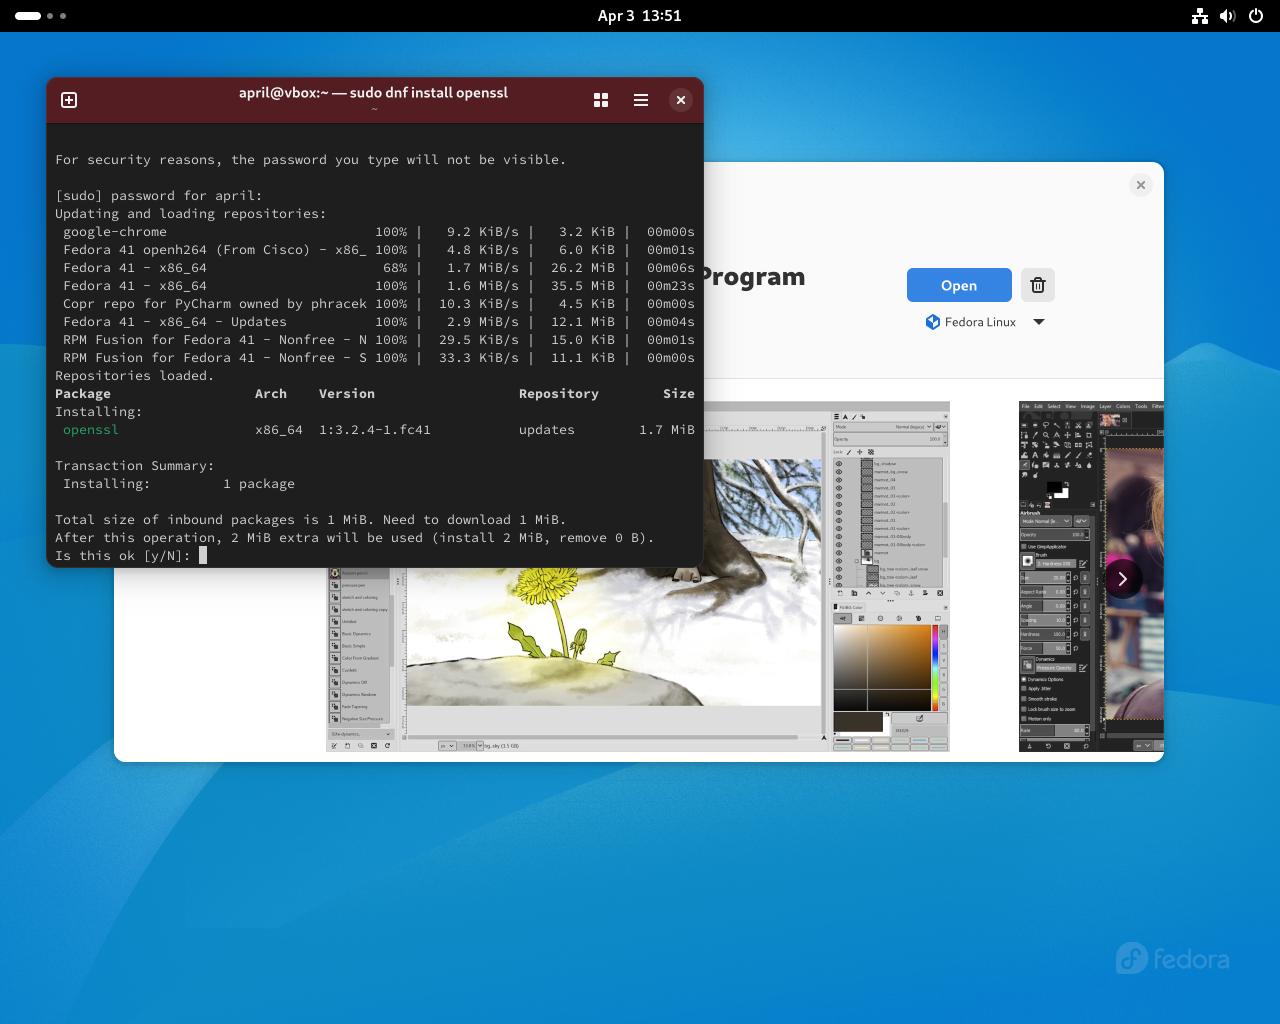

After doing so, OpenSSL should download and install.
Step #12A: Let's go back to the extension manager application.
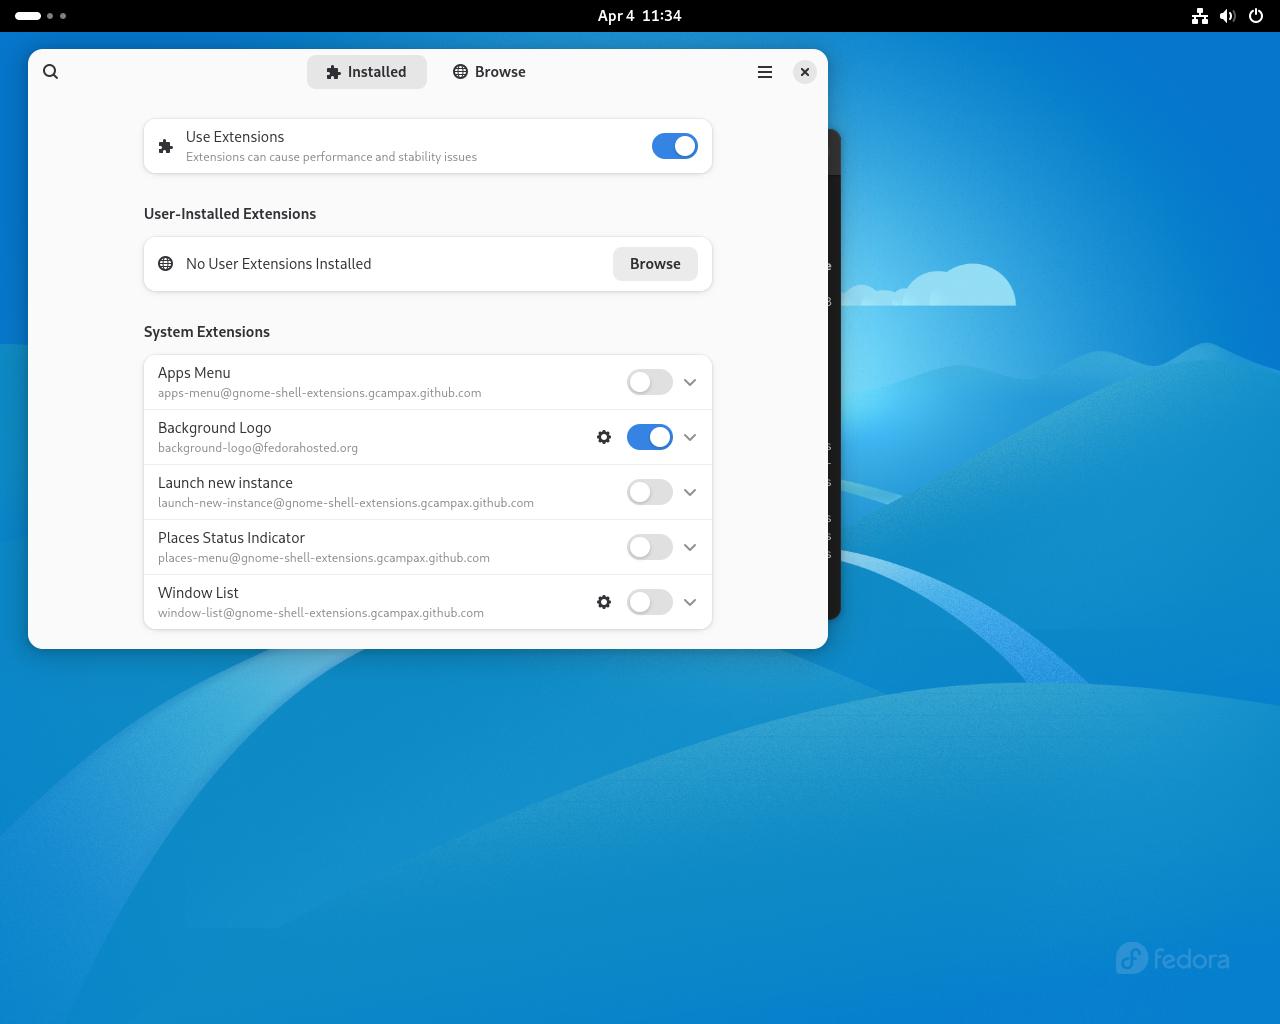
Step #12B: Click on browse
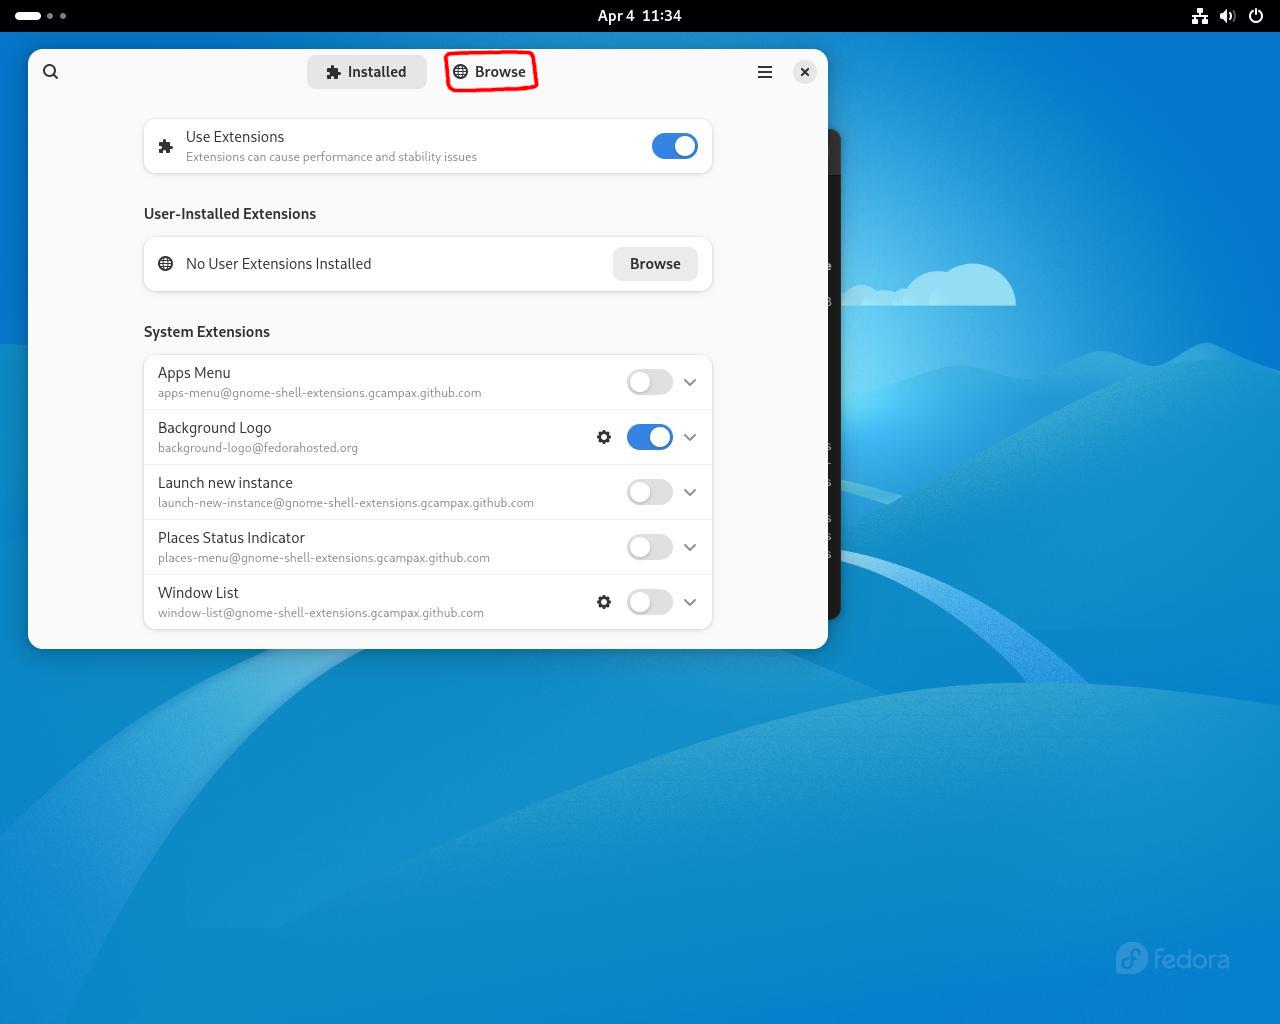
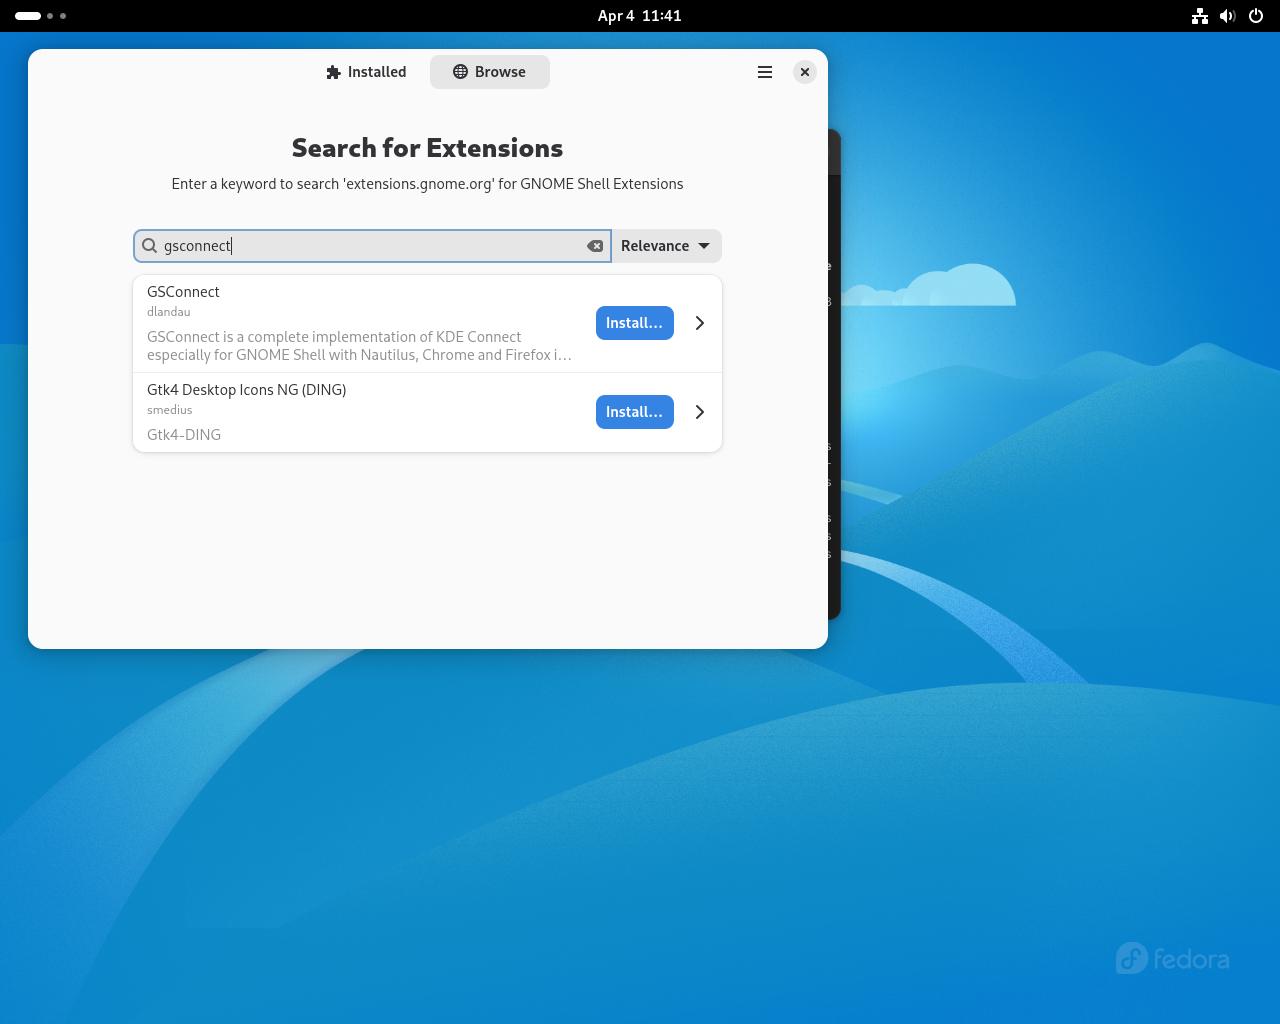
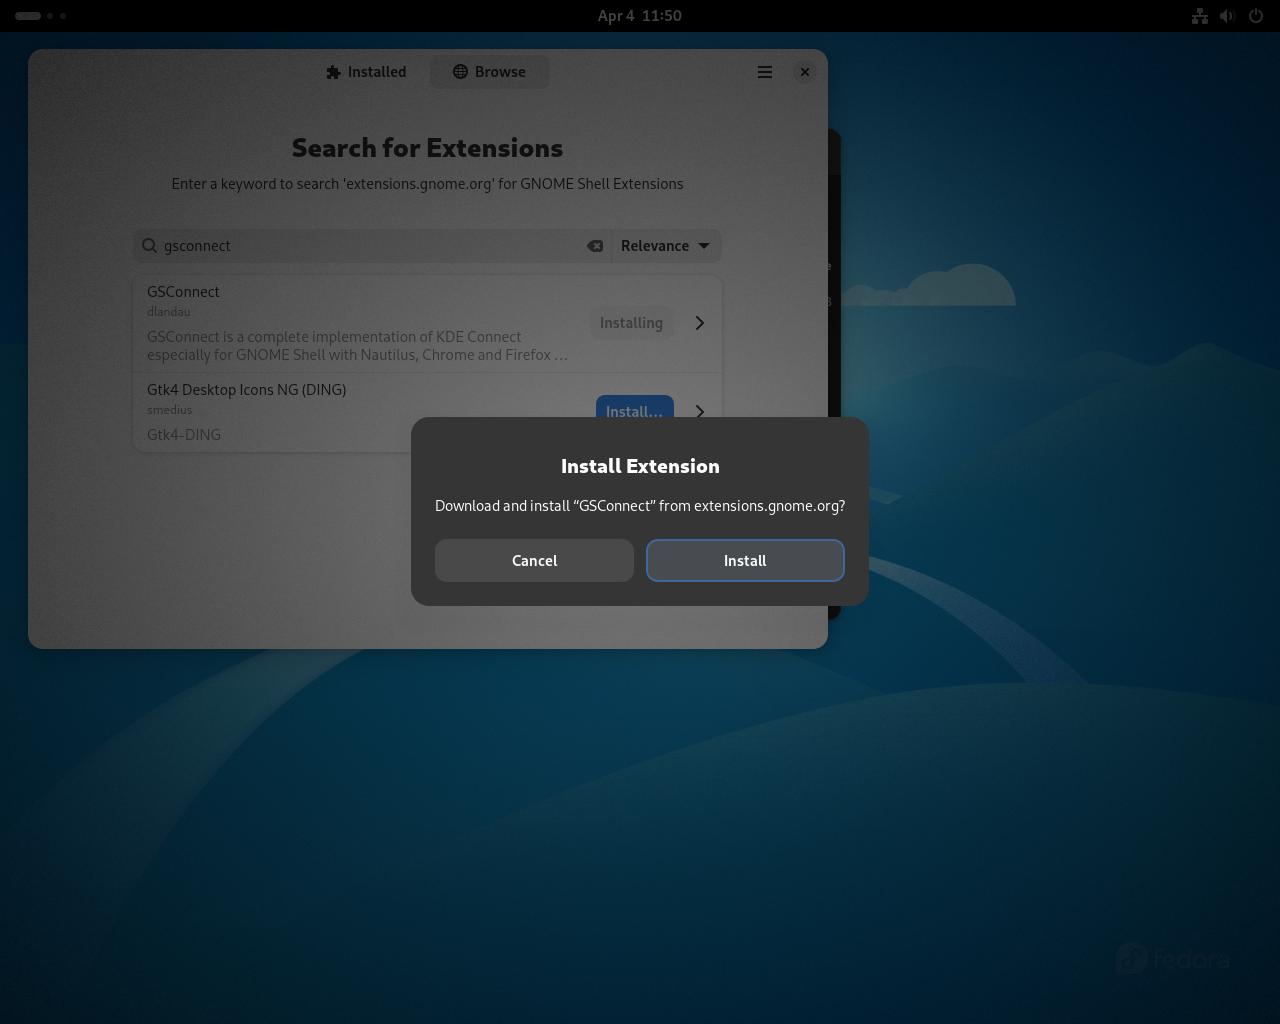
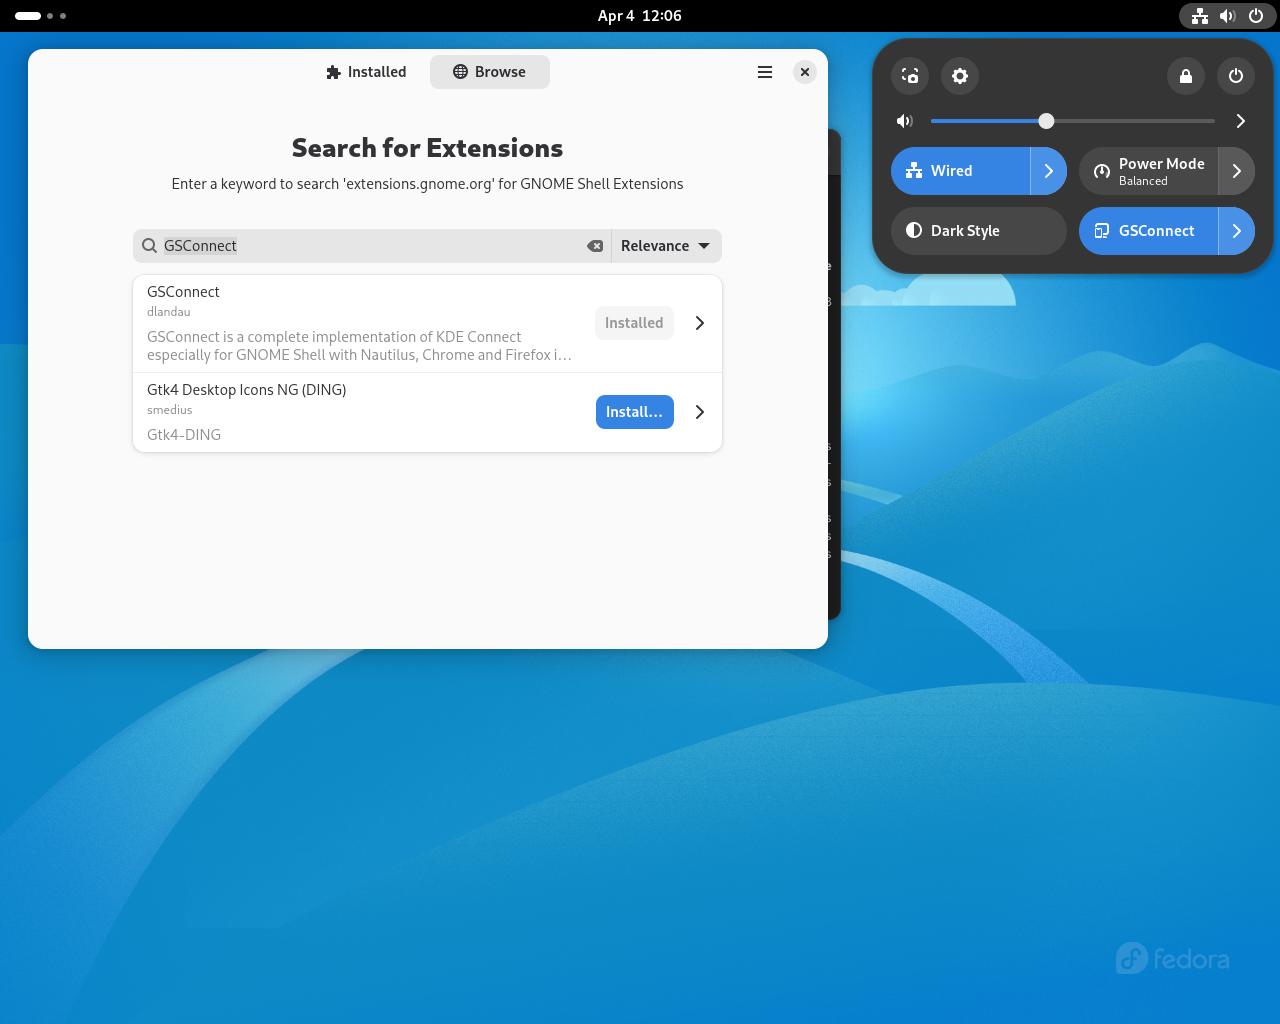
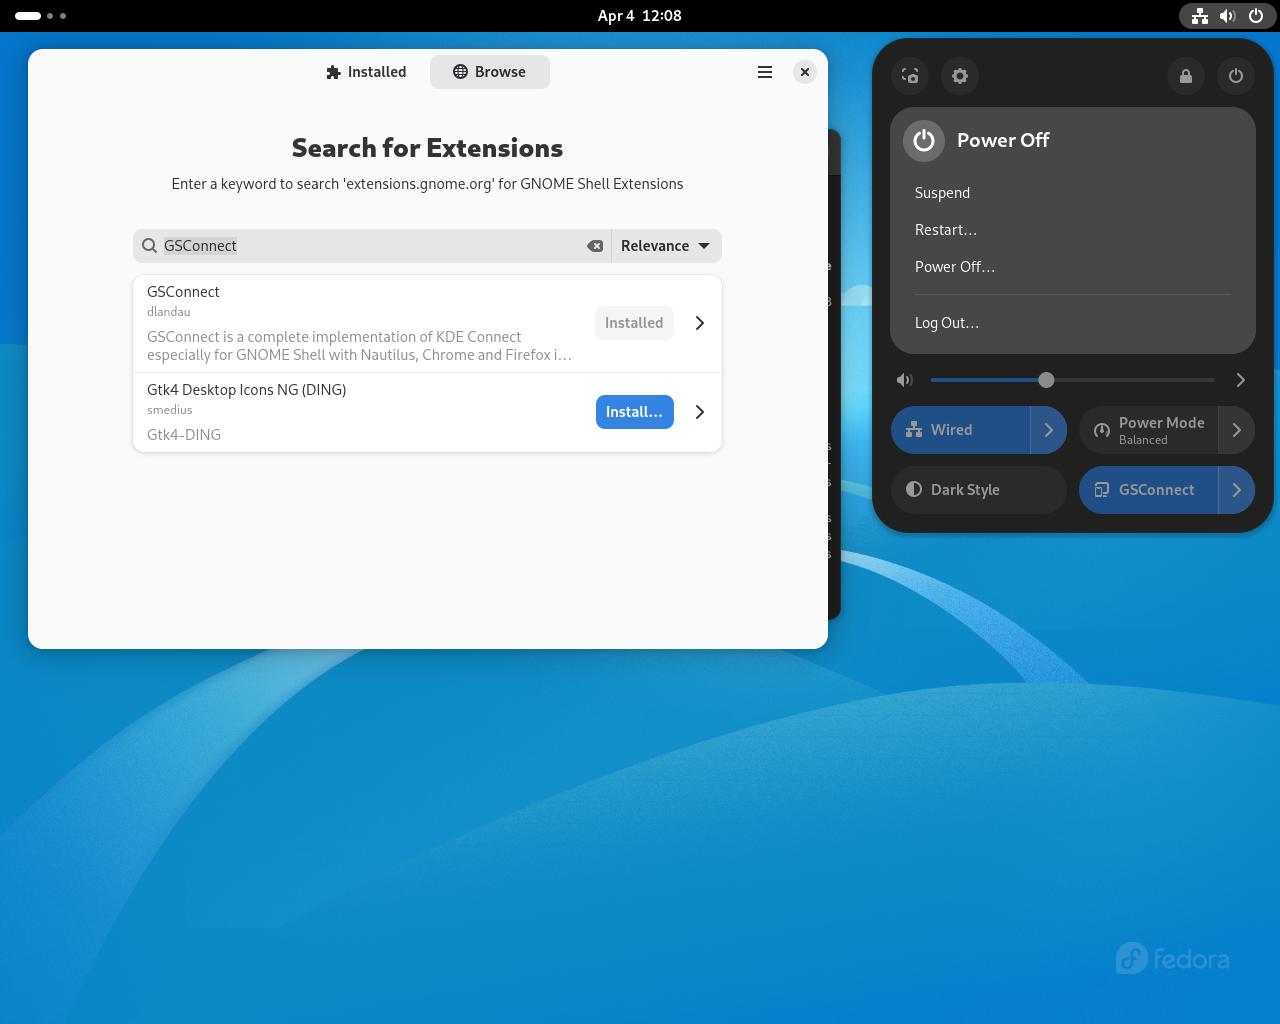
Step #12C: I had you install OpenSSL and Extensions Manager for a reason. GNOME shell extensions are various community made extensions that integrate within the desktop. GSConnect is a great extension that allows your smartphone to integrate with your system and vice versa. Search for "GSConnect" and click Install.
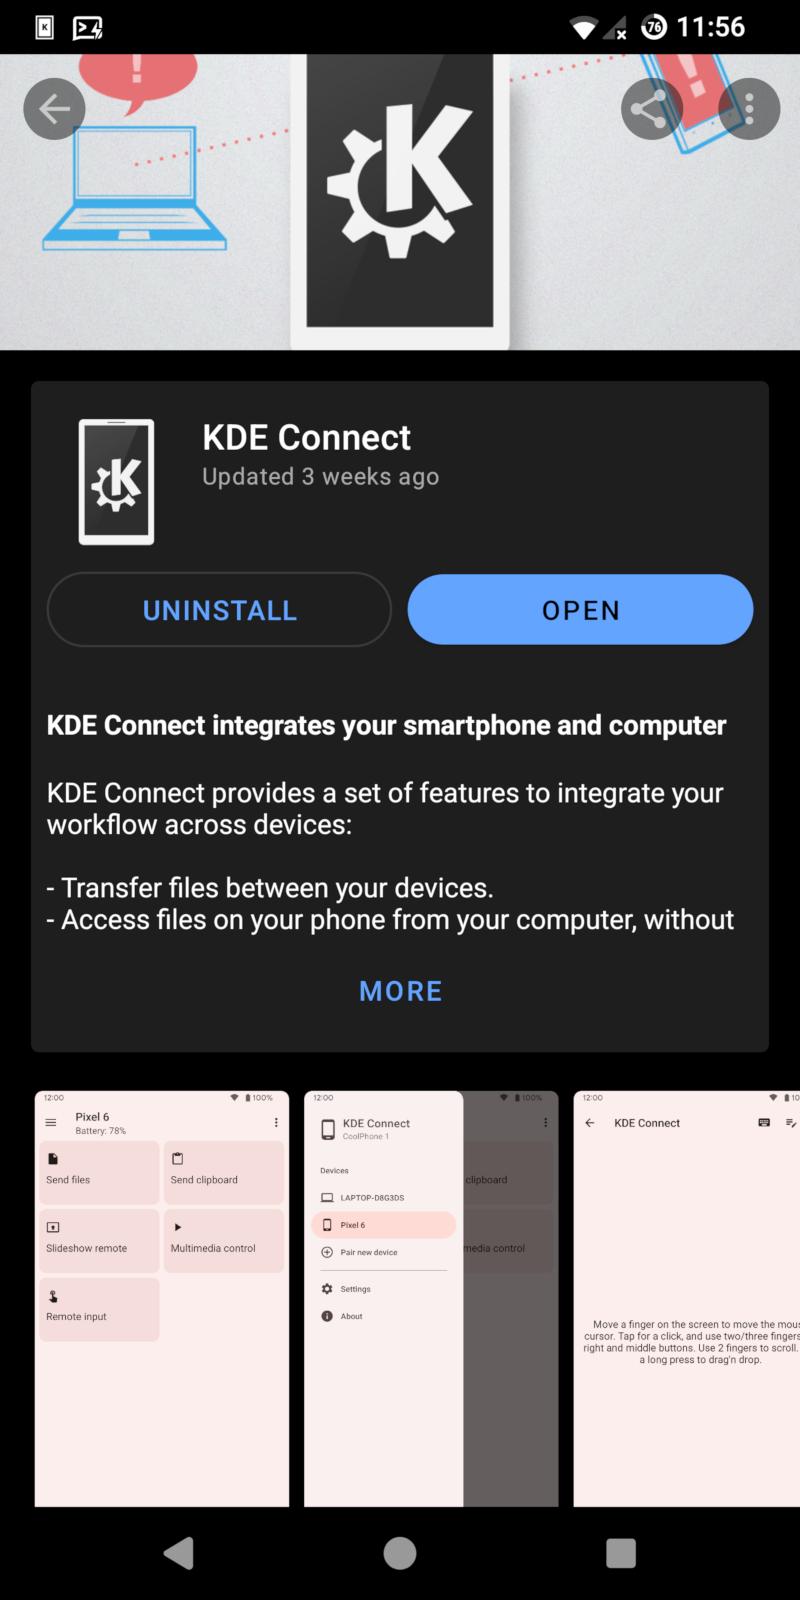
Step #12D: GSConnect works best on phones running Android or GNU/Linux, but it can also be installed on iOS devices too. Install the KDE Connect app, which can be found in F-Droid, the Google Play Store, or the Apple App Store.
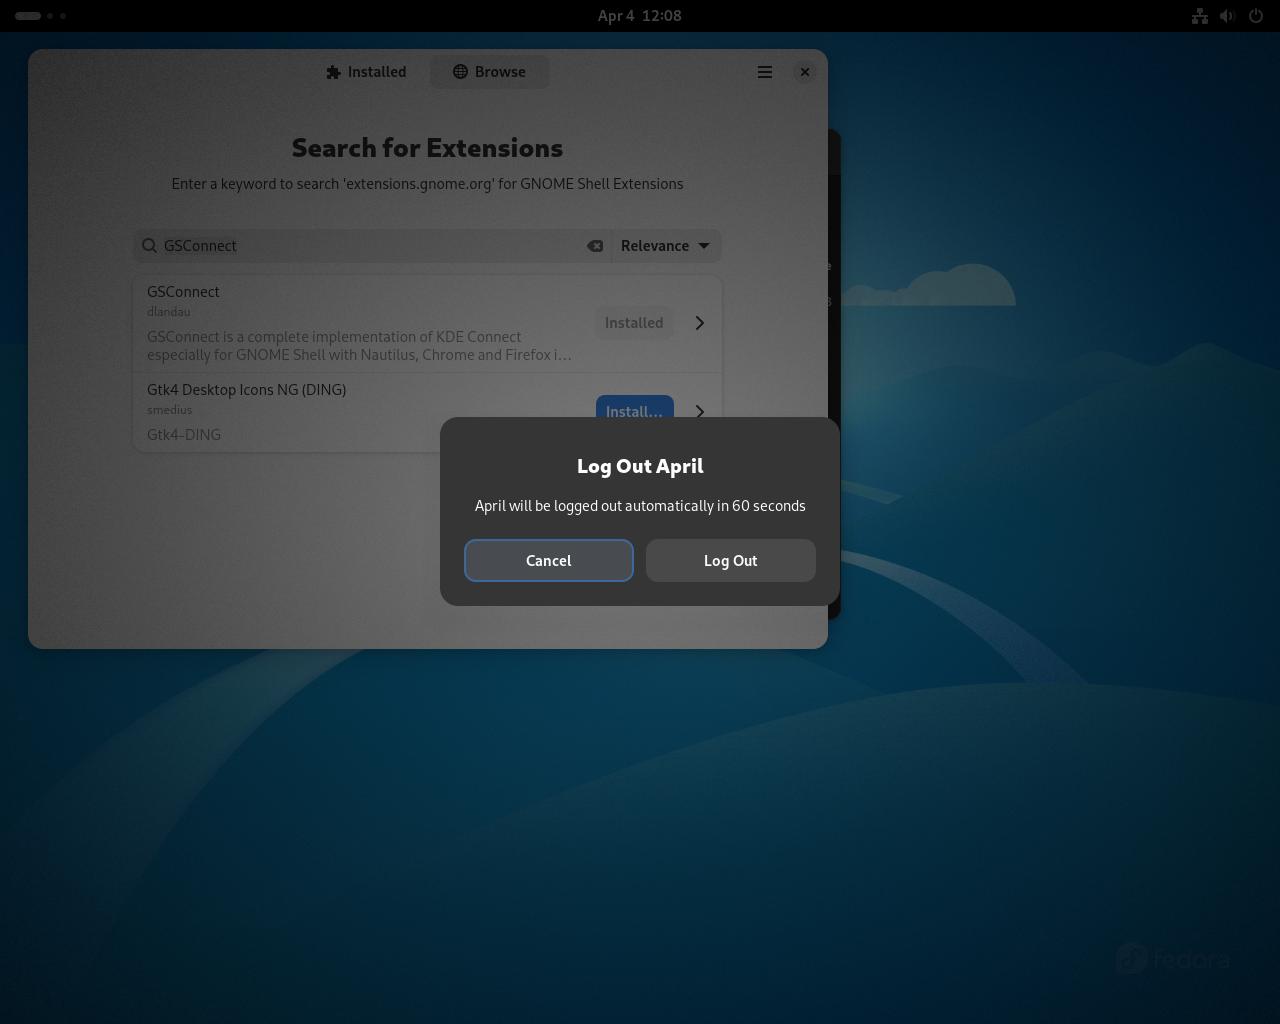
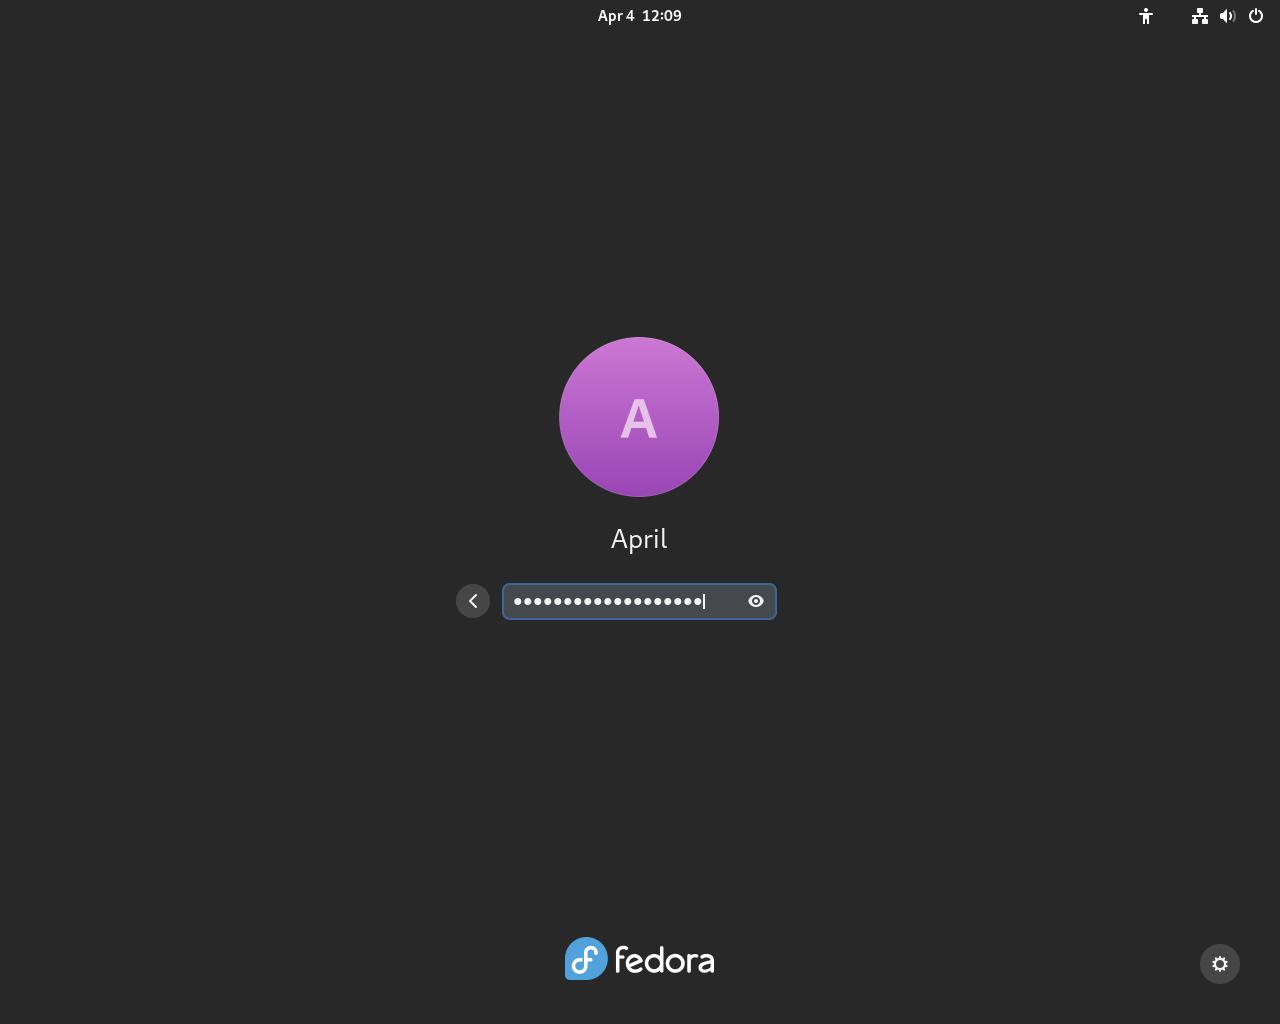
Step #12E: Log out and log back in to start the GSConnect service

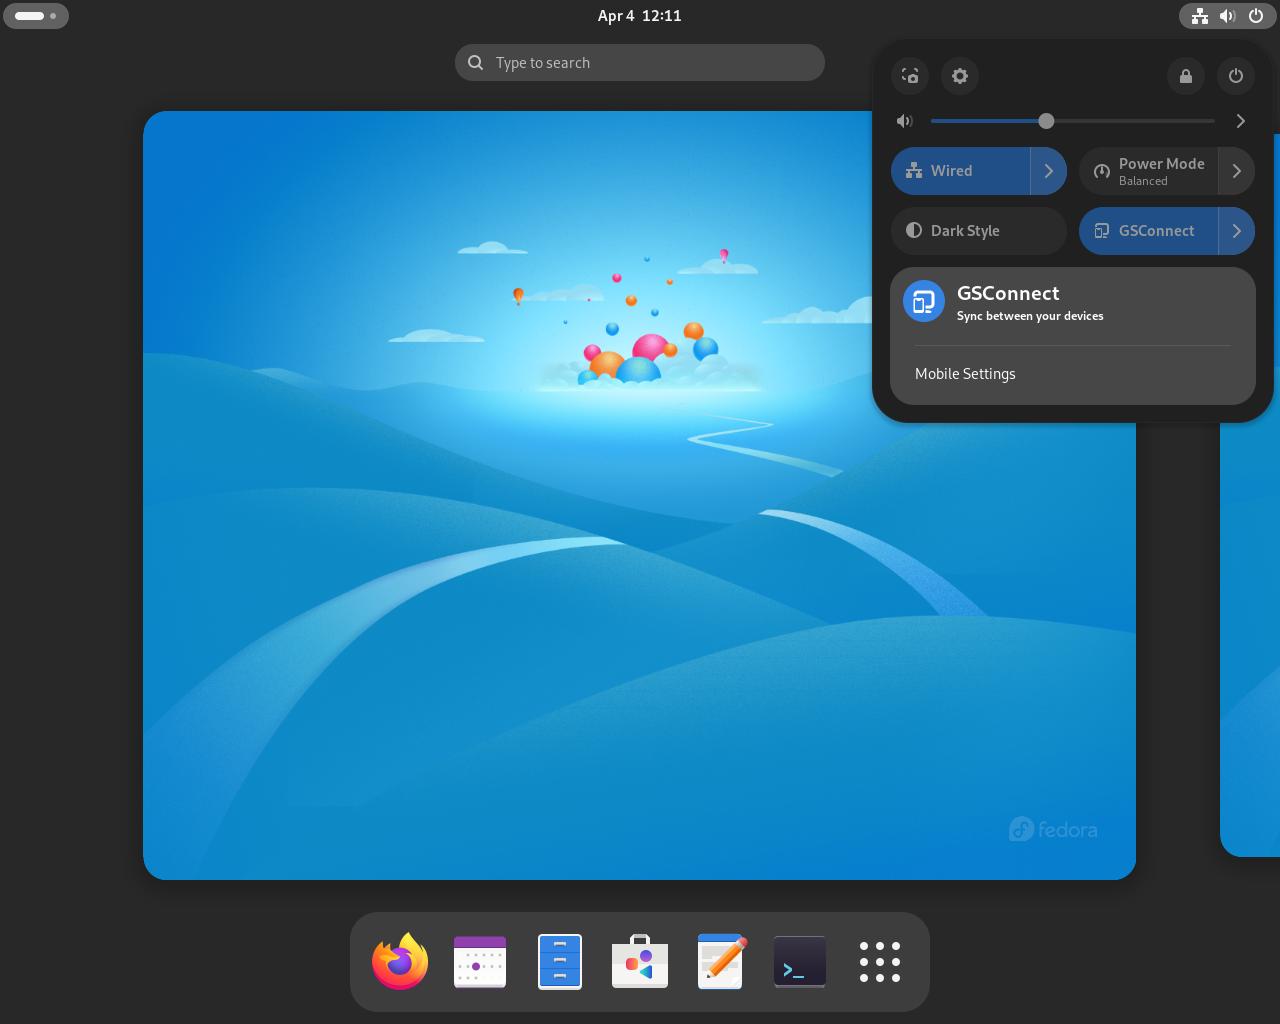
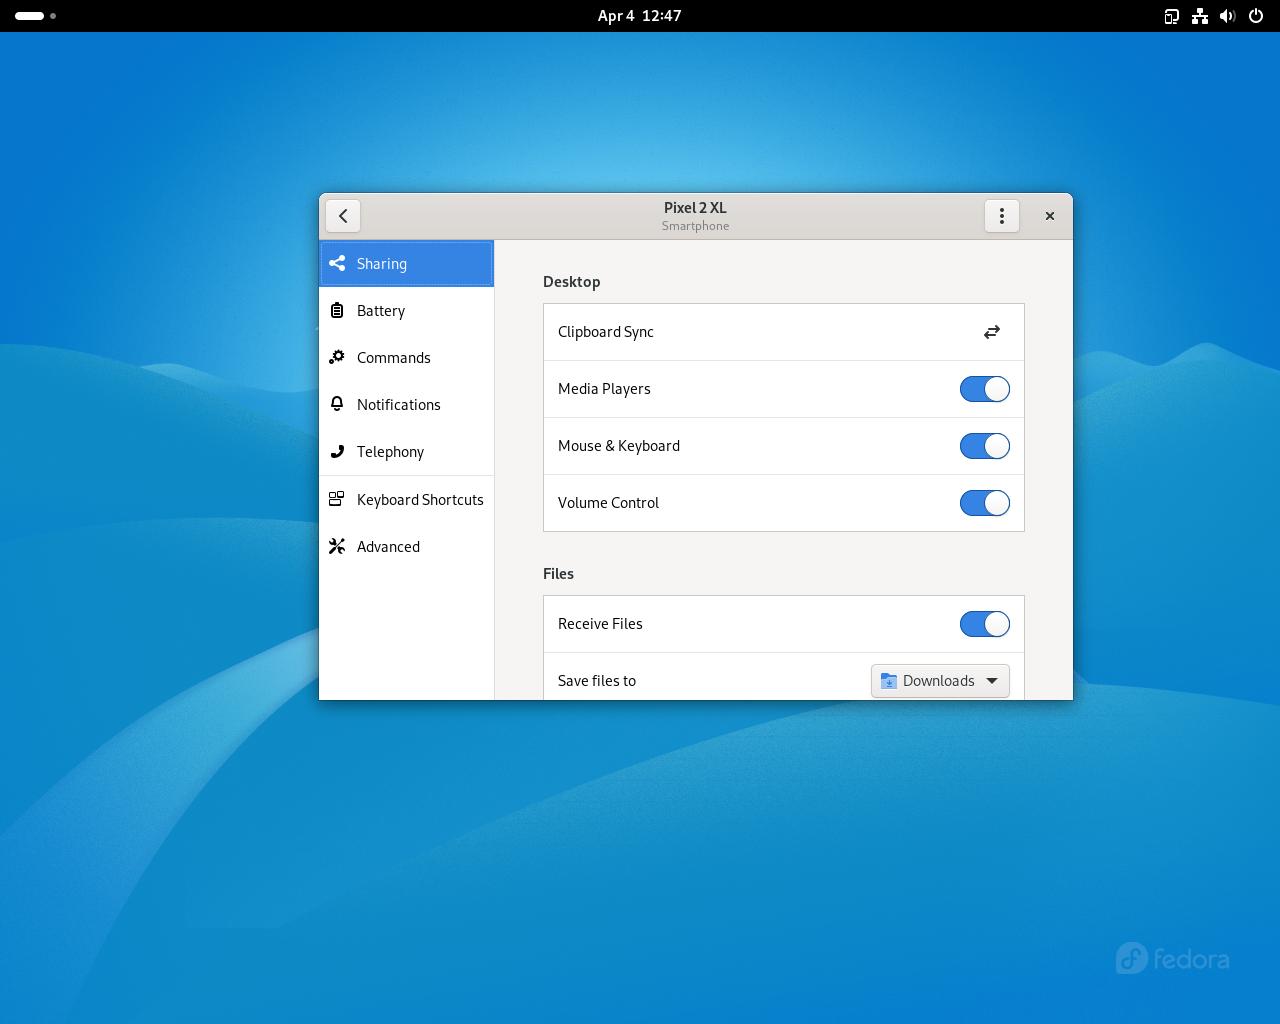
Step #12F: Open up the GSConnect mobile settings
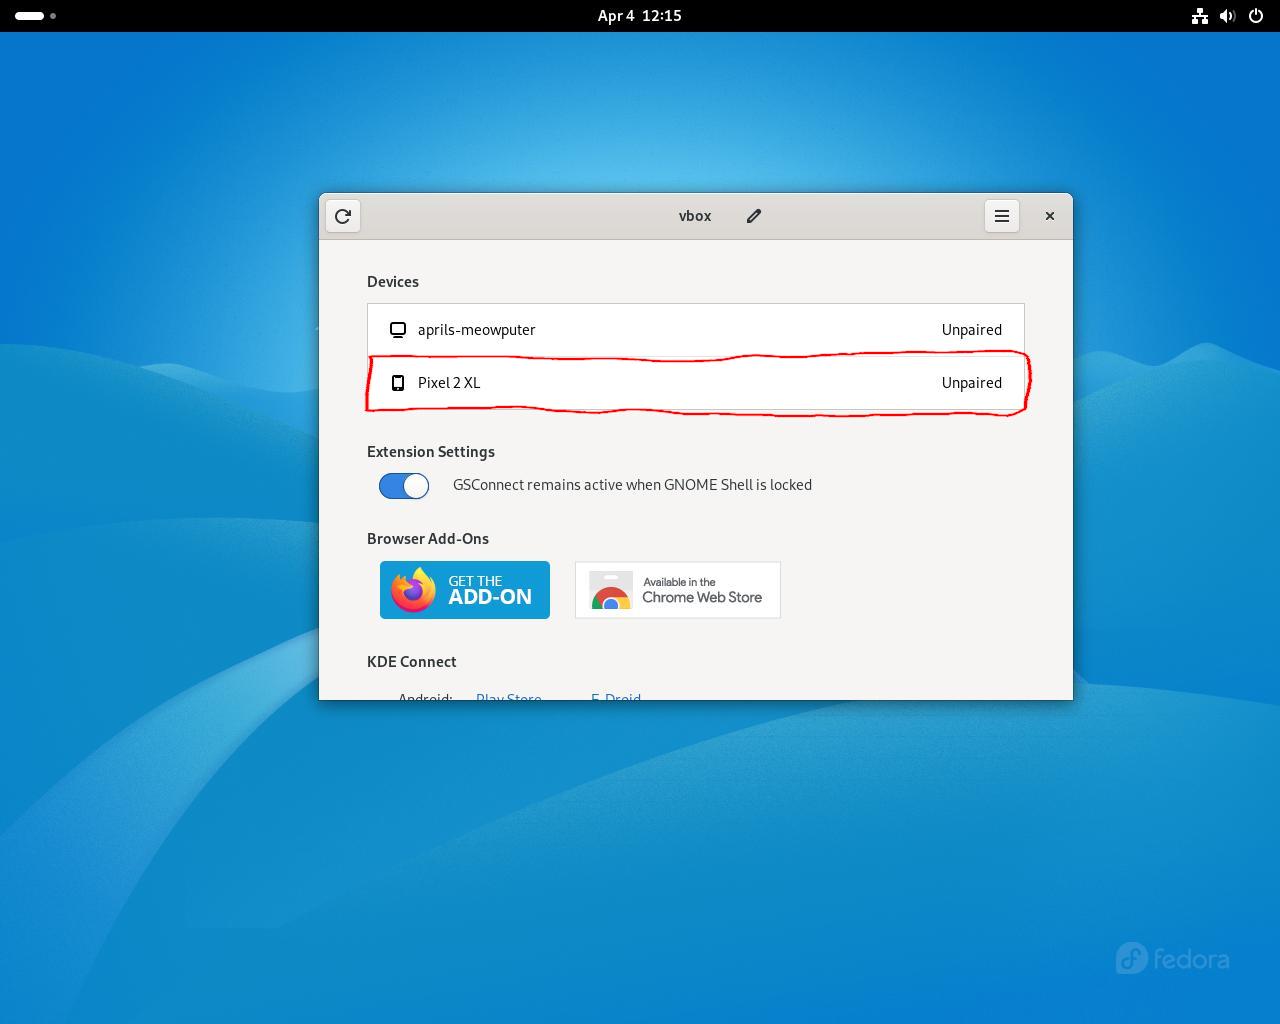
Step #12G: It might take a few seconds for GSConnect to detect your device. If it is not detecting it, than ensure your PC and smartphone are running on the same network.

Step #12H: Now that it has detected your smartphone, click on it
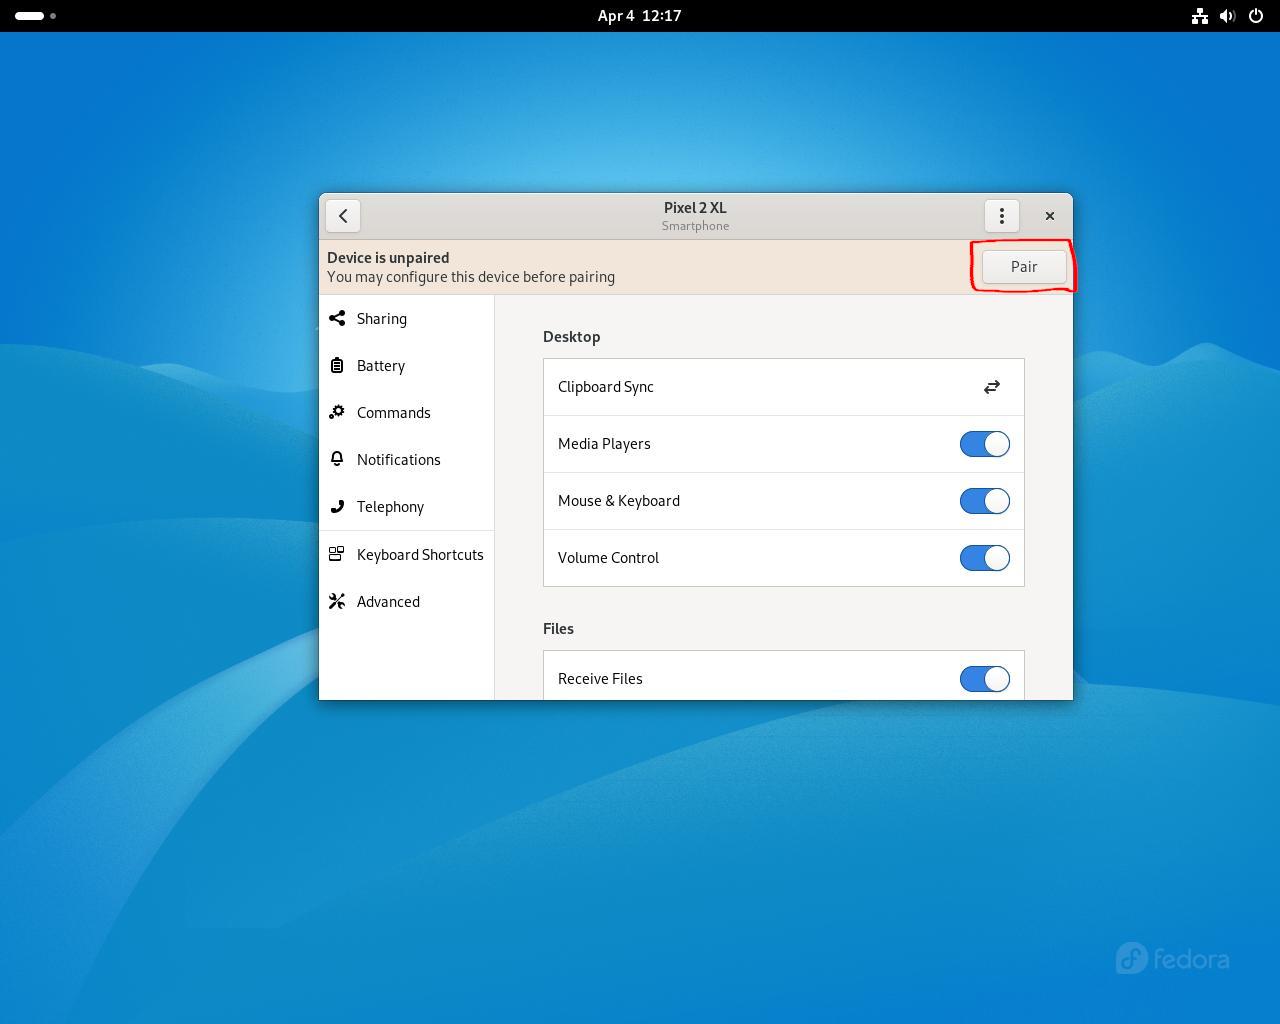
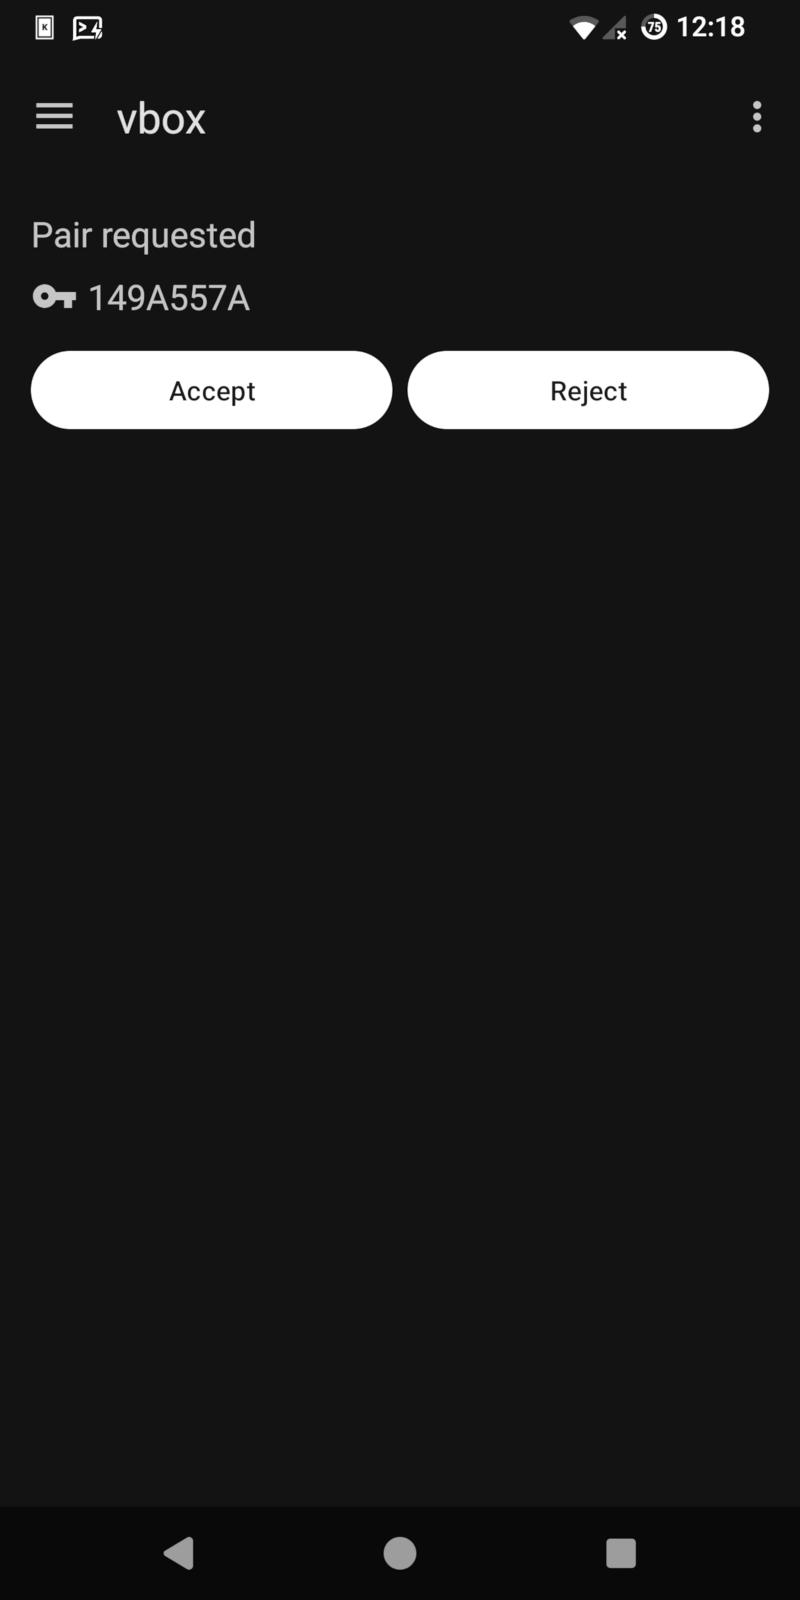
Step #12I: Click on the "pair" button
Step #12J: Accept the pairing from your smartphone's end. You should see a notification on your smartphone about a pairing request.
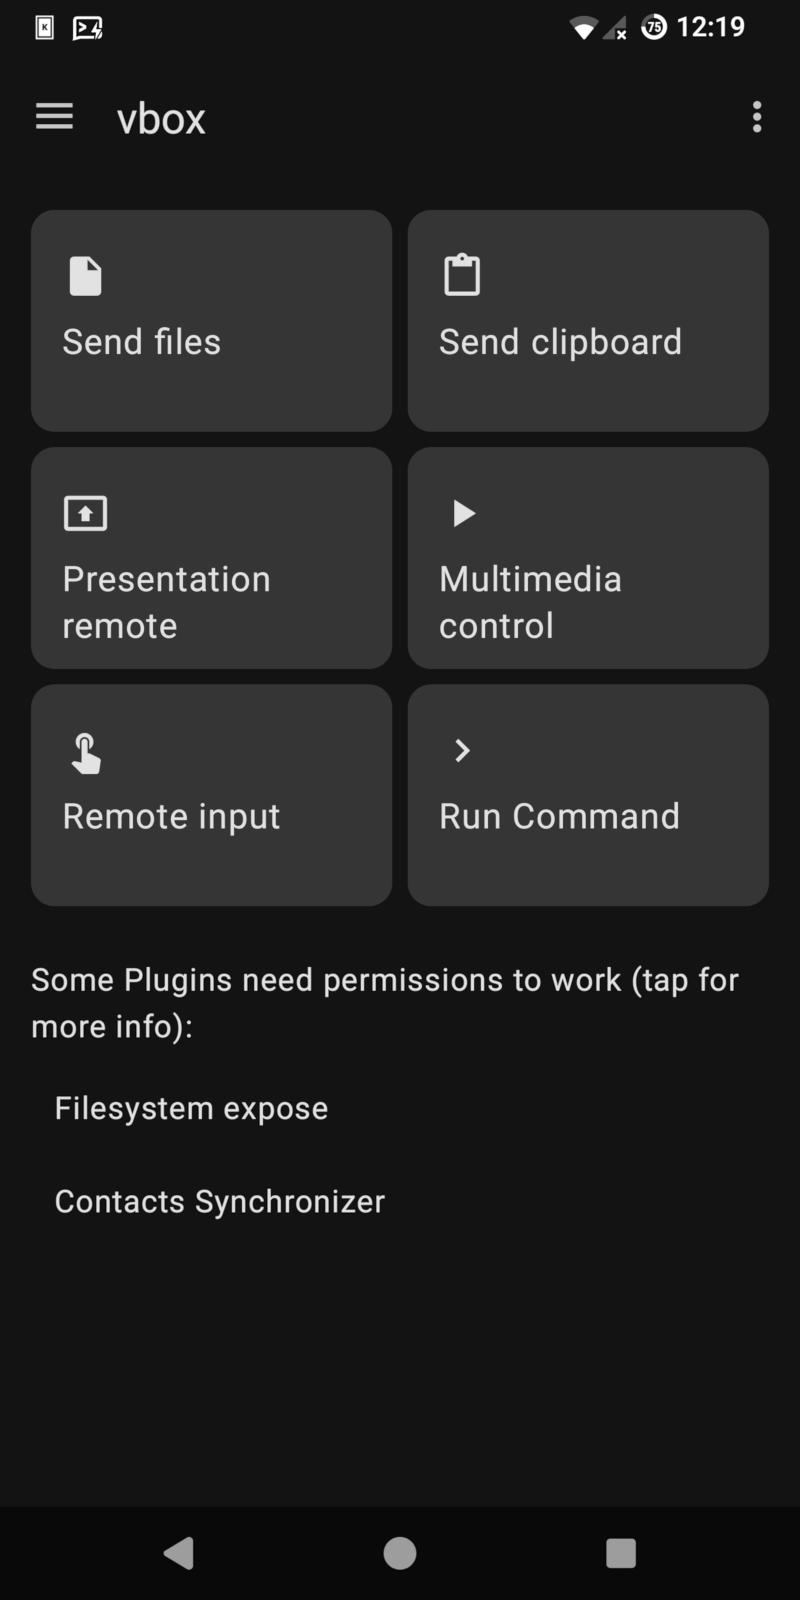
Step #12K: Now your smartphone should be paired, check your PC and you'll notice the "pair" button is gone. That is it.
GSConnect allows you to see your smartphone's notifications, send files between devices, send clipboards between devices, use your PC as a presentation remote, and even answer text messages from your PC. This is by no means an exhaustive list, these are just a few highlights. I highly suggest trying them out on your own!
Complete! You should now have your system set up and should have a basic grasp on how to use your new operating system! While the main tutorial portion of this guide is over, this is far from all there is to know. If you want to know where to look for more help, continue to the next section.